- REVIEWS
Camera Reviews 
More Reviews Mobile Reviews Photography Reviews - GALLERIES
- VIDEOS
- BUYER'S GUIDES
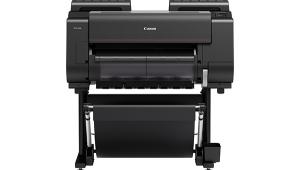
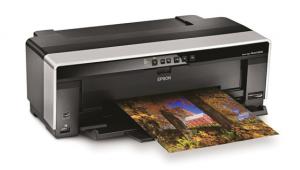
Canon imagePROGRAF PRO-1000 Printer Review
There’s no question that digital printmaking equipment, ink, and paper has undergone steady improvement over the years. Gone are the days of excessive dry-down effects and color shifts, poor paper feed mechanisms, and complicated setups. The debate over silver vs. inkjet image resonance and quality is seldom heard anymore, and we’re at the point now where the precision and ease of use of printers, the amazing selection of papers and “substrates” (things you can print on), and the fact that getting WYSIWYG results does not need an advanced degree in color science all make producing really good prints accessible to all.
Now we’ve come to another plateau: print size capabilities and expectations, encouraged by more and more full-frame cameras and high-megapixel sensors producing what in the past would be considered astronomical file sizes from a Raw or even JPEG image. Big sensor cameras are opening the door to larger prints, and manufacturers are beginning to meet the demand with larger print size capable desktop printers. One is Canon’s new imagePROGRAF PRO-1000 printer, a 17x22-inch sheetfed printer that is the subject of this field test review.

Specs & Features
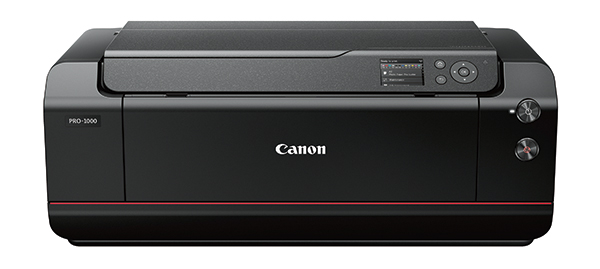
Said by Canon to be the “first step” in a coming line of pro printers sporting the “red stripe” design of their “L”-series lenses, the PRO-1000 is priced at $1,299, which includes a full set of 80-milliliter Lucia Pro ink cartridges.
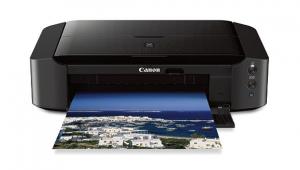
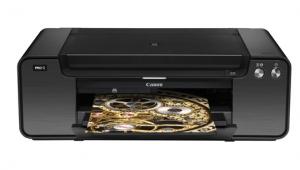
This is a substantial printer, measuring 28.5 (W) x 17 (D) x 11.2 (H) inches and weighing in at a hefty 70.5 pounds with ink cartridges and print head. Yet it should still be considered a tabletop unit in design and approach, given proper real estate on that table. There are eleven 80-milliliter Lucia Pro ink cartridges plus a chrome optimizer (for elimination of glossy paper surface anomalies). According to Canon, one gray ink cartridge has been dropped in favor of a blue ink cartridge compared to the Canon PIXMA PRO-1 printer and the green ink has been eliminated compared to the Canon imagePROGRAF iPF x400 printers. Black-and-white fans will be glad to hear that switching from matte to photo black does not require a separate dump and switch cycle, as each type of black ink has its own channel.
Replacement cartridges run $59 and $54 for the chrome optimizer. It should be noted that this model does not have a roller attachment, inclusion of which we might see on a future printer in this red-stripe series. It’s aimed at the cut sheet user, not the factory production shop. Paper can be fed through a rear or manual feed tray, the latter being for paper stock over 300 gsm and for certain print surfaces.
There’s a built-in skew correction system as well as an air-feed/vacuum system that holds the paper flat once it enters the printing channel. Various pro-style enhancements include a media customization setup that allows the user to establish customized printer settings for any and all media used, making setup of different paper stock a one and done task.

All Photos © George Schaub
Tests: In The Studio
Step 1: Have a friend or associate handy on delivery. At 70 pounds you might be able to lift it, but it’s a compact 70 pounds. Once de-boxed the setup instructions are pretty straightforward.
My tests were aimed at determining if Canon hits its mark: if pro features could be combined with ease of use in a way that would not intimidate those who have not previously worked with high-end or wide-format models. You’d think that the benefits of having a 17-inch-wide output printer should encourage and require some extra effort and a bit of a learning curve; in practice, it was basically start the engine and drive. Admittedly, I have had experience with many 13x19-inch models, and my computer and monitor play nicely together with printers and scanners, but all in all I frankly anticipated some complications along the way when working with a 17x22-inch printer but found almost none.
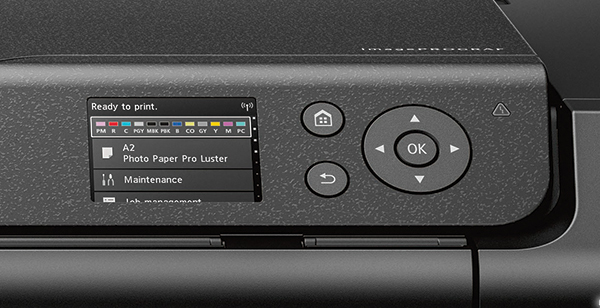
One thing that might be confusing is what might seem like crossed signals between the LCD menu on the printer and the information you supplied the print driver when setting up a print. The LCD does not change accordingly: just keep in mind that the driver overrides the LCD display information, so I just ignored the LCD (for paper type, size) when printing, although it is quite useful for maintenance matters, etc.


My Results
I printed with Photoshop being the host. You can install the Canon Print Studio Pro as a plug-in for the image-editing programs on your computer (the usual suspects). I stuck with Photoshop throughout all tests. For the most part I printed using Printer Managed Color when using Canon papers because I got such good results and didn’t see the need to change. During setup choose Canon Color Matching and the paper you are using and watch for the checkbox for black and white, if printing black and white, in the Quality and Media setup dialog. Black and whites were excellent with no cast, deep blacks, and excellent reproduction of the full tonal range of the processed image on the screen.
When using “third-party” papers you can choose a Canon emulation (like “luster” for pearl surfaces, etc.) using the Canon Color Match setup, but for very specific papers use Photoshop Managed Color and whatever profile you might have for that other paper.
Throughout all my printing I never had a “bad skew” loading problem, although this might be luck. The PRO-1000’s anti-skew and vacuum flattening mechanisms had no problem with all weights and surfaces using rear and back loading. For those who suffered through babying paper through a printer or used the old index finger pressure technique this is a great relief. In addition, the vacuum feature on the the PRO-1000 kept the paper flat through the channel and the whole paper handling and pass through was simply a pleasure to experience, even with those potentially floppy 17x22-inch sheets.
Although the supplied Canon Pro Premium Matte paper does not exceed 300 gsm, thus you would think it could run through the regular feed rack, the printer would not accept it in the rear tray and gave me a notification that I had to feed it manually through the back tray. I also had to change my “C” (17x22-inch) Paper Size Settings to C>Wide Margins.
I ran a near 300 gsm Red River luster stock (Aurora Art Natural) through the auto feed tray and while it went through OK I heard some “fight” in the transport so from that point on ran anything near 300 gsm through the back tray. Printing speed is as claimed, about four minutes for black and white and six for color. I always printed using “High” quality.
The print preview box in the print setup shows a good representation of the image on the paper used, which was very useful when going from glossy to matte surfaces on the same image. It’s sort of a built-in soft proofing. For Photoshop Managed Color I soft-proofed through Photoshop.
The print nozzles are so fine, and the distribution of ink so rich, that resizing and resampling have no visibly detrimental effects, within limits, of course. This is good news for those who do not shoot with the new breed of high-megapixel cameras and want to print full 20-inch-long prints. However, having a larger image file will certainly help realize the full potential of this printer. (On another note: I found that I did not have to print at 300dpi, and found 240 or slightly less is just fine when going this large.)
I made color prints that ranged from vivid to pastel, and each time was very happy with the ability of the inks to mix to faithfully reproduce the on-screen image. Black and whites ranged from hard contrast with spectral highlights to soft and subtle tones, and in each case the prints were right on. In short, the PRO-1000 made some of the best prints I have ever seen from the nearly two weeks of work I put into the review.

Conclusion & Recommendation
Not everyone will want to plunk down nearly $1,300 for a printer, but for those who shoot with a high-megapixel camera or make good-sized scans from film it certainly makes sense in how it fulfills the potential and promise of those images, now and in the future. Even those who want to mine “older” images from more modest sensor sizes can benefit, since the fine nozzles and quality of the ink laydown allows for upsampling: I resampled such images and printed with dpi’s as low as 220 and got excellent results.
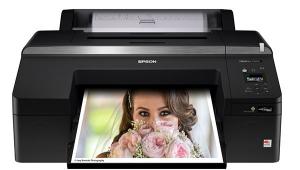
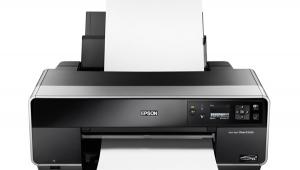
I was especially pleased with the black-and-white and monochrome images, which displayed no cast and even reproduced the subtle tones and shades of duotone ink sets when printing in color. In the past I had relied mostly on Epson’s Advanced Black and White mode for nearly all my black and whites with any and all papers.
Canon has done an excellent job of melding pro and advanced amateur features and benefits in the PRO-1000: the printer combines ease of use with enhanced options; has meaningful and timely notifications and pop-up suggestions; handles all sorts of paper surfaces and weights; produces prints that match the subtleties of on-screen previews and proofs; and avoids any jam-ups in transport that occasionally plagued other printers I have tested or bought in the past.
As such, it should appeal to enthusiasts, pros, schools, and anyone dedicated to making fine prints for home decor, gallery shows, and simply as expressions of their photographic art and craft. It is uncomplicated yet refined, and brings down the barriers for those who want to make up to 17x22-inch prints but had been intimidated by the seeming complications of past printer models and designs. It is a desktop printer writ large.
One more note: Prior to working with this printer I brought in a number of images to a lab to make 16x20-inch prints for a show. I plunked down almost $400 for a set of prints, and had to go back and forth on a few to get them done right. With the PRO-1000, I made similar-sized prints that came out right the first time through and barely made a dent in the 80-milliliter ink cartridges. That showed me the value of this unit and how having control over my own work made a real difference in the experience and the satisfaction of completing the circle begun when I first snapped the shutter.
- Log in or register to post comments


![]()
Get the Latest Photo Tips, News & Reviews from Shutterbug!
| Camera Reviews Other Reviews | Mobile Reviews Photography Reviews Columns | News | Features | How-To | Resources |
 © 2025 Shutterbug
AVTech Media Americas Inc., USA
All rights reserved