- REVIEWS
Camera Reviews 
More Reviews Mobile Reviews Photography Reviews - GALLERIES
- VIDEOS
- BUYER'S GUIDES
Landscapes in Motion: How Michael Shainblum Captures His Breathtaking Imagery

When I opened Michael Shainblum’s Instagram page, I sat there mesmerized by the landscape images and videos. After some minutes, I had to remind myself that I had work to do.
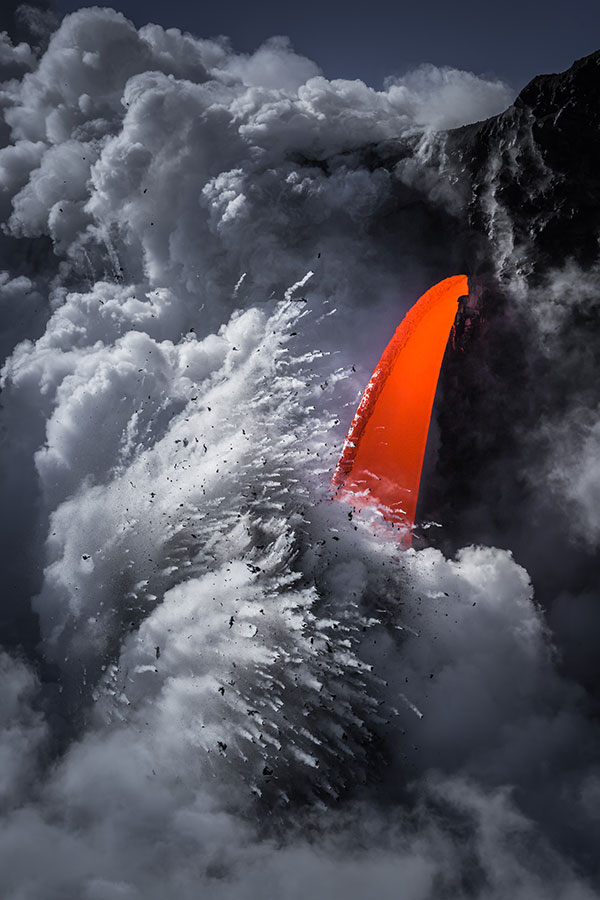
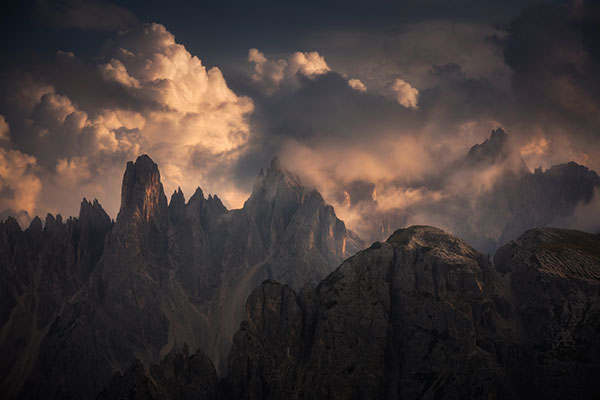
Shainblum creates breathtaking imagery that reflects his fastidious approach to his art and a dedication that is unrivaled, which is also mirrored in his tutorials. And he takes a multidisciplinary approach.
He shoots stills, time-lapse videos, and panoramas, day and night, often remaining in one area for hours at a time, in locations close to home and far away—shooting on land and from the air.

Shooting the Night Sky
The night sky has always been a cornerstone of every location shoot for Shainblum. He tries to incorporate some night sky work into every trip, not only close to home (California, Oregon, and Washington), but internationally as well, namely Iceland and Italy. Summer weekends may find him driving out to the mountains or the desert and camping out to photograph the Milky Way.
“For night sky photography, the biggest goal has always been getting as much light into the camera as possible,” Shainblum observes, “and getting enough foreground detail and sky in the same frame. In the past, to get foreground and sky in one well-exposed shot meant you would have to take 40 different images and blend them or spend 30 minutes just for one exposure. Now, with cameras such as the Sony A7S, you can bump the ISO up to 12,800 and still get an evenly exposed image at or near maximum aperture on just one Raw file. My goal is to do a night sky shot in one exposure. But, where needed, I also use stacking (blending exposures) and panoramas.”
He continues: “I’ll also sometimes use a star tracker motorized tracking mount to maintain alignment with the North Star. You can, for example, set the exposure for five minutes and get a clean exposure for the night sky with this device on your tripod.” There’s just one proviso, as Shainblum points out: Owing to the movement, the foreground becomes blurred, so you then have to shut the tracker off and make a separate exposure for the foreground, and composite these shots together.
Capturing the Milky Way
When shooting the Milky Way, Shainblum notes that you will get more detail in your photos the longer the exposure and the more light you can let in.
“When you see really colorful Milky Way images, it’s usually the result of using a star tracker,” he explains. “What’s more, many photographers remove the IR filter to allow the rich reds to record on the sensor.” (Editor’s Note: Removal of the IR filter requires a custom camera sensor modification and may void your warranty. Select camera models are available with the IR filter removed at the factory.)

It is not unusual for Shainblum to stay out all night for a night sky shot. “I might set up a night sky time-lapse with the camera stationary on a sturdy tripod, let that run for five or six hours, and then explore the area I’d scouted before dark and shoot some stills, or I’ll just go and relax.”
Shainblum emphasizes that the Milky Way in his night sky photography is never supposed to be the main subject. “If anything, it’s one of the subject elements or even a supporting subject element. The main feature of the night sky photography should be the foreground, the landscape. You create a balance and interaction between the two. That makes it feel a little more surreal.”
When it comes to panoramas, Shainblum uses Adobe Lightroom or Photoshop, but he’s also used PTGui (ptgui.com).
“Panoramas were a big part of my photography way before I got into time-lapse and night sky photography.” For his panos, he basically uses a ball head on his tripod—nothing fancy, leveling the camera and panning, while overlapping frames in consecutive exposures.
Shainblum’s Time-Lapse Technique
Over the years Shainblum’s time-lapse work has become increasingly sophisticated. For starters, everything has to be precisely timed. And that involves an intervalometer.
But take heart—it doesn’t have to be fancy and expensive, as Shainblum notes: “When I’m just doing static time-lapses with simply the camera on a tripod (without physically moving the camera), I use off-brand remote-controlled intervalometers. They break all the time, so I have extras on hand.”
However, the world is not static, and neither is every time-lapse, as Shainblum elaborates: “When I’m doing motion-controlled time-lapses, I use a pan-and-tilt head from eMotimo (emotimo.com). This has a built-in intervalometer. I also use a slider from Dynamic Perception (dynamicperception.com), and they have an intervalometer built into their products as well.”

Zooming, however, can be introduced in postproduction. “If it’s a subtle zoom in a still frame (meaning, no camera movement), that’s done in post. If it’s a pan or a tilt, or you see the camera moving around an object in the scene, that’s done with a slider or a pan-and-tilt head.”
It should be noted that Shainblum doesn’t carry a laptop. All his time-lapses are stored on a memory card (64 to 256GB) as full-size Raw files. Usually a time-lapse can be anywhere from 10 to 40GB on average. Back home, the Raw files are first processed in Lightroom. He may also use LRTimelapse (lrtimelapse.com) as a Lightroom plug-in to further process the time-lapse.
“You can use LRTimelapse to remove flicker and correct white balance over time (during the course of the day),” Shainblum explains. “From there I’ll bring the photos into Adobe After Effects. That’s where I create the actual video file, if I need to do any effects or stabilization, or just to clean up the scene. Then I’ll save that as a video file. The next step is to export that video file to Adobe Premiere, where I compose the video for the project, which includes adding a soundtrack, credits, cutting things together.”
One app that Shainblum uses to help keep tabs on the ephemeral nature of the universe is PhotoPills (photopills.com—for iOS or Android). This helps him plan his night sky and Milky Way shots anywhere in the world.

What’s in Shainblum’s Gear Bag
• Cameras: Sony A7S, Sony A7R II, and Canon EOS 6D
• Lenses: Canon EF 17-40mm f/4L, Canon EF 24-105mm f/4L, Canon EF 70-200mm f/4L, and Nikkor 14-24mm f/2.8
• Time-Lapse/Misc. Gear: eMotimo Spectrum pan-and-tilt head, Dynamic Perception Stage One slider, and Induro 204 and 104 carbon-fiber tripods
• Drones: DJI Mavic and Phantom 4 Pro
Shainblum’s Favorite Gear
“I wouldn’t say I have a favorite piece of gear,” Shainblum says. “They are all just tools that help me to express myself. So, whether I am using a Canon DSLR, a Sony mirrorless, a drone, a RED Cinema Camera, or just a regular cell phone camera, it is all the same to me (depending, of course, on the project). To me it’s about the experience of creating art and having fun.”

Closing Comments
What I realized, and learned from speaking with him, is that Shainblum doesn’t simply shoot landscapes, he doesn’t visit a place for a few minutes only to move on after capturing a few frames, he doesn’t give up. Whether still, panorama, or time-lapse video, Shainblum’s images are moving tributes to the scenes he shoots.
Shainblum, who operates out of San Francisco, California, advises burgeoning photographers to think outside the box when it comes to shooting landscapes. What’s more, he cautions them against taking a defeatist attitude when conditions are not optimum.
There’s always something out there for you to photograph, he points out, in any light, in practically any circumstances, especially if you’ve taken the time to first scout the area.
To learn about Michael Shainblum’s video tutorials and workshops, and to see more of his work, visit shainblumphoto.com. And be sure to visit his Instagram page: @shainblumphotography.
Jack Neubart (jackneubart.com, Instagram: @pixelperfexion) has authored numerous books and articles on photography over the years.


![]()
Get the Latest Photo Tips, News & Reviews from Shutterbug!
| Camera Reviews Other Reviews | Mobile Reviews Photography Reviews Columns | News | Features | How-To | Resources |
 © 2025 Shutterbug
AVTech Media Americas Inc., USA
All rights reserved