SilverFast Ai Studio 8 Scanner Software Review

Digital Ice and similar dust and scratch cleanup tools for scanning color negative and non-Kodachrome slides was a boon for those looking to archive/digitize their film files. This software/hardware solution worked with numerous scanners by isolating the offending dust and scratches on a separate infrared channel that it then dumped when the final scan was made.
The only problem was that because of the distinct nature of their emulsions, black-and-white negatives and specifically Kodachrome slides could not benefit from this procedure. This made cleanup of these images a particularly laborious task that required patience, skill and select image editing programs.
That’s all changed with a new breakthrough in scanning technology from LaserSoft Imaging called SRDx, which can work with scanners without the need for installed IR-channel capability. SRDx, which comes in SilverFast’s Ai Studio 8 scanner software, is a dust and scratch removal clean-up tool for black-and-white negatives and Kodachrome.

This new feature pays double dividends: photographers can now do a preview scan and work to clean up Kodachrome and black-and-white images prior to final scanning and also make use of a wider range of scanners to accomplish the task.
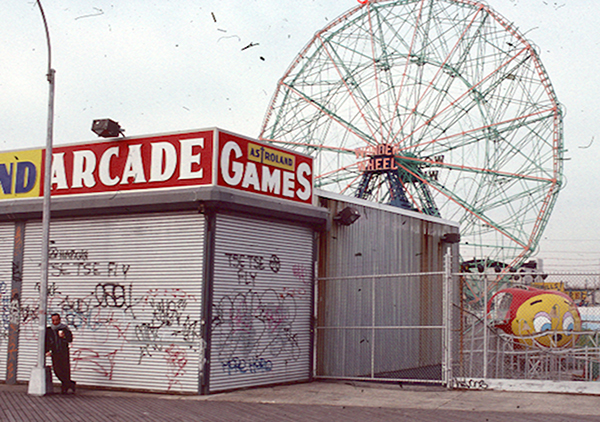
First, some background. LaserSoft Imaging is a software company that makes various scanning software packages, from simple to pro, for a very wide variety of scanners. Of note is that owners of no-longer manufactured (and no longer supported by the manufacturers) scanners, such as those from Nikon and Minolta, still have the opportunity to use this latest advance in scanning with their units. (You can check the list on their website.)
The company is rigorous in their updates and is always developing new tools for making quality scans from any format the scanner can handle.

The Software
When I first got word of this new SRDx feature in SilverFast Ai Studio 8 I was eager to try it out. For many years, much of my work was on a variety of black-and-white negative films and while I was fairly diligent about proper archival materials for storage there were some inevitable mars and blemishes on older images. The same went for Kodachromes, my main choice for color transparencies.
I had previous experience with SilverFast so knew the basic workflow. (Type SilverFast into the Search box at the top of Shutterbug.com and you’ll find numerous reviews by myself and David Brooks. David’s reviews were classics on both the product review and overall scanning tutorial side.)
I contacted LaserSoft Imaging and downloaded the new software. For this review I worked with Plustek’s OpticFilm 8200i scanner for 35mm film size. (You can find our previous coverage of this scanner here.)
I have a few golden rules for scanning. For starters, do not get too interpretive, that is, give yourself room to play and scan for as full a range of color and tone as possible. Secondly, do not be lazy about making corrections that you assume you can correct later. The latter is paramount because a film scan, while digital files result, does not have the leeway that a digital camera file provides: you are in essence “locking in” certain parameters when scanning.
Workflow
Overall, SilverFast scan software works on a quite logical basis, with tools that follow the workflow from left to right and top to bottom. At first, the software can be daunting, but the company has numerous videos and tutorials available on their site, as well as a training offering.
The overall scan procedure is not within the purview of this article, but simply stated you set the film type, desired resolution (which will depend on your scanner capabilities), set up contrast, brightness, saturation for color and tonal relationship for black-and-whites etc. using the various and sophisticated tools provided.
All this is interactive with quick previews that show you the result of your processing decisions. Note that there are numerous and plentiful film profiles installed that help you get on your way.
The Test
Once the preview scan was made and initial corrections and settings were accomplished I clicked on the SRDx button on the vertical toolbar. This opened the SRDx dialog box.
I then clicked on the 1:1 button to get an Exact Preview, which opened the Navigator that allowed me to move around the image to check for blemishes. (Note: You can toggle back and forth between full frame and Exact Preview using the Zoom button on the vertical tool bar or within the dialog box itself.)

I then chose “Mark” mode to see where the software detected (and would correct) the problem dust and scratches in the image. This is where the important Tile Size and Detection sliders come into play.
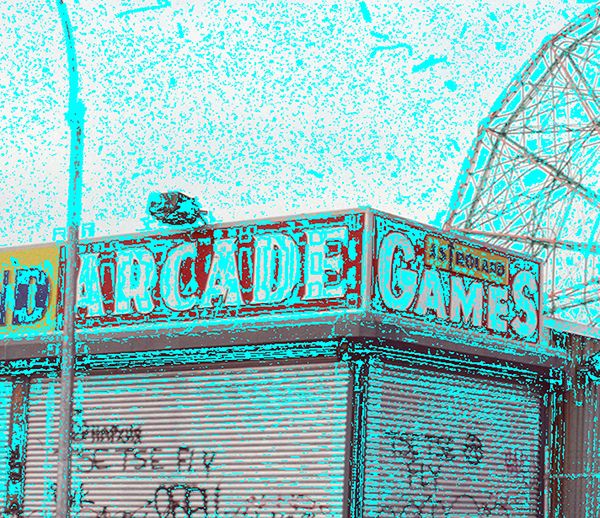

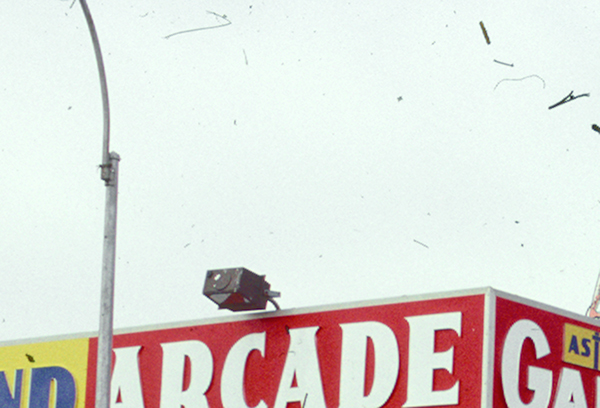
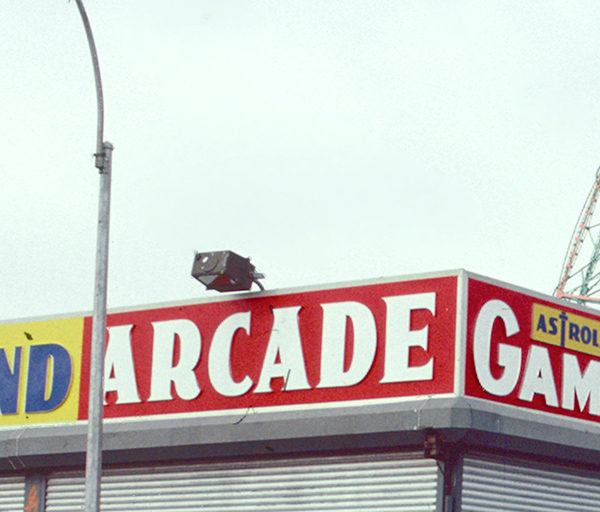
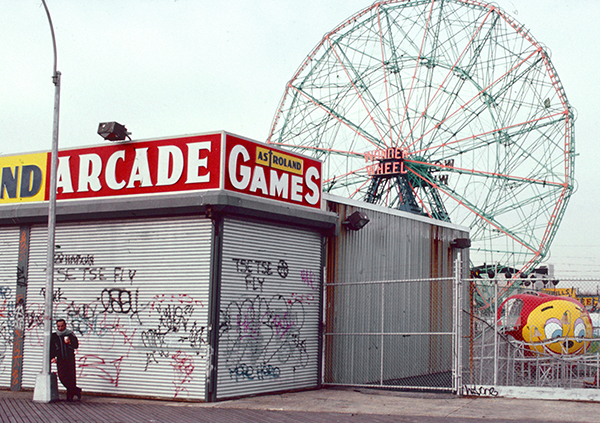
If you use maximum strength by moving the sliders to the far right the software will “overdo” it and start to see actual image details as anomalies. As seen on the illustration, there is detection and potential correction taking place over too wide an area—this would alter areas where correction is not required or wanted.
The key is to balance the Tile Size and Detection sliders to in essence fine tune the correction intensity. Move the Mode to Correct to see the changes in effect until you get a good balance; I dropped the Detection to “4” and the Tile Size to “3” from my initial and overdone settings.
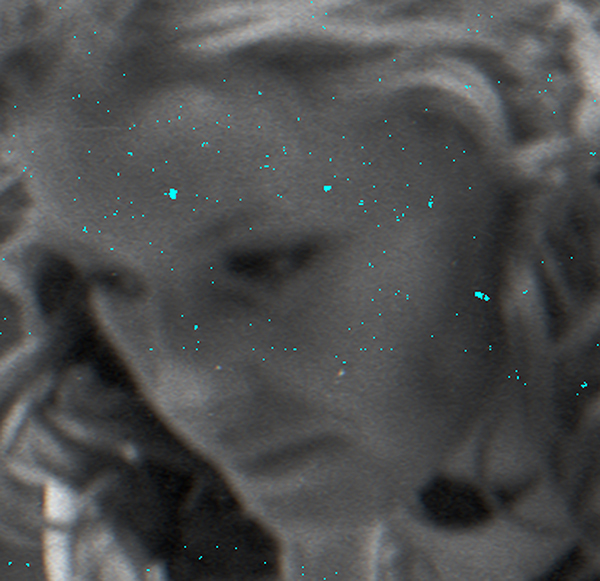
This is where the advanced tools come into play. Click on the “graduation cap” in the lower portion of the dialog box to open the Expert settings. You will see a Marker and Eraser tool. Click on the Marker tool on the left and Mark in the mode, then paint over the areas that you want to correct, mainly fine lines within the image details.
There is also a set of masking tools that allow you to choose a larger area, such as sky, without the need to paint, but these are a bit pokey in application and I found it was much easier to use the Marker and Eraser. The Marker tool is useful for attacking particularly nasty blemishes and you can increase the intensity when using it if need be.
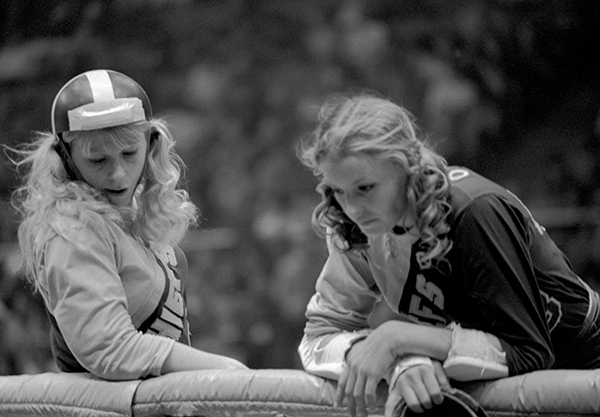
As you work, toggle back and forth between the Mark and Correct modes to see the progress you are making. You can also leave the mode at Correct, which will show the remaining artifacts, and paint over in that mode as well, but I was always tempted to go back and forth anyway. (There’s also an “original” mode that shows you the image prior to your work. This is a good “inspection” tool.)
If you ever want to step back to see what you have done previously, click on the History tool in the top horizontal tool bar to see the “states” as you’ve worked them, but be aware (and patient) that going from state to state gets you the whirling pinwheel.
Conclusion
SilverFast Ai Studio 8 is a very sophisticated tool for making top quality scans from your film archives. That said, it also takes some study time to make full use of its potential. What makes the new SRDx tool so attractive is that it brings a very effective method of cleanup to those who do not have scanners with Digital Ice or its equivalent (many of which require a hardware/software combination) and especially for black-and-whites and Kodachromes, which Digital Ice cannot handle. In using the software, I found the fine tuning impressive. It eliminates the flaws that auto-correct (thus overdone) cleanup protocols often render. Another bonus is that the tool also works with print scans, which I believe will be a boon for retouchers as well as those who want to delve into the family archives.
They key is balance and restraint and getting familiar with the controls in the SRDx dialog box. This is an interactive tool in that you can easily see just what each setting and stroke will deliver. There is some pokiness when using masks and delving into History (in fairness it’s a lot of processing and will not freeze up so if you use them be patient), and has a few gotchas that can be overcome with experience and relying on the training tools, but so it goes with any advanced software. A built-in clone tool is slated to be added and should be available by the time you read this or will come as a software update soon thereafter.
Keep in mind that there are numerous and extensive tools in Ai Studio 8 that I did not mention, making it one of the most sophisticated ways to make quality scans from your images. SRDx is a welcome addition that will help you make the cleanup task so much easier with controls and options that finally bring black-and-white and Kodachrome images (and all your color negatives and other types of chromes) into the cleanup circle.
Price: Starting at $279 (price is dependent on version and your scanner model)
More info: www.silverfast.com
