Selective Color Adjustments: Nik Software’s Viveza 2

There are times when a global adjustment to color, whether it’s a saturation change or a modification to the hue of the image, isn’t appropriate. You may just need to boost the color in the sky or make a small change in the color of some other element in the photo. While you can do this type of adjustment with Photoshop through the use of adjustment layers and masking, that can be quite a bit of work and obviously it requires Photoshop, or something similar, and not everyone is willing to invest in or learn another piece of software.
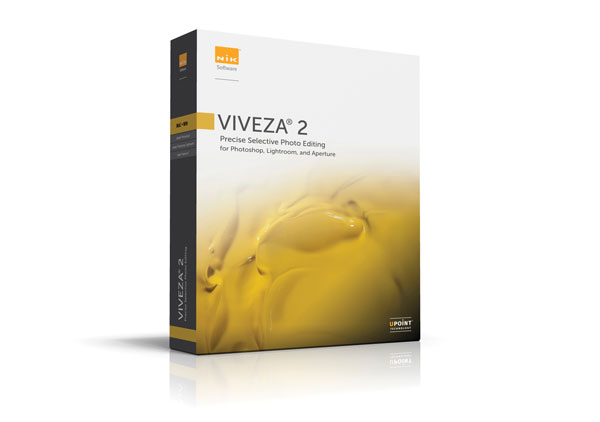
With a program like Nik Software’s Viveza 2 (www.niksoftware.com, $99.95) that runs either standalone or as a plug-in from within Adobe’s Photoshop, Lightroom or Apple’s Aperture, you can easily make these types of adjustments without the learning curve normally associated with selective adjustments.
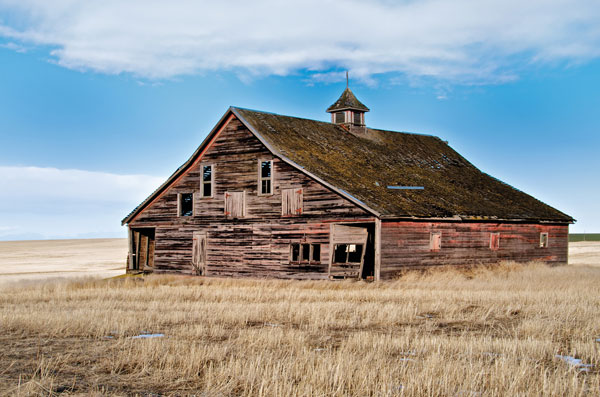
In this image of a barn in Eastern Washington [1], the overall saturation of the sky and the barn is low, and the contrast is a bit flat as well. Thanks to the Control Points used by Viveza [2], I can easily correct these specific areas without having to make complicated masks or layers.
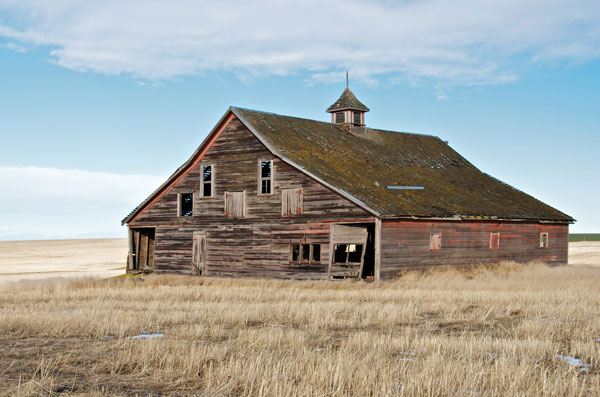
All Photos © Jon Canfield
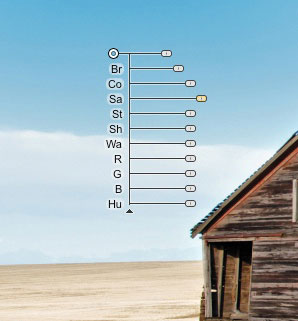
To begin, I’ll place a Control Point on the sky, and adjust the brightness to -32 percent, saturation to +9 percent and increase blue by 26 percent [3]. One of the nice features of Viveza 2 is the ability to duplicate these Control Points to make a consistent change across my image. By holding down the Option key on a Mac (Alt key on Windows) and dragging the Control Point, I can create another Control Point with the same settings.
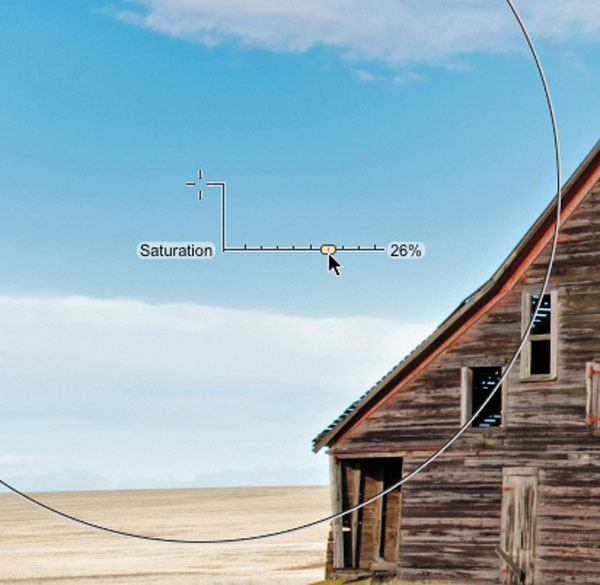
Once I’ve made my Control Points and positioned them, I select and group them together. This way, I can make changes to any one Control Point and all the points in that group are adjusted the same amount.
I also want to adjust the clouds to make them stand out a little more, so I place Control Points here with a brightness adjustment of +9 percent.
For the barn, I adjust the brightness by +3 percent; contrast by +93 percent and a full 100 percent increase to structure to enhance the details in the wood. Finally, I warmed up the wood a little with a 7 percent increase in warmth and a 9 percent increase in red.
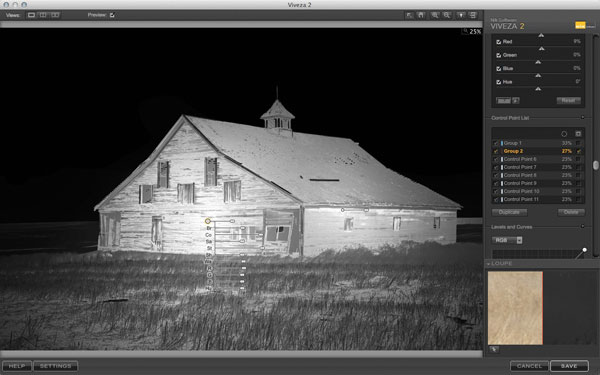
With all of my Control Points added, the image looks pretty good [4]. Viveza 2 only shows the controls for the currently selected Control Point to avoid cluttering the display. But, there is a great feature that lets you see just what your adjustments are affecting. With this option, you essentially have a negative view of your photo. In image [5] I have just the adjustments used on the barn showing. This helps me verify that my adjustments aren’t having a negative impact on the surrounding areas.
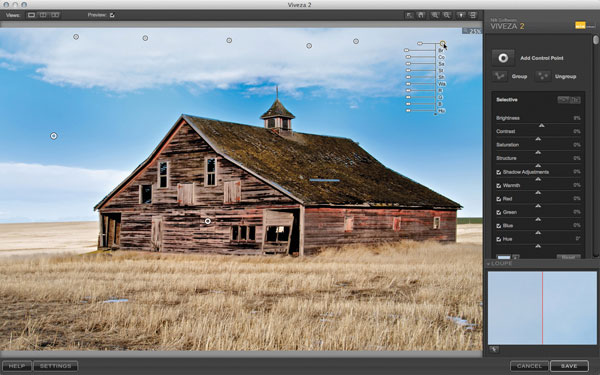
The final image [6] shows better color and contrast, as well as improved detail. And, it was done in a fraction of the time it would have taken me in Photoshop if I had used adjustment layers and masking.
- Log in or register to post comments


