- REVIEWS
Camera Reviews 
More Reviews Mobile Reviews Photography Reviews - GALLERIES
- VIDEOS
- BUYER'S GUIDES
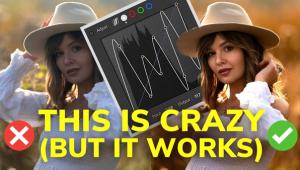
The "Incredible" Lightroom Technique This Pro "Can't Stop Using" (VIDEO)
It's been a long time since we've posted a tutorial from notable photographer Peter McKinnon, so this is your lucky day. That's because he's a very popular instructor known for lessons with a unique twist.
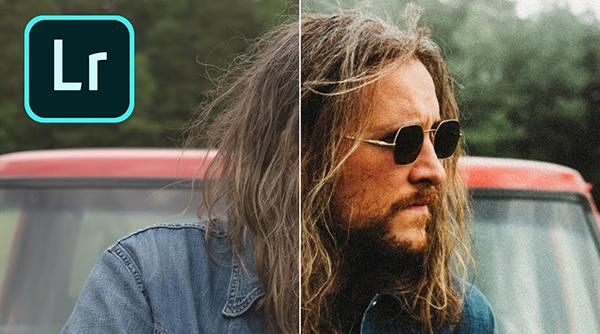
The quick video below is no different, as McKinnon reveals "an incredible Lightroom Technique that I can't stop using." If you're familiar with this exuberant instructor, you know he's become a big devotee of shooting with film. No worries if you don't own a film camera, because this episode is all about giving your digital images a vintage 35mm look with a straightforward edit in Lightroom.
McKinnon notes that the look of vintage 35mm film photos is very popular today, as evidenced by the fact that some modern cameras offer a variety of film simulations—both color and b&w. After his brief introduction, McKinnon demonstrate how to get the job done in barely two minutes.
As you'll see, there's more to this technique than simply adding a bunch of grain (the opposite of what most of us do when editing images for a conventional purposes). Besides increasing grain by as much as 50%, McKinnon provides a few other tricks for creating a vintage look with appropriate contrast and "feel."
His method also involves significantly reducing contrast, "absolutely no Clarity at all," and modifications to color depending upon the subject at hand. With regard to grain, he says it's important to boost the amount, and adjust size and roughness as well. Whether an image is shot using a digital camera or his iPhone, McKinnon says his motto is "grain for days."
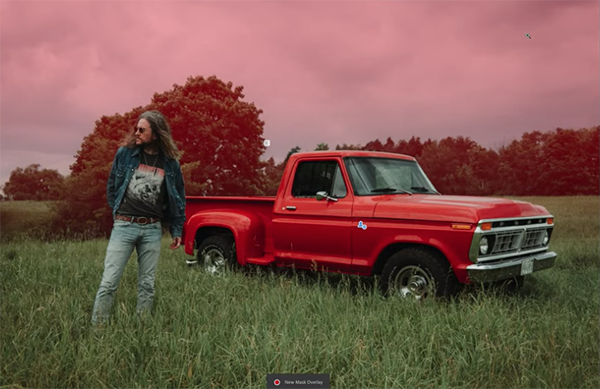
When editing images to mimic a 35mm effect, McKinnon also strives to add a "washed out nature" that's common to vintage photos. He demonstrates how to do this with a Linear mask. When using this masking technique, it's important choose the Subtract Subject option. This way mask is placed behind the model in the demonstration photo (who happens to be McKinnon himself).
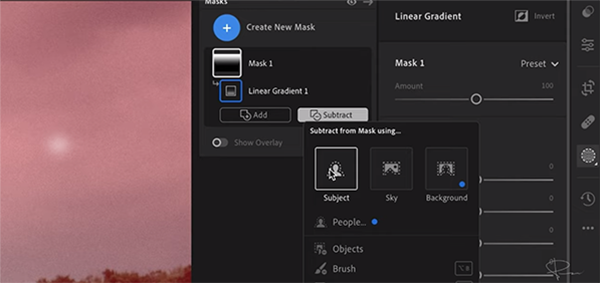
This setting isn't only for people, because you can also select Subtract Object (like the truck in his photo). In either case, your edits won't affect the model or the truck once the mask is in place. That's because McKinnon's goal here is simply to add a bit of haze to the background. His Dehaze setting for this image is -35%.
McKinnon has a few more quick tricks to complete the transformation, so be sure to watch until the end. Then head over to his YouTube channel for more interesting tips and tricks.
We also encourage you to watch a tutorial we posted recently, explaining how to use what another pro calls "the top three new features" in the latest Lightroom update."


![]()
Get the Latest Photo Tips, News & Reviews from Shutterbug!
| Camera Reviews Other Reviews | Mobile Reviews Photography Reviews Columns | News | Features | How-To | Resources |
 © 2025 Shutterbug
AVTech Media Americas Inc., USA
All rights reserved