- REVIEWS
Camera Reviews 
More Reviews Mobile Reviews Photography Reviews - GALLERIES
- VIDEOS
- BUYER'S GUIDES
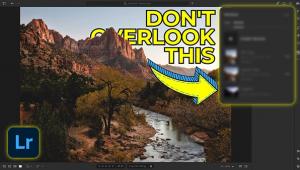
Use Intentional Overexposure for Dramatic Photos Like This (VIDEO)
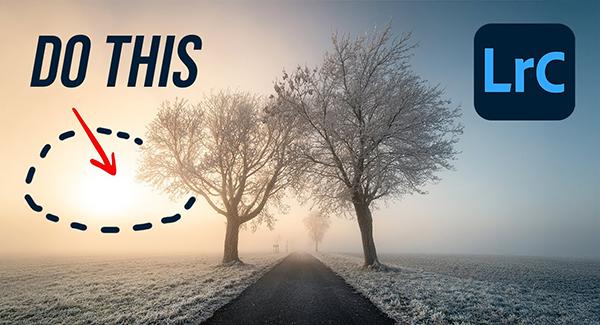
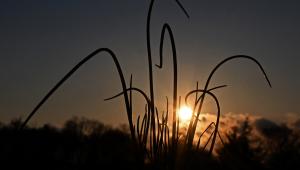
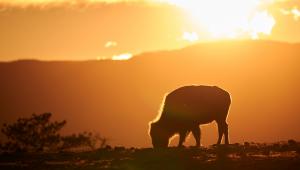
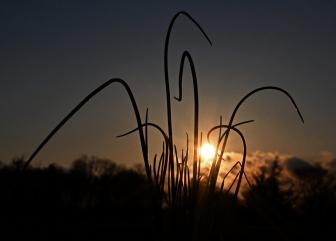
We frequently share expert advice for getting the light right to make images with perfectly balanced tones from light to dark and everything in between. This tutorial from the PHLOG Photography YouTube channel demonstrates an unconventional approach for creating stunning landscape images like the one you see above.
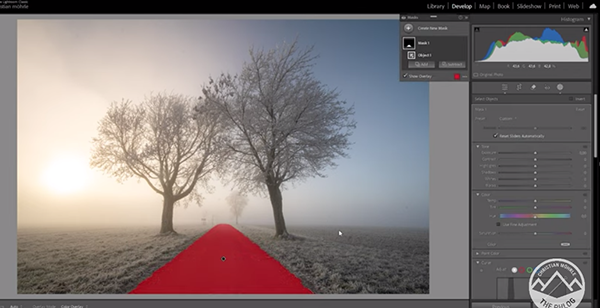
The concept involves using masks to selectively overexpose specific portions in the frame, while leaving other areas untouched—a straightforward technique for transforming ho-hum mages into those that really grab attention.
Instructor Christian Mohrle begins with a drab, unimpressive, minimalist shot, and we encourage you to follow along in real time by downloading his sample Raw file with a link in the description beneath the 12-minute video. It's all about using Lightroom to introduce an eye-catching light effect with a realistic look that stands out from the crowd.

Mohrle explains the interesting process like this: "Usually for scenes like this I'd begin by merging an HDR to maximize all the details in both highlights and shadows. In this case, however, I want to keep clipping the highlights on purpose to introduce dramatic light entering the frame behind the subject."
The good news is there's sufficient information in the shadows to restore detail in all of those areas. Mohrle always kicks of his workflow with a few global adjustments that provide him with a solid base image from which to work. For this shot he increases exposure, opens the shadows to reveal a bit more detail in the trees, and drops the blacks for the heightened contrast he desires.
Other preliminary enhancements include using Lightroom's Highlights slider to precisely refine the amount of clipping for a softer transition, increasing Texture, and gently dropping Clarity and Dehaze to accentuate the atmospheric look with an appealing glow in the upper left of the frame. He also increases Vibrance and Saturation, and modifies White Balance by boosting color temperature to introduce significantly warmer tones.
Today's magic begins once Mohrle's base image is complete and he now turns to local enhancements with masks, thoughtful color grading, and very careful sharpening. He then demonstrates how to remove a few distracting sensor spots that compromise image quality. We trust that you'll be duly impressed once you evaluate his before/after examples.
The PHLOG Photography YouTube channel is full of instructional shooting and post-processing videos of interest to everyone who shoots in the field.
And be sure to watch our timely video that demonstrates eight simple tips that anyone can use to capture perfectly exposed photographs when bright snow covers the landscape.
- Log in or register to post comments


![]()
Get the Latest Photo Tips, News & Reviews from Shutterbug!
| Camera Reviews Other Reviews | Mobile Reviews Photography Reviews Columns | News | Features | How-To | Resources |
 © 2025 Shutterbug
AVTech Media Americas Inc., USA
All rights reserved