onOne Perfect Layers: Composites, Fill, And More
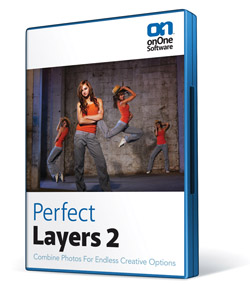
Operating as a plug-in for Lightroom, Aperture, or as a stand-alone workspace, Perfect Layers from onOne Software distills down and codifies the often-complex task of working in Layers to a fairly simple task, offering various Blend modes, composite shortcuts and tools that might otherwise pose a steep learning curve. You can use numerous source files, including Raw, TIFF, and JPEG formats, and scale and move the various layers as required. In short, Perfect Layers poses an effective tool for those who have wanted to work in Layers out of Aperture and Lightroom and opens up new doors to image creation.
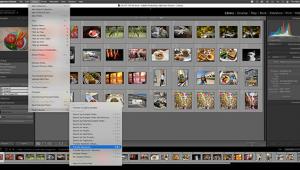
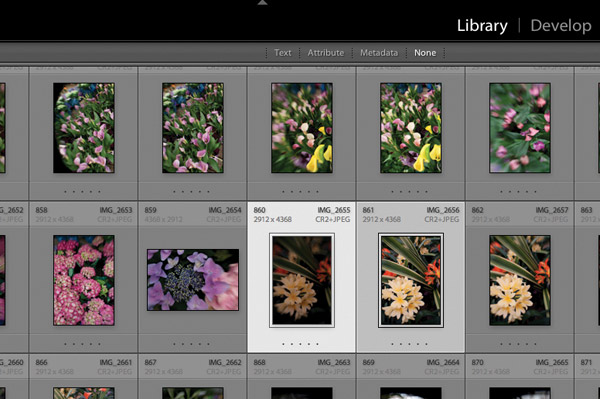
The onOne workspace contains toolbars on the left and modifications and working options on the right, #1. Once you have selected an image or images from an organizer such as the Library in Lightroom, they load as separate Layers in the center screen. You choose the images to be used by selecting them from the Library or Browser, then going to File>Plug-In Extras>Perfect Layers. Here’s the selection process shown in Lightroom 3, #2.
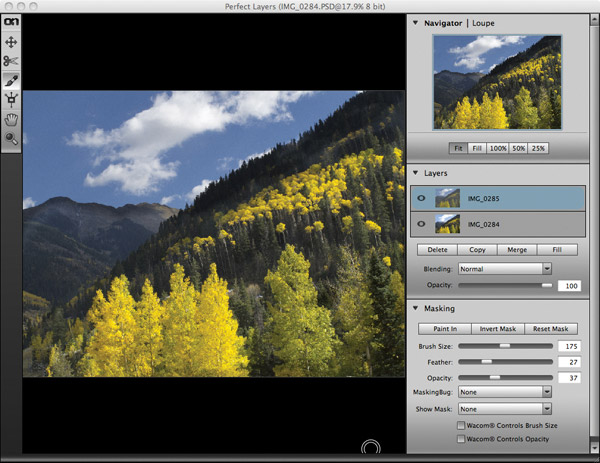
Take a look at the workspace shown in #1. On the left you’ll find the tools. Starting from the top you have a cross, which is the Transform tool that lets you crop, size, and move one or both layers. A pair of scissors indicates the Trim tool, for cropping should you need it and for making crops if you lay a vertical onto a horizontal image. Next is the Brush tool for painting in and out and erasing areas of an image on one or both layers. The Masking Bug comes next, which is like a selection tool that combines with an intensity and range tool. The Move tool and Zoom tool follows. As we go through some setups you’ll see how each one is used.
On the right are panels that allow you to place the image on the workspace, including various percentages of size, including 100 percent for fine detail work. You then see the Layers you have loaded, followed by a panel that allows you to copy, delete, and merge the layers, as well as add a Fill layer, like the Color Fill layer in Photoshop.
Also as in Photoshop you have various Blending modes, which can be used as presets for blending the Layers or as foundation builders for further work on the image. These are more limited than in Photoshop but I think distill down to the ones most used by photographers, including Multiply, Screen, Overlay, Soft Light, etc. The best way to see their effects is to try them, as the program instantly responds with the look they produce. Finally in that panel is the Opacity slider, which can be used as a working guide as you apply the effects with the tools or simply as a way to bring one layer into play with the other or others.
The Masking panel is where the fine work is done where you can selectively paint in, paint out, or erase areas within the various layers. You can modify the brush or whatever tools you are using by size, feathering (blend on the edges of the brush), and opacity. My advice is to use a fairly low opacity and build to the look you desire. Finally, there is the Masking Bug modifier, which allows you to work in shapes using this tool.
At first this array of options might seem daunting, and admittedly it takes a few hours of practice to get a feel for what each tool and modifier does. You can work with a mouse but my preference for this work is a tablet, and for this report I used the new Bamboo Capture from Wacom tablet, which I consider an essential accessory for this kind of work.
The best way to show you what you can do with this ingenious software is to work through a few examples. If you want to try it out there’s a 30-day free trial available at www.ononesoftware.com and the site has plenty of fun and helpful lessons and tutorials.
HDR
While there are plenty of good HDR programs available, one of the earliest and still effective ways of getting a wide range of values into an otherwise high contrast image was to shoot two different exposures of the same image (one for highlight and one for shadow detail) and then combine them later in Layers, and then paint away the overlapping areas to bring the most out of each exposure. You can make these exposures in the field or simply make a light and dark version of the same shot in Lightroom or Aperture and then load them atop one another and paint away.
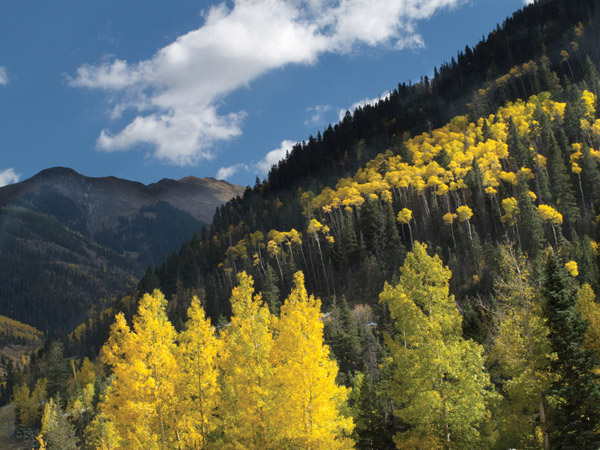
In these exposures made in Taos Ski Valley, at about 10k altitude, the light is very bright, #3 and #4. I made two exposures, one for the sky and one for the bright foliage. The cloud in the ground exposure is quite overexposed and would not be sufficiently fixed in an edited version, so combining the two exposures is the best bet. This is a simple matter in Perfect Layers.
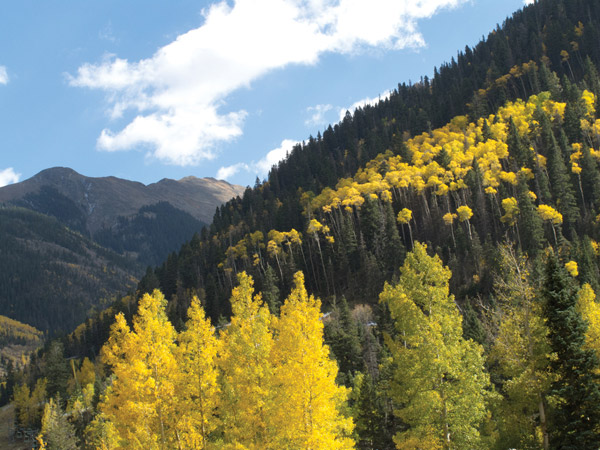

I selected the two images in Lightroom and then opened Perfect Layers using the File>Plug-In Extras to have Perfect Layers export them into its workspace. Choosing the Brush tool I used Paint In and Paint Out at 100 percent opacity to carve away and combine the two images. I varied the brush size to make fine adjustments near the edges, being careful to have considerable feathering at the borders of the two images. If you need guidance you can choose a masking indicator in various ways with the Show Mask button. The result is an image that combines the best of both exposures, #5. Simple.
Composites
The technique for creating composites is equally easy, though you have to be a bit more careful in your borders and edges in the images. There are many who will find the tools here tempting to create all sorts of combined images, using many elements, but I tend to be a bit more conservative in their use and image creation.
The technique for gathering images remains as above. You select the images in Lightroom or Aperture and then go to File>Plug-In Extras and select Perfect Layers. You can slide the Opacity slider in the Layers palette to see where and how they merge. From there you paint in or out or erase to combine the images. You can work with a 100 percent view to enlarge areas and then move them around with the Hand tool as you stroke. I find it best to go back and forth with Paint In and Paint Out to refine the edges in this view.
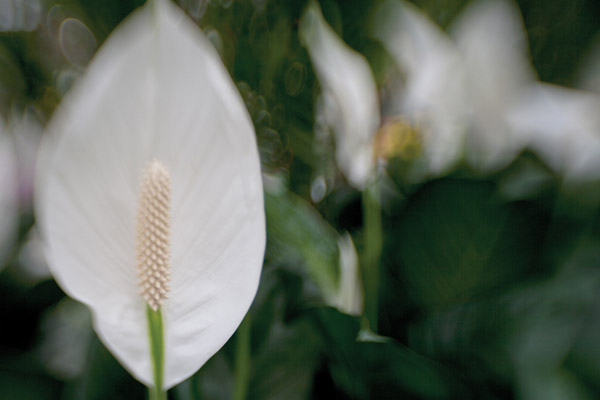
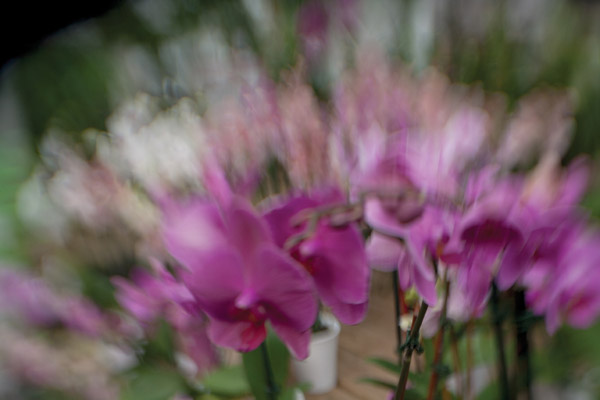
Images 6 and 7 show two images made in a greenhouse with a Lensbaby Composer on a Canon EOS 5D. I worked right from the Raw files in the Lightroom Library. Layering one on top of the other I used the Paint Out brush to make this composite, a process made simpler by being able to vary the opacity of the Layers, #8.

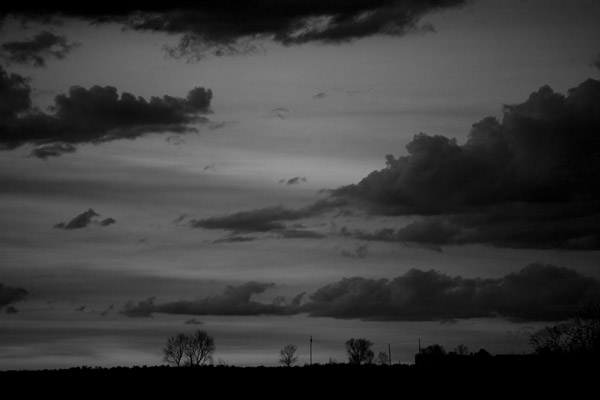
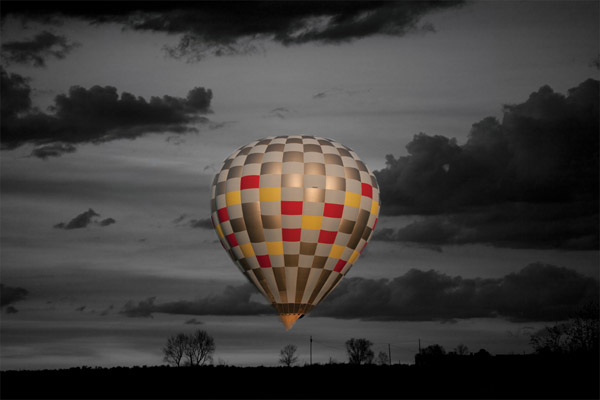
Feeling a bit more adventurous, I chose to combine this balloon shot at sunrise, #9, with a dark background, #10. As the borders here were a bit more definitive I needed to enlarge the image to get the edges right, which I did by using the 100 percent view on the workspace, #11.


The final shot was a bit unlikely in terms of light so I opened the composite in Lightroom and added about 15 percent exposure, #12.
And finally, I used a beautiful cloudscape combined with some statues from a cathedral to see how I could refine edges in a complex combination. Not perfect, but I felt I was getting better as I worked, something that you’ll find with the more experience you gain, #13.

You can also combine vertical and horizontal images, if need be, #14. The loaded layered file will show you the areas where one side goes beyond the borders and you can also scale and move the individual Layers for a good fit, then crop when done, all within the Perfect Layers workspace, #15.

One feature that works as a kind of selection tool is the Masking Bug. This allows you to specifically define an area for changes. You can select a shape for the Bug (vertical or horizontal) and then use it to add a Layer or more specifically define an area within a set of Layers for masking out. While it takes some practice to move the Bug around, as it can be a bit skittish, it opens up a way of making changes that would otherwise require some paint in/paint out finesse.
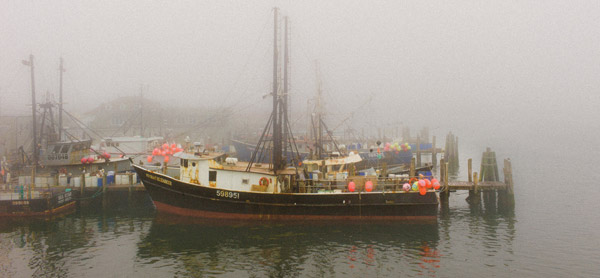
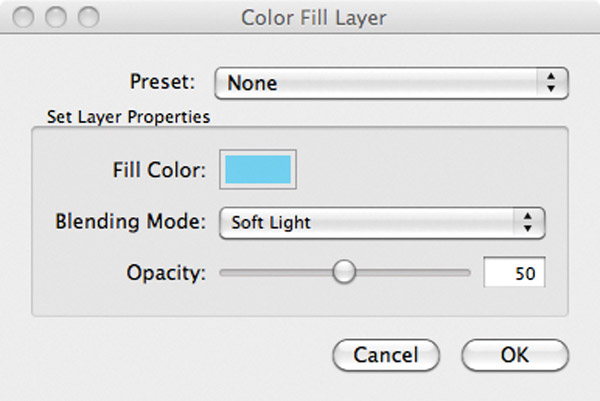
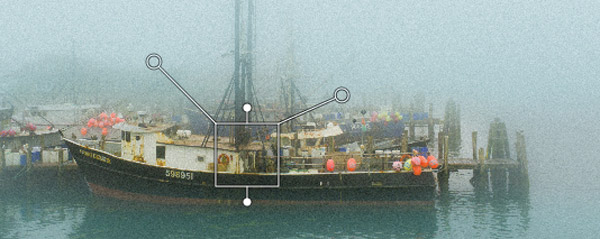
In this photo of a foggy Port Judith, Rhode Island, #16, I wanted to add some color mood to the scene. I opened the shot and used the program’s Fill layer function to add a blue cast to the entire scene. You can choose select colors or work with various presets for effects and even add a Blending mode, #17. I then used the Bug to select a horizontal mask. I used the “arms” of the Bug, #18, to control opacity and intensity of the Fill layer so that the color mask did not dominate the scene, #19.

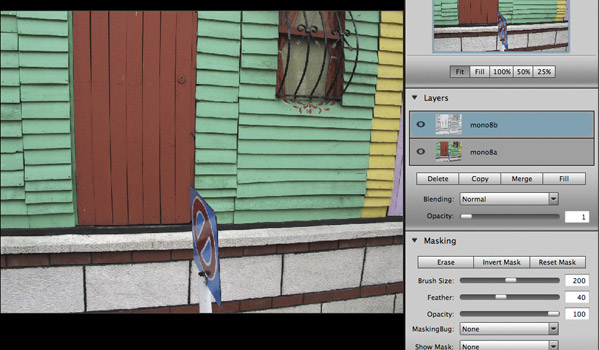
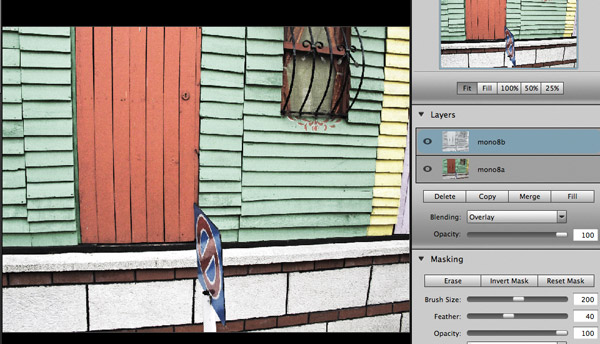
Finally, to give some idea of how flexible the program is, here are some variations done quickly of a wall in Istanbul. I made a monochrome version first and then layered it with the original and used the Masking Bug, Paint In/Paint Out tools, and Blending modes to create a set of images, #20, #21, and #22.

In the end, programs like Perfect Layers are all about creative options. In this review, my aim is to just give you a brief hint as to the many ways you can approach an image using the software. Each will find his or her way to do this, and some tools will become favorites. Layers are powerful in the way they allow you to alter an image to get just the right effect for every subject and scene.
Perfect Layers 2 is available as a free upgrade to owners of Perfect Layers 1. The software sells for $69.95 and includes Aperture 2 or 3 and Lightroom 2 or 3 plug-ins and a stand-alone version and is Windows and Mac compatible. For Mac, you’ll need OS X 10.6 and 10.7 and for Windows, XP, Vista, or 7. Perfect Layers 2 is also available as part of Perfect Photo Suite 6 for $299.95. If you own Perfect Photo Suite 5.5, you will be able to purchase the upgrade to Perfect Layers 2 for $39.95. A 30-day free trial is available at: www.ononesoftware.com.
- Log in or register to post comments
