Neutral Density And Color Blends; An Excerpt From The Creative Digital Darkroom Page 2
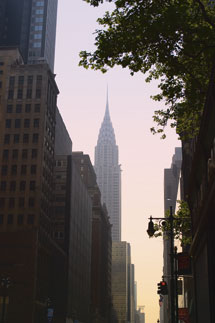
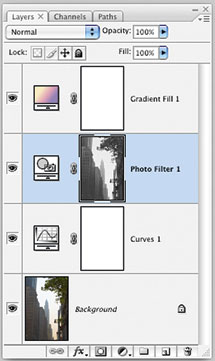
In the Layers palette, click the layer beneath the gradient, and add a Photo Filter adjustment layer with the standard orange. As you can see in Figures 9 and 9a, the lighter portions of the image are now orange, which is exactly the opposite of the desired effect.
 |
 |
|
|
||
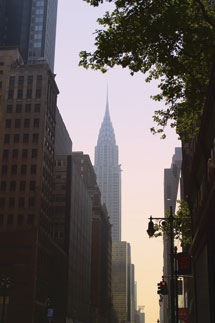
Choose Image>Adjustments>Invert to invert the tones of the layer mask, and then increase the mask contrast with Levels, as seen in Figures 10, 10a, and 10b. This makes the buildings warmer without changing the sky. When you try this technique on your own images you may want to use a Gaussian Blur filter of 2-5 to soften the transitions of the mask. In this example, it’s not needed, but we often use it.
 |
 |
|
 |
||
|
||
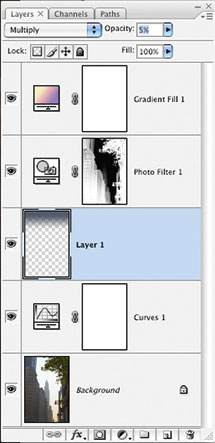
For the final polish, add a slight neutral density effect, which is similar to a filter many photographers carry to reduce and balance the exposure of the sky. One way to create a neutral density effect is to add a new layer and sample an existing dark color in the image. Click the Gradient tool in the tool bar. In the options bar, select Foreground, Transparent, and then draw the gradient from the top of the image half way down the image, as seen in Figures 11 and 11a.
Changing the blending mode to Multiply and reducing the opacity to a mere 5% darkens the sky and brings the viewer’s eye down into the image, as seen in Figures 12 and 12a.
 |
 |
|
|
||
 |
 |
|
|
||
The next time you’re paging through a travel magazine, take a moment to study the full color advertisements. We’re sure you’ll start seeing a lot of color enhancements and color gradients in the landscape and golf course pictures.
Tech Note
When experimenting with gradients by changing blending modes and types of gradients, it is very important to double-check the Gradient tool settings in the options bar the next time you launch Photoshop. We dare not say how often a gradient didn’t work as expected when we sheepishly realized that we were trying to use a Foreground to Transparent gradient set to Multiply with a white foreground color. Stymied: This is impossible as white never has any effect with Multiply.
This excerpt was taken from “The Creative Digital Darkroom” by Katrin Eismann and Seán Duggan (ISBN: 978-0-596-10047-6), published by O’Reilly Media, Inc. (http://oreilly.com). Filled with over 400 pages of informative text and illustrations, the book serves as both tutorial and inspiration for a wide range of digital image-processing tools and techniques.
- Log in or register to post comments


