- REVIEWS
Camera Reviews 
More Reviews Mobile Reviews Photography Reviews - GALLERIES
- VIDEOS
- BUYER'S GUIDES
Most Exciting New Photoshop Feature: Adjust Colors
If you're using the latest version of Photoshop, you're likely exploring the cool new stuff that was recently added. Which enhancement do you find most exciting? There's no doubt in my mind — it's Adjust Colors.
On April 24, Adobe added a bleep-ton of powerful new features to multiple Adobe Creative Cloud apps, with their Firefly AI engine taking center stage. We published a summary of the upgrades which you can read here: Major Enhancements Coming to Nearly All Adobe Apps.
Adjust Colors
The new Adjust Colors option that appears automatically in the Contextual Task Bar is far and away the most important — to me, anyway.
You may disagree. And I readily admit that there are other ways to perform the exact same operations without this shortcut. That said, Adjust Colors offers advantages, including ease-of-use and speed.
This feature was previewed in Photoshop Beta which, as a Creative Cloud subscriber, you can (and should) download for free and play away. You can run the normal version of PS concurrent with PSB, so no worries there. Go for it and have fun.
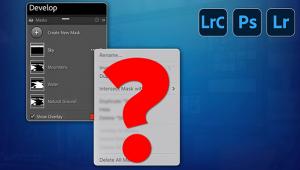
How To Use Adjust Colors
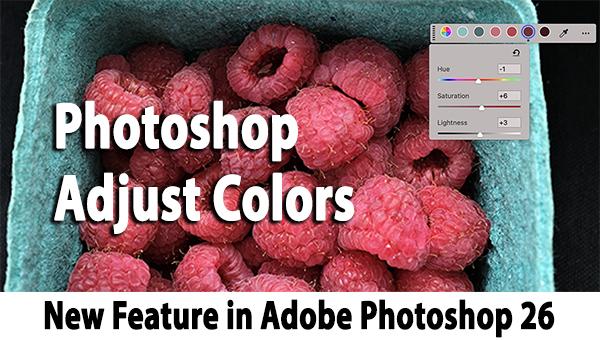
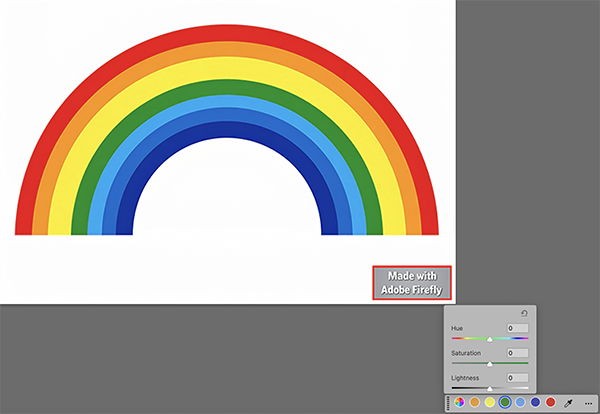
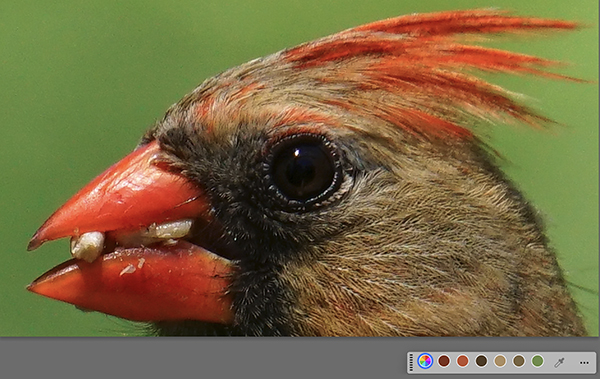
Open any image and the Contextual Task Bar displays a button labeled Adjust Colors. Click it and a new Adjustment Layer is created, and palette of six colors appears. These colors represent the "prominent" colors in the image. This result is normally satisfactory, but you can modify this as explained below.
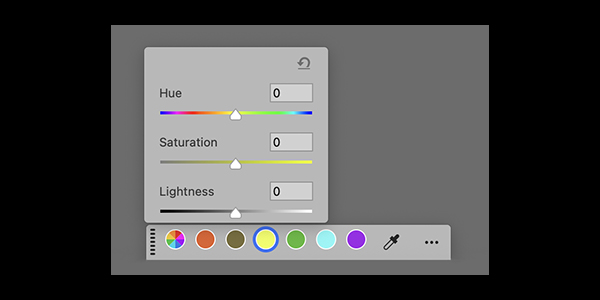
Adjust the sliders for HS and L (Hue, Saturation and Lightness). The changes take place in real time before your eyes.
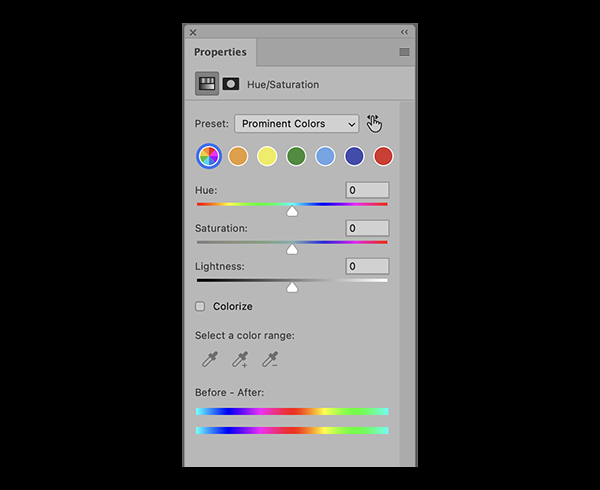
Alternatively you can expand the Properties menu and perform the operation there. This has advantages because it allows you to change the palette itself to represent the primary colors, or other color preset schemes.

Choose a Preset or create a scheme of your own.
Make adjustments to your heart's content. To make global changes, select the first swatch on the palette (it's multi-colored). Of course, you can make global changes via the traditional Image/Adjustments drop-down menu, but the shortcut facilitates tweaking parameters without interrupting the process to open a new menu path. The changes are nondestructive because they are suspended in a new Adjustment Layer. So it they reek, simply delete the layer.
Compare Before / After
To view the before and after versions, unclick and click the eyeball icon the precedes the layer name under the Layers tab in the menu on the right. Diminish the effects by adjusting the Opacity (or Fill) slider on the layer.
Examples
I went through a few thousand images and selected four colorful shots to illustrate my opinion.

My Daughter's Origami
The first image (immediately above) is the original shot using a Fujifilm X100F with fixed 23mm (35mm equivalent) Fujinon lens, f/2 for 1/75 sec and ISO 800. It's okay enough in its own right, but I wanted to lift the pinkish tones. Instead of choosing this hue by opening Select/Color Range from the top drop-down menu (and spending countless minutes fiddling with the Fuzziness slider) I was able to quickly make the edits with just a couple of clicks.
The results are immediately below.

Moving in the opposite direction, I decided to mute selected colors, and conducted my edits in the same way.

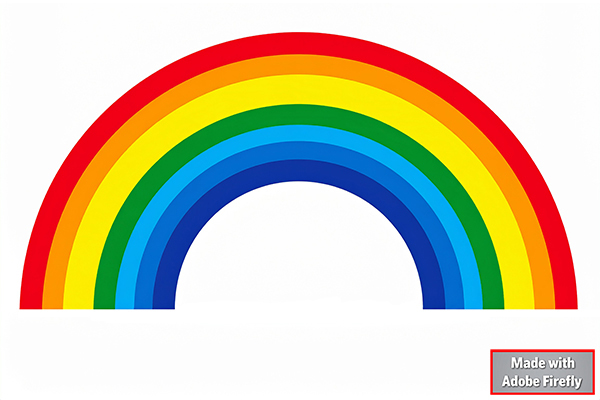
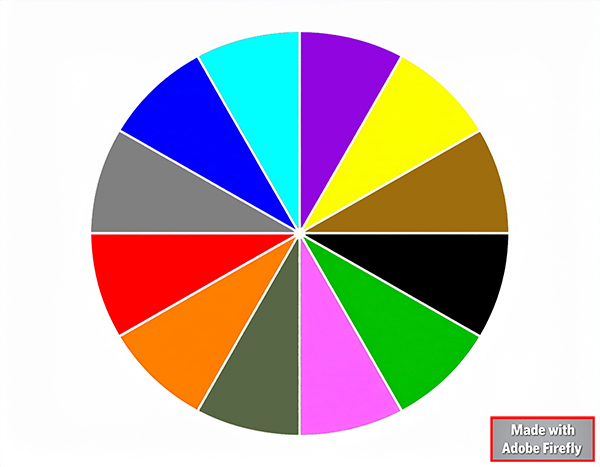
Incidentally, I created a couple of colorful images using Adobe Firefly for you to download and subject to experimentation. They're below my signature at the bottom of this story. These samples may help explain the potential alterations in broad strokes.

Photoshop's Object Selection Tool Now Includes AI People Masking (VIDEO)
Landscape Shooters: The LR Feature You've Wanted is Finally Here! (VIDEO)
Photoshop Phone Home

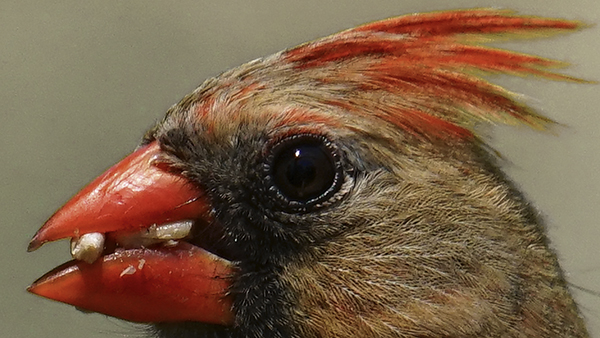
Cardinal Eating Black Oil Sunflower Seeds
This image was captured using a Sony Alpha A7IIR and Tamron 150-500mm f/5.6-6.7 zoom, f/8 for 1/1000 of a sec, ISO 800, handheld. Awesome lens, BTW.
My goal for this edit was twofold. First, I wanted to lower the saturation of his beak and brilliant orange red-crown.
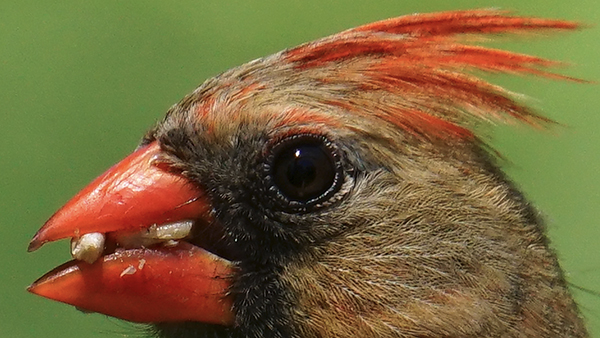
Using the eyedropper tool on the Contextual Task Bar I selected the appropriate color range and made the changes.
Second, I wanted to change the hue of the background to something less gaudy.
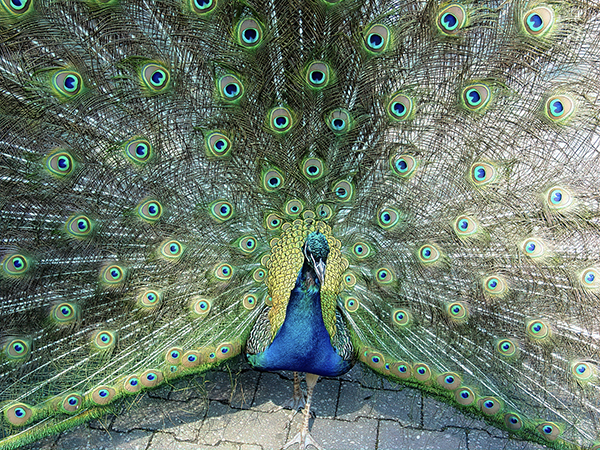
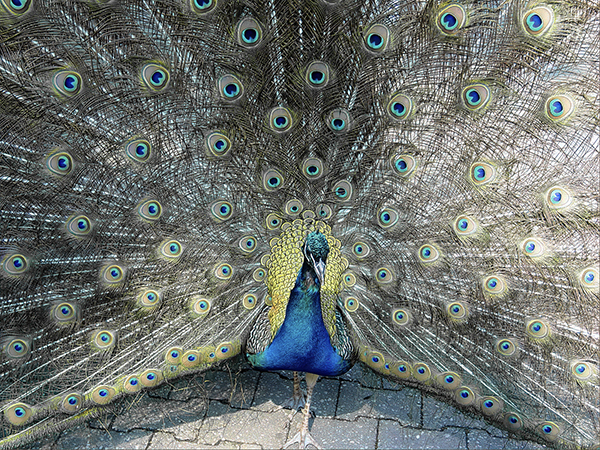
Proud Peacock
Here's a relic. I shot it about 100 years ago with a 4-megapixel Sony CD Mavica, f/2.8 for 1/320 sec at ISO 100. Straightforward edit here. I wanted to remove the cyan cast from the feathers without obliterating it in the peacock feather's eyes.
After edits below.
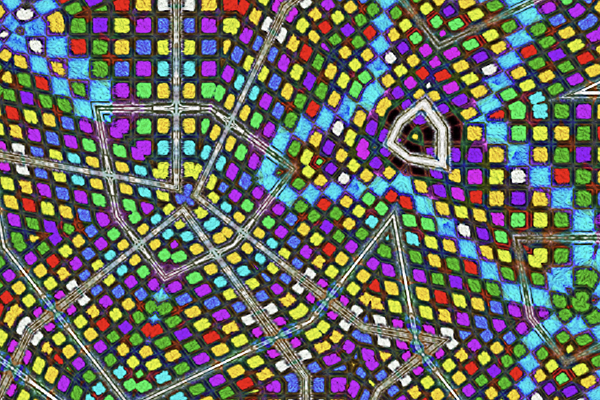
Mosaic of NY City Subway Map
Metadata for this image is not readily available, and I'm far to lazy to look for it. I know it was taken in Manhattan, probably with a Panasonic Lumix GF1, my tool of choice for NYC visits, around 2015 or 2016. The original subject was overall too blue, so I wanted to add some magenta. This was a fast edit.

Conclusion
It's refreshing to witness Artificial Intelligence (or as I call it, Amplified Intelligence) deployed in undeniably useful and responsible ways. In the universe of image editing, Adobe is clearly the champion. The new Adjust Colors task is a prime example.
When I edit images, my aim is to finish in minutes or sometimes hours, never days or weeks. Adjust Colors empowers me to make precise changes faster and more enjoyably.
And in no small way, Adjust Colors encourages me to fine-tune image aspects I might have otherwise not considered. It encourages creativity and makes me a better editor.
Join the Shutterbug Community!
Sign up for an account—it’s easy and FREE. Subscribe to our FREE newsletter (find the sign-up form on our homepage) and bookmark Shutterbug as a Favorite on your browser.
Visit our Gallery section and spend five minutes or less uploading your best shots once a week. You might even become a Shutterbug Photo of the Day photographer!
In the Galleries, you’ll see the incredible work of thousands of photographers from around the world. We encourage you to add your own images to our ever-growing collection. It’s an excellent platform to connect with other photographers and share your knowledge and passion for photography.
(If you're worried that submitting images to the Photo of the Day gallery might be complicated, it's not. Check out these short 1-2-3 directions.)
—Jon Sienkiewicz
Find more articles written by Jon Sienkiewicz
There are about 550 to choose from.
- Log in or register to post comments


![]()
Get the Latest Photo Tips, News & Reviews from Shutterbug!
| Camera Reviews Other Reviews | Mobile Reviews Photography Reviews Columns | News | Features | How-To | Resources |
 © 2025 Shutterbug
AVTech Media Americas Inc., USA
All rights reserved