Software Reviews
Sort By: Post Date TitlePublish Date
|
Jul 30, 2012 |
First Published: Jun 01, 2012 |
|
Jul 26, 2012 |
First Published: Jun 01, 2012 |
|
Jul 19, 2012 |
First Published: Jun 01, 2012 |
|
Jul 13, 2012 |
First Published: Jun 01, 2012 |
|
Jul 06, 2012 |
First Published: Jun 01, 2012 |
|
Jul 05, 2012 |
First Published: Jun 01, 2012 |
|
Mar 28, 2012 |
First Published: Feb 01, 2012 |
|
Mar 20, 2012 |
First Published: Feb 01, 2012 |
|
Mar 19, 2012 |
First Published: Feb 01, 2012 |
|
Mar 12, 2012 |
First Published: Feb 01, 2012 |
|
Mar 08, 2012 |
First Published: Feb 01, 2012 |
|
Jan 13, 2012 |
First Published: Dec 01, 2011 |
|
Oct 28, 2011 |
First Published: Sep 01, 2011 |
|
Oct 13, 2011 |
First Published: Sep 01, 2011 |
|
Oct 11, 2011 |
First Published: Sep 01, 2011 |
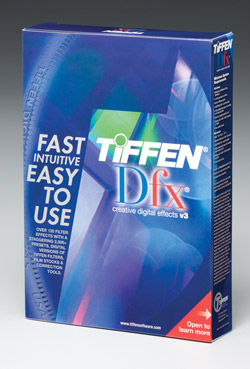 Tiffen’s Dfx 3.0 offers photographers software that can make their images stand out from the crowd. The bundle is a digital emulation of 2000 of the company’s glass filters that for convenience uses the same names of the company’s Soft/FX or Pro-Mist filters, so those who’ve shot with their filters in the past know exactly what to expect when applying their digital equivalents. For those who haven’t, rest assured that the company who made their name in filters knows their stuff. As a bonus, the software also includes effects created by lenses, lab processes, film grain, color correction, plus natural light effects.
 Judging by the popularity of facial retouching software, there seem to be a lot of people out there who want to make their subjects look like they just arrived off a private jet from Monte Carlo. And they want to do it fast, and not get bogged down with little technicalities like learning how to use Photoshop. So, is it possible to just press a button and instantly have a complexion that looks like J.Lo after an hour in the makeup chair? Well, that’s what we’re here to find out, so let’s take a look.
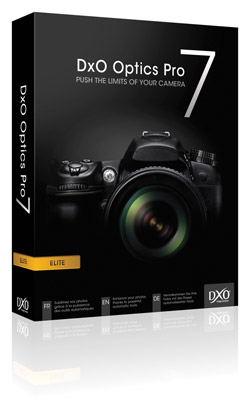 DxO Optics Pro Version 7 is a Raw converter for Mac and Microsoft Windows with some nifty tricks up its sleeve. It offers its own brand of nondestructive image editing, with tonal, exposure, geometric, and optical corrections that make it stand apart from the crowd. As was true of Version 6.6, Optics Pro 7 supports the company’s new FilmPack 3 film emulator plug-in (see sidebar below). We will have a more complete review of the film emulator in a future issue.
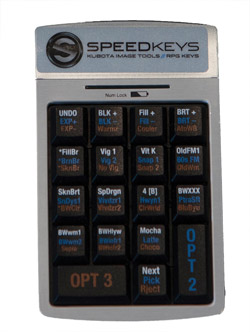 Photographers, especially those dealing with large numbers of images, are always looking for ways to speed up the workflow and spend less time in front of a computer and more time behind a camera. Applications like Lightroom have improved the process tremendously, making cataloging and image adjustments easier and faster than before. If you have adjustments that you apply frequently, you can use presets to make it a single-click process, applying a number of adjustments in one operation.
 Alien Skin’s Snap Art 3 ($199, or $99 for an upgrade from previous versions) is the latest manifestation of image-altering software that works atop the architecture of Photoshop and Lightroom, that is, a plug-in accessible through the Filters menu in Photoshop and for Lightroom as an external editor.
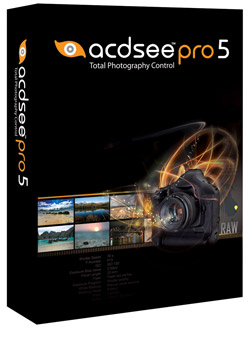 With each successive release of ACDSee Pro, the photo management suite adds ever-more-powerful features. In this review I hope to help you decide whether or not its features match up with your own workflow, meet your needs, or even improve on existing features to enhance your photographic creations.
 Color Efex Pro 4 is Nik Software’s (www.niksoftware.com) latest version of its digital photographic filter plug-ins for retouching and creative enhancements. It is Mac OS and Windows compatible and installs as a 32-bit and 64-bit plug-in for Adobe Photoshop CS4 or later, Lightroom 2.6 or later, Photoshop Elements 8 or later, or Apple Aperture 2.1.4 or later. The installer searches for all of the hosts that are on your computer and if you already have Photoshop, Lightroom, and Aperture installed, as I do, it will install Color Efex Pro 4 for all of the host applications.
 Adobe Photoshop Elements 10 caters to the entry-level crowd, but is imbued with several professional-level tools. Even when a feature is not really intended for serious photographers, there is a goldmine of functionality that could save countless hours. The app is celebrating 10 years on the market. Adobe has slowly revised the workflow, and it’s getting much better.
 Operating as a plug-in for Lightroom, Aperture, or as a stand-alone workspace, Perfect Layers from onOne Software distills down and codifies the often-complex task of working in Layers to a fairly simple task, offering various Blend modes, composite shortcuts and tools that might otherwise pose a steep learning curve. You can use numerous source files, including Raw, TIFF, and JPEG formats, and scale and move the various layers as required. In short, Perfect Layers poses an effective tool for those who have wanted to work in Layers out of Aperture and Lightroom and opens up new doors to image creation.

 Whether you yearn for a subtle fine-tuning or an over-the-top effect, Exposure 3 lays out a fully stocked film vault for you. Do you yearn for the gritty look of pushed Tri-X, or the impressionistic color that is characteristic of a faded Polaroid? To add the organic look of specific film types to your photos, or transform them with a wide range of processing and darkroom effects, try one of the 500 presets available in the third generation of Alien Skin’s Photoshop plug-in, Exposure 3, up from 300 presets in Version 2.
