The Digital Darkroom
Create A Torn Effect In Photoshop
There are several great plug-ins
for Adobe Photoshop that will create all sorts of edge effects, borders,
and frames. But, this procedure uses only the basic Photoshop tools
to create a very nice ragged edge. The procedure also demonstrates several
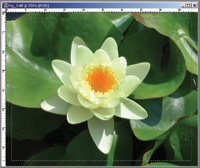
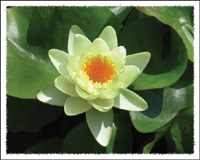
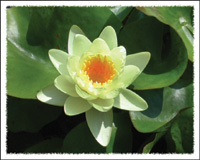
features that can be applied to lots of other Photoshop tasks. This is a lily from my Koi
pond. |
||||
Go to Filter to Stylize to
Diffuse (#5). The default option for Diffuse is Normal. Leave it there
and click on OK. You will not see any change in the picture. |
||||
Go to Edit to Copy (#8). That
will copy the selection with the jagged edge to the clipboard. Think of
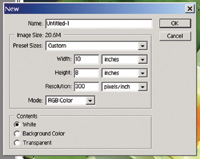
the clipboard as an invisible storage space in That will bring up a dialog box where you can set the parameters of the new, blank, canvas. In my case, since I was working with an 8x10 horizontal image, I set the Width to 10" and the Height to 8". I also set the Resolution to 300 ppi and the mode to RGB (#10). |
||||
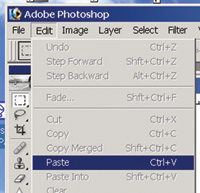
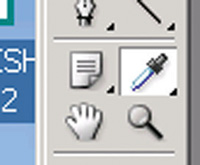
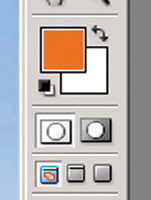
With the new canvas ready and made active by clicking on it, go to Edit to Paste (#11). That will paste the jagged-edge image from the clipboard directly into the center of the new canvas (#12). At this point, the jagged edges are very apparent and you could stop here and have a finished picture. But, if you'd like to fancy it up a bit, go back to the Tool Palette and select the Eyedropper tool (#13). I placed the tip of the Eyedropper
tool directly in the center of the flower and clicked. This caused the
Foreground Color to become the same as the center of the flower (#14). |
||||
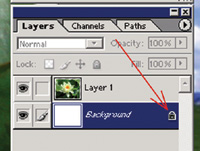
Go to the Layers Palette and look at the Background Layer. Notice that in my case (and I suspect in your case) the Background Layer is "locked" (see the little padlock symbol) (#15). In order to unlock the Background Layer, place your Move tool cursor in the large white square area of the Background Layer and double click. That will cause a dialog box to appear (#16). Ignore the box and click OK on it. The box will close and the Background Layer will be unlocked. See (#17) with no padlock symbol. |
||||
Now that the Background Layer is unlocked, we can fill it with the Foreground Color that we selected using the Eyedropper tool. With the Background Layer highlighted (to make it active), go to Edit to Fill, and click on OK (#18). That will fill the Background
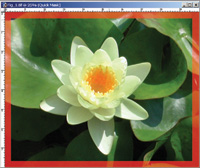
Layer with the Foreground Color. The result will be #19. And, the other has a rich orange frame around it (#19). For more information on digital imaging, you might want to visit my website, www.colorbat.com. |

