Nature & Landscape Photography: We Can’t All Be Ansel Adams…Why Not Just Be You
As a student at the Maryland Institute College of Art, I attended a class on color and my very first assignment was landscape photography. I wasn’t then or am I now a serious landscape photographer, but as a serious student I developed a set of personal guiding principles on the “what” and “how” of photographing landscapes that I still follow today. These four principles are not cast in concrete and are presented here only as guidelines for your own explorations in landscape photography.
1. Photograph locally
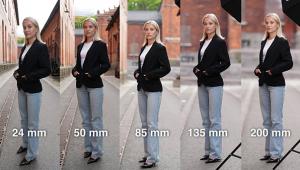
2. Use a wide angle of view
3. Create the maximum depth of field
4. Saturate colors
Making HDR (Even) Easier
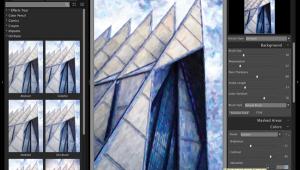
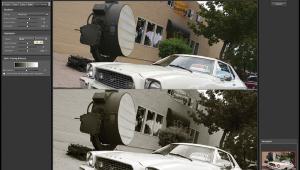
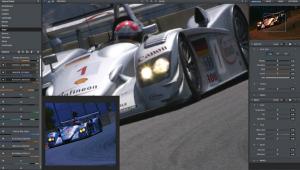
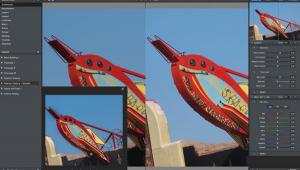
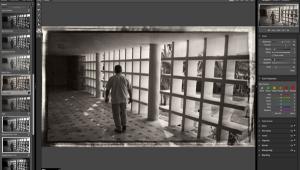
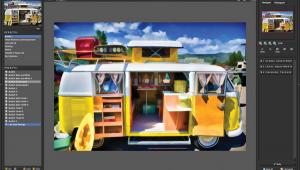
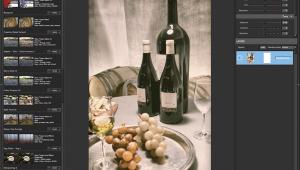
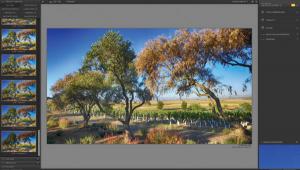
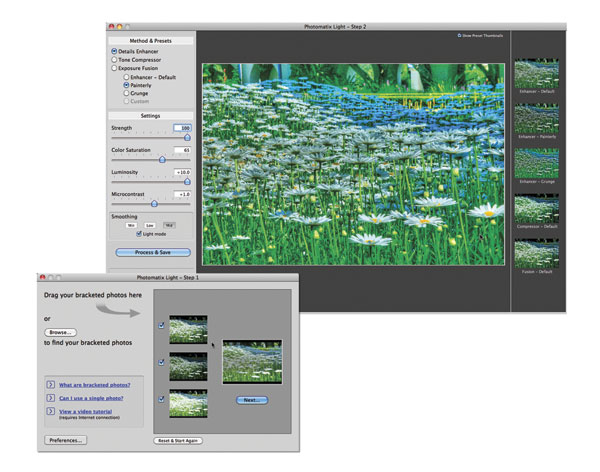
HDRsoft’s (www.hdrsoft.com) Photomatix Light 2.0 is the latest version of its High Dynamic Range (HDR) stand-alone photo processing software and is designed for photographers who want an easy-to-use introduction to HDR that is powerful enough to produce professional-quality results. Based on the same processing engines as Photomatix Pro, HDRsoft’s flagship product, Photomatix Light merges bracketed photos and processes them using HDR tone mapping or exposure fusion methods. Photomatix Light automatically aligns bracketed exposures, allowing you to create HDR photos with or without a tripod, although I think a tripod is still a good idea if the situation permits. After selecting the source photos, you drag and drop the image files onto the intuitive interface that lets you adjust the in-process image by moving four different sliders or choosing from presets such as Painterly or Grunge. This latest version adds high-quality noise reduction, a second tone mapping method, and thumbnails that let you easily choose between the built-in presets. Photomatix Light 2.0 costs $39 and is available for Macintosh (OS X 10.5/10.6) as well as Windows (XP/Vista/7) in 32- and 64-bit versions and is a free upgrade for licensed users. Why not try it yourself by downloading a free trial version from www.hdrsoft.com.
Back To The Future
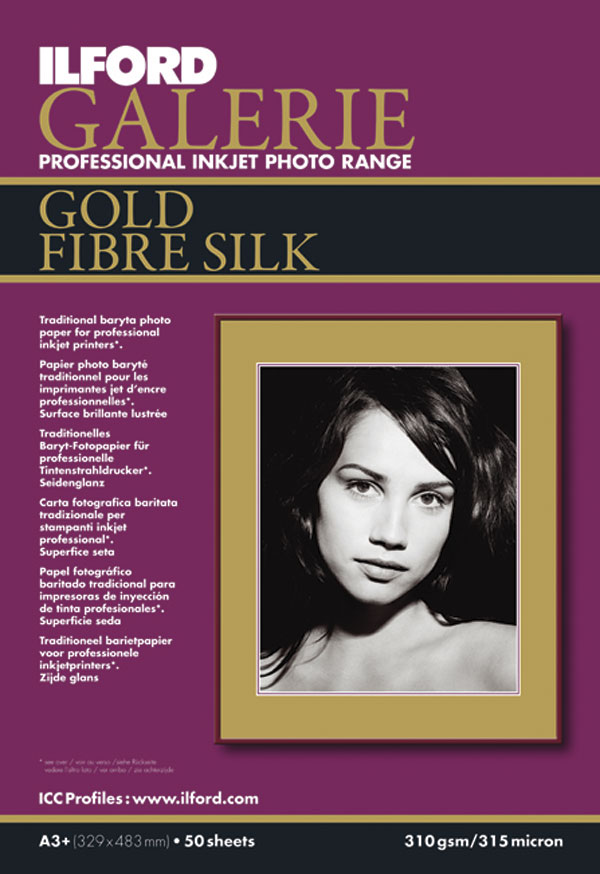
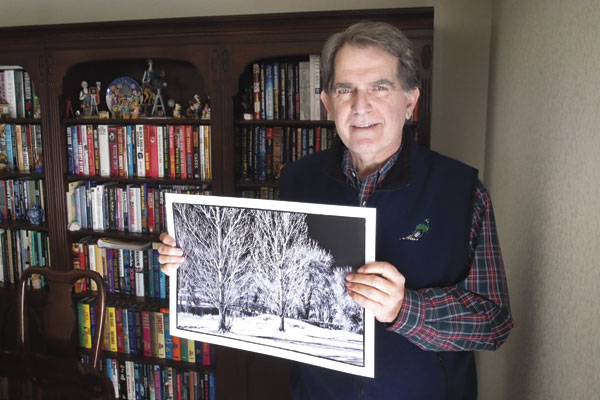
I have fond memories of working in the wet darkroom and printing monochrome landscape images on Ilford’s Galerie paper and now it’s back—again.
Ilford’s (www.ilford.com) Galerie Professional inkjet range of papers is available in Gold, Smooth, Classic, and Graphic versions. The Galerie Gold papers are compatible with pigment as well as dye-based printers but Ilford advises that the best results will be produced when using pigment inks. Gold papers are available in sheets and rolls for both desktop and wide-format printers. Galerie Smooth papers are compatible with dye as well as pigment-based inkjet printers and are offered in a range of sheet sizes and pre-mounted boards. Galerie Classic papers are only compatible with dye-based printers and are available in a variety of popular desktop formats. (Galerie Graphic papers are compatible with wide-format inkjet printers and are aimed at print shops more than photographers.) Just as with real darkroom papers, these papers are available in many different surfaces ranging from glossy to Ilford’s famous and lovely Pearl to the Fibre Silk that’s obtainable in the Gold line and produces beautifully delicate tones. A range of ICC profiles are available for download (www.ilford.com/profiles/index_en.asp?type=profile) for use with most popular desktop and wide-format printers.
Variable Neutral Density Filter
Reader Steve Vihon wrote to say that he reads me “every month in Shutterbug” and was wondering if I used a Neutral Density (ND) filter at all during my time in Puerto Rico “to combat the very bright sunlight.” He also wanted to know if I had any recommendations for ND filters for “taking photos on the island midday when the sun is very strong.” Thanks for writing Steve but I never use an ND filter for bright sunny days in Puerto Rico, Hawaii, Arizona, or Florida. I just stop down apertures, crank up shutter speeds, and crank down the ISO. ND filters absorb light evenly throughout the visible spectrum, altering exposure without causing a color shift. The only time I use ND filters is to create an effect, such as long exposures to create blurry water for waterfalls or streams. If you want to get the ethereal effect of blurring while photographing moving water and can’t select a slow enough ISO speed, an ND filter placed in front of your lens will do the trick.
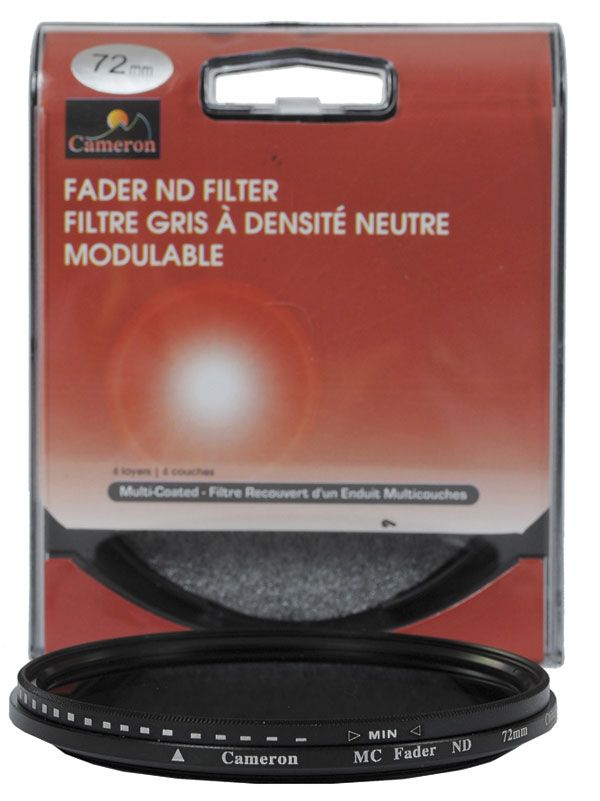
ND filters are available in different densities and are rated by how many f/stops they decrease your aperture settings. Even better is a variable ND filter because you only need one of them. The only problem is that these latter filters can be expensive but Booth Photographic Limited (www.boothphoto.com) offers Cameron’s series of multi-coated Fader ND Filters. These high-quality, multi-coated filters allow exposure compensation from one to eight stops. These filters replace ND 2, ND 4, and even ND 8 filters that would have to be stacked in order to achieve the same effect and do it seamlessly with a simple twisting motion. Think polarizer. A reference scale on the side of a filter ring indicates the relative degree of neutral density being applied. Fader ND Filters are available in sizes ranging from 49mm ($85) to 82mm ($150).
Quick, Mom Get The RAID!
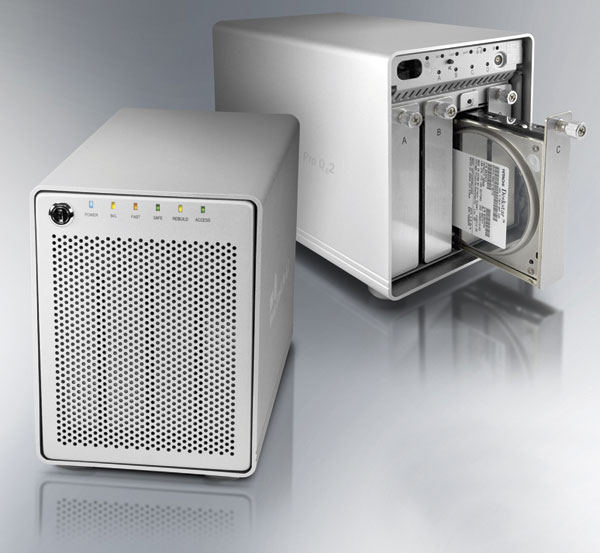
Where are you going to store all of those landscape images and make sure they don’t get lost? Other World Computing (www.macsales.com) offers its 12TB Mercury Elite-AL Pro Qx2 RAID storage/backup drive in a brushed aluminum desktop enclosure that houses four 3TB high-performance hard drives in hot swappable bays. The system has a Quad Interface of FireWire 800, FireWire 400, USB 2.0, and eSATA (what, no Thunderbolt?); selectable hardware RAID settings of 0, 1, 5, and 10; and 300MB/s data transfer rates for high-speed, plug-and-play storage for Mac OS and Windows computers. The Mercury Elite-AL Pro Qx2 offers two million MTBF (Mean Time Between Failures), nearly double that of consumer drives. It’s prefigured in Level 5 RAID mode to provide redundancy and protection against data loss but the drive can also be configured to use other settings, including 0, 1, or 10, as well as a Span (NRAID). If you’re not familiar with the various RAID levels, you can read a quick primer at: www.lascon.co.uk/d008005.htm. The 12TB Mercury Elite-AL Pro Qx2 (with a five-year warranty) costs $2199.99 and includes cables for eSATA, FireWire 800, FireWire 400, and USB 2.0/1.1; a power cord; two keys for front panel lock; and a backup and utility software CD. It’s also available with drive capacity options from 0TB (no drive) up to 12TB, starting from $299.99.
