Fujifilm’s FinePix S3 Pro UVIR; An IR-Ready D-SLR Page 2
Here's what I found: First, the Live View mode. The working procedure for using this is setting the camera on a tripod and then placing the filter you have chosen for the shot. Then go to Menu option "5" (default opening screen on this camera), and set up Live View. Before you do this open the lens to the maximum aperture (in my case f/2.8 with the Sigma Macro 70mm f/2.8 EX DG used in the test); this allows the most light for framing, and you can't change aperture once you opt for Live View. Even with the deepest filter (RM90) I could see what was coming through the lens. However, if you are shooting in daylight, which I often did, the screen view is not so great and I often had to struggle to get more than a sense of what was framed. Using Live View in dim light is fine, but any reflections are bothersome, so bring a viewing cloth or use a viewing hood for best results.
You have 30 seconds (which counts down in the LCD) to get it right; you can stop the Live View if you get it sooner, but you can't expose while Live View is active. Because this is IR a focus offset might be needed, and you will need some practice to understand how to nudge the visual focus to get it right. Or, as I did, either stop down to at least f/11 or bracket focus when you work.
 |
|
|
Can you work without this prep? Yes, but then you will have to view and focus
without the filter and then place the filter over the lens after you get the
shot framed. You can also work handheld, but you have to realize that framing
might not be exactly as you desire. I would expect that those going this route
will find a workaround whereby they can focus over the top of the finder and
work with manual distance settings, if available on their lens.
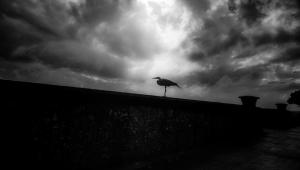
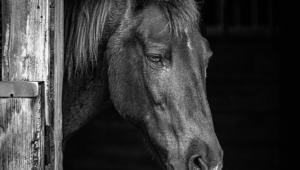
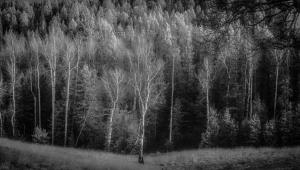
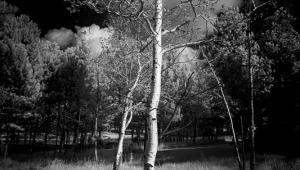
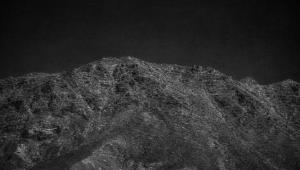
Exposures varied but in general, except with the red filter, my exposures were
in the neighborhood of f/11 at 1/125 sec. The review available on the camera
allows you to check exposure immediately after recording, so understanding how
the look of the image on the LCD matches up with the actual image after downloading
is where experience will come into play. Images do open with CS2 and beta CS3
Bridge, but if you work in raw as I did then of course they open in the color
cast of the filter with which you exposed them. Clicking on grayscale in CS3
beta (which, by the way, does convert them to a Grayscale mode; better to just
desaturate) or simply sliding the Desaturation control all the way to the left
will bring up the monochrome rendition. In general I found that exposures that
looked good on the LCD were quite flat and lacking contrast when I opened them,
but that's easily fixed in raw. I did find that underexposing helped control
highlights, which can be a bother in IR (or any medium with digital).
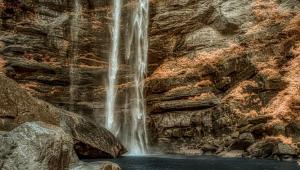
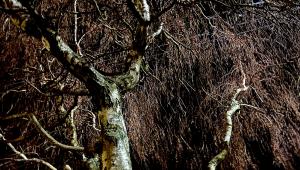
For my money I found the best, and most practical, filter was the Hoya R72.
The red filter didn't suppress enough of the visible light to make dramatic
images, and frankly the RM90 is just too expensive for my taste. While it might
be a great filter for law enforcement and CSI types, the field and landscape
photographer will not, in my opinion, see that much of a change or get much
use from it, at least when placed up against the R72.
In all, shooting with the Fuji S3 Pro UVIR was a ball. It should have double
appeal to those who already have Nikkor mount lenses, as that's what the
S3 takes. Yes, you can emulate IR with some plug-ins and even native software,
but somehow they never quite match the true IR exposure. For me, IR is a passing
fancy that comes over me once in a while, but this camera should appeal to those
truly dedicated to the IR look and feel of images.
For more information on the FinePix S3 Pro UVIR, contact Fujifilm U.S.A., Inc.,
200 Summit Lake Dr., Floor 2, Valhalla, NY 10595; (800) 755-3854, (914) 789-8100;
www.fujifilmusa.com.
Sigma's Macro 70mm f/2.8 EX DG Lens
For our tests of the Fuji S3 Pro UVIR camera we used the Sigma Macro 70mm f/2.8
EX DG lens. Designed for use with both film and digital SLR cameras, except
those only taking APS-C sensor (digital only) lenses, this impressive macro
lens can make images from "true" macro (1:1 RR) without extension
tubes to infinity. This pro-caliber lens (about $430 street) contains both a
Special Low Dispersion (SLD) lens as well as two high refractive index SLD lenses.
This is said to provide excellent correction for all types of aberrations, aided
by Sigma's super multilayer coating that reduces flare and ghosting, a
real plus for digital photography. Operation is aided by Sigma's "Focus
Limiter Switch"; the Full position allows you to focus throughout the
range, while the Limit position allows you to work either in the very close
range or from about 1/2 a meter to infinity.
 |
For this test we only worked in manual focus operation, it being necessary
for IR photography; we used it with other digital SLR cameras (for our Canon
Rebel XTi test, for example) and in each case the lens delivered excellent results
throughout the focusing range.
This versatile lens is available in Sigma AF, Canon EOS, and Nikon AF mounts,
as well as Sony and Pentax AF.
For more information on this macro lens, be sure to visit Sigma's website
at: www.sigma-photo.com.
Fujifilm's Integral Lens IR Camera
As we went to press with this story Fujifilm announced an integral lens IR capable
camera, the IS-1. With a "continuous live" preview feature and articulated
LCD, the IS-1 sports a 10.7x 28-300mm built-in lens and a 9-megapixel Super
CCD sensor. It makes use of the filters discussed in the text to gain limited
spectrum views, or offers partial IR effects without filtration. It has an ISO
range of 80-1600 and Fujifilm's Picture Stabilization. Priced at $899
retail, the camera offers a more moderately priced alternative for IR fans,
albeit without interchangeable lens capability. We'll be taking a more
in-depth look at this model when samples become available.
 |
 |
- Log in or register to post comments
