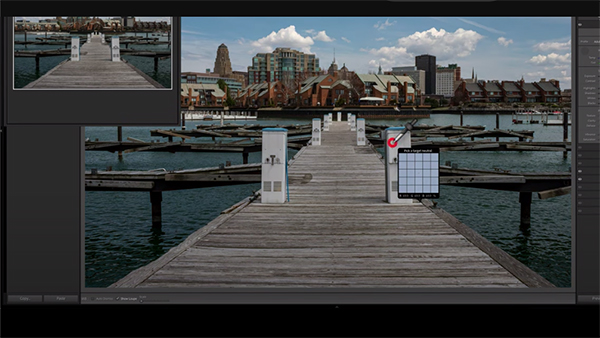
Lightroom Quick Tip: Nail White Balance with Speed & Precision (VIDEO)

There are numerous methods for refining White Balance in an image, some more difficult and effective than others. Today's tutorial from one of our favorite post-processing experts demonstrates why you don't have to choose between simplicity and precision with an interesting technique that enables you to kill two birds with one stone.
Instructor Anthony Morganti is a professional photographer, trainer, and image retoucher based in Buffalo, New York whose quick Lightroom and Photoshop tutorials are extremely popular among Shutterbug readers. This episode demonstrates a unique twist to the standard methods for correcting color temperature, and it only take two minutes to explain.
It's important to keep in mind that this timesaving approach only works with Lightroom Classic and not with other versions of the software. Morganti pulls up a nicely composed seaside shot that displays inaccurate White Balance, and then reviews the common approach for rehabilitating a shot.

Most photographers open Lightroom's Basic tab and immediately pull up the Eyedropper tool and click around the image, "trying to find somewhere within the frame that will give you a proper White Balance." But as you'll see, there's a much better method for getting the job done to perfection.
The trick works like this: "Before you open the Eyedropper tool go the top left of the screen and make sure that the Navigator panel is open." Now when you grab the Eyedropper tool you'll find that the image in the box will display the exact White Balance in various areas as you around the frame without clicking on each spot.
As Morganti says, "When you find something that looks right, now's the time to click and you be instantly be rewarded with accurate White Balance throughout the shot. Morganti demonstrates the effectiveness of this approach with images that have different White Balance inaccuracies.

Bottom line: Morganti says that this unfamiliar approach will enable you to correct any image "in just about 10 seconds" and achieve perfect balance throughout the frame. His instructional YouTube channel has just shy of 400K subscribers and we invite you to join the club.
And don't miss the tutorial we featured with another post-processing expert, as she demonstrates how to improve your post-processing workflow and edit photographs faster with Photoshop's easy-to-use Actions panel.


