DxO FilmPack 3.1: Variations On A Theme
The question is—does anybody really know what a given image would look like if they shot it on Kodachrome 25, or Fuji Acros, or some obscure color negative film that even in film’s heyday was little used or appreciated? Perhaps the more pertinent question is—how many people have made photographs using film? But film references are what a number of so-called film emulation software programs use for describing presets that can be applied to a digital image. Half academic and half nostalgic, the programs use film brand names to describe saturation, contrast, color nuance, and grain structure variations that are then applied to an image. Perhaps using film names is better than poetic fantasy terms, like “misty blue dawn,” but then again entirely subjective descriptors, rather than supposedly clinical ones used in these software programs, might be just as handy for today’s photography crowd. In any case, I recently tested one such program, DxO’s FilmPack 3.1, to see if it offered up creative variations that could be used as is or as foundation images when interpreting subjects and scenes.
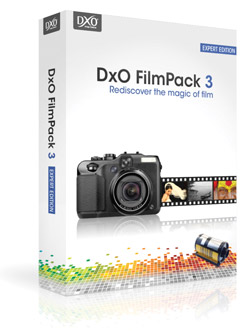
Working as a stand-alone or plug-in for the usual suspects with Mac or PC compatibility, the program runs $79 for the “Essential” edition and $129 for the “Expert” edition. I tested the Expert edition and judging by the specs the Essential edition lacks many of the modifications and controls you’d want to use to get the most from the program’s potential, so my advice would be to stick with the Expert one.
FilmPack 3.1 has a rather basic interface. Once an image is opened you have a choice of tabs and previews at the base of the main workspace, which you can configure to see the image alone or as a before and after or split view. The tabs include Color Positive, Color Negative, Black and White, Cross Processed, Creative Presets, and Custom Presets, the last being “emulsions of your own making.” Under each category you get numerous options, except for Cross Processed which seems somewhat bereft at only two options, and the ability to alter and modify the “looks” with a sidebar set of sliders. The right side has the slider options, which are numerous and interactive with the image on the screen.

Using the program is a bit like falling off a log, after you get a sense of the controls by hovering the mouse over the various symbols and places on the workspace to get an indication of what they do. You can open an image from a standard directory or drag and drop the image from another source. I opened Adobe Bridge and simply grabbed and moved an image from there to the FilmPack 3.1 screen. Once the image sits in the window you are presented with options on a scroll bar at the base of the workspace, which changes when you click on the various preset tabs. You choose the “looks” by clicking on the preset preview. Unfortunately you cannot scroll through them quickly using the left and right arrow keys. My preference was to work in a before and after screen view, though you can do a split or simply have the single image go through the changes as you manipulate the options.



All Photos © George Schaub
While there are plenty of “looks” to choose from, the reason to work with programs like this is that there are a great number of user-controlled manipulations—call them nuances or variations—that can be applied. These are accessible from the control panel on screen right, revealed through the “show controls” tab on the upper right. Click on this and a long list of sliders and sub-controls are revealed that allow you to take off from the base looks the presets construct.
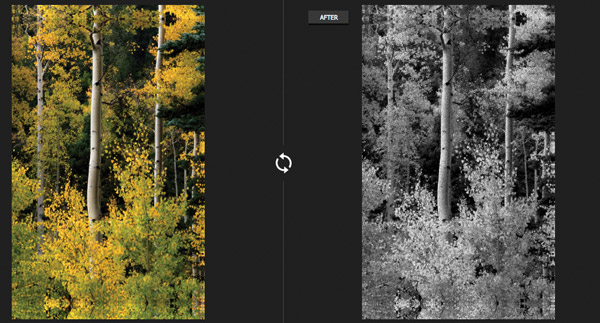

While this can lead to many creative options, there are a few items that are available in other, albeit more expensive, film emulation programs that I found lacking here. One of the main issues is that the finished file is not delivered as a Layer, and while the original is preserved because you do a “save as” on the final product, I have found that being able to work in Layers extends the creative process much further because you can work with opacity, blending modes, masks, etc., going from one Layer to the base and back. While this may seem a minor point for those who haven’t worked in these programs I can assure you that lacking the capability limits creative options.
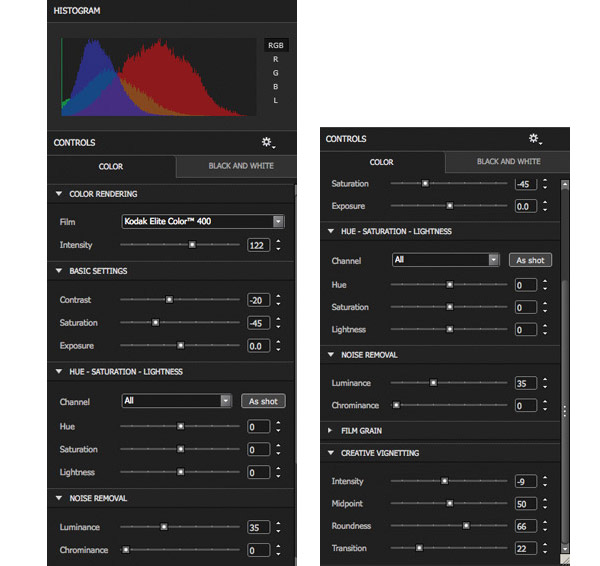
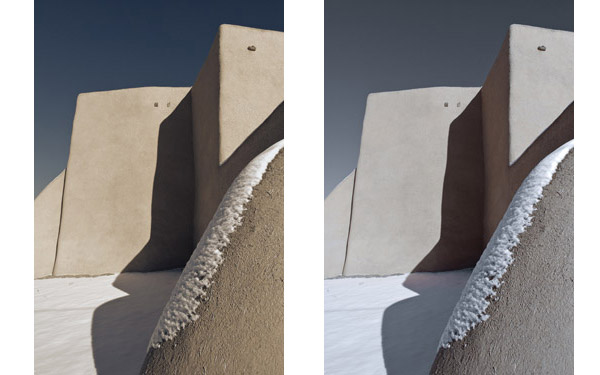
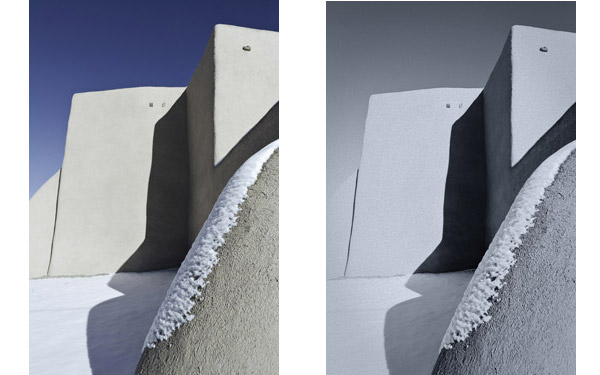
Another point is that some of the so-called emulations bear little resemblance to what I think the image would have looked like when shot with the attributed film. Yes, there may be similarities of color rendition and contrast, etc., and if made to choose which image goes in which film basket you might just pick the options in this set, but overall I am not sure of either the usefulness or accuracy of the descriptors. I must say that similar programs raise the same issues for me, so this is not a failing of DxO but more of the whole idea of using what are becoming increasingly archaic references that are representational at best. Yet, I suppose this approach gives image variation programs some rationale beyond the merely poetic and might help eliminate the chaos that an infinite universe of variations implies.
In the end I did enjoy working with the variations scheme the program affords, and especially with the Creative Presets, where the poetic descriptors did triumph, and with the ability to choose among what must be hundreds of thousands of options for how an image could be rendered. In that the software succeeds in a very easy-to-use, straightforward manner that might make some creative photographers who have sweated and labored over the intricacies of programs like Photoshop blush.
Note: As we went to press, DxO released FilmPack v3.2.2. As a plug-in, this version of FilmPack automatically integrates with Adobe’s Photoshop CS6. It is now also compatible with Adobe’s Lightroom 4. In addition, Version 2 has been adapted to run in 64 bits, so you can now process large files—up to 200MB—using either the stand-alone or plug-in version, and the image processing is up to two times faster than in Version 3.1.
For more information and free trial software, visit the DxO Labs website at: www.dxo.com.
- Log in or register to post comments
