Booth Photographic Parabolic Umbrellas: Everybody Needs An Umbrella, The Bigger The Better
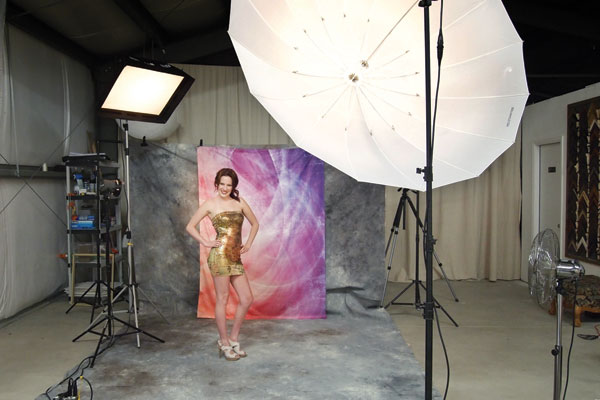
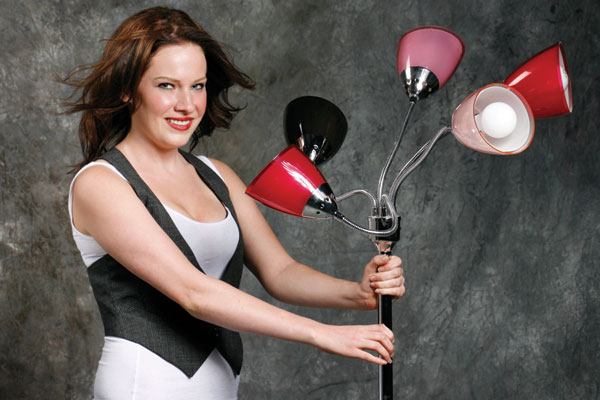
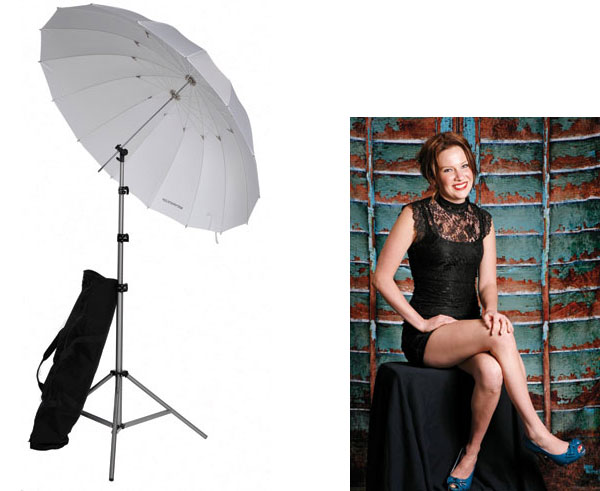
Gene Kelly had an umbrella while dancing to “Singin’ in the Rain” but he didn’t use it much, preferring instead to get wet. Photographic umbrellas won’t keep you dry but are the simplest to use and most inexpensive form of lighting modifier available, and that makes them the most popular as well. These umbrellas look and act like the kind of umbrella that keeps “raindrops from falling on your head” except that in a studio lighting situation they are usually reflective and light is bounced into them, creating a big, soft light source that’s directed toward the subject. Sometimes an umbrella is covered with translucent material and instead of mounting the umbrella so light is bounced into it, a light is fired through it, turning it into a direct source. While some light is lost shooting through an umbrella, it produces more direct light, and since more light is being directed at the subject it gives you the ability to shoot at a smaller aperture than when bounced into the umbrella. If you compare the apertures produced in the illustrations you’ll see what I mean.
© Mary Farace
Yes, Size Matters
As photographers we live by a few important lighting rules. For example, the closer and larger a light source is to a subject, the softer the lighting effect will be. Conversely, the smaller and further away a light source is from the subject, the harder the lighting becomes. So bigger is better, right?
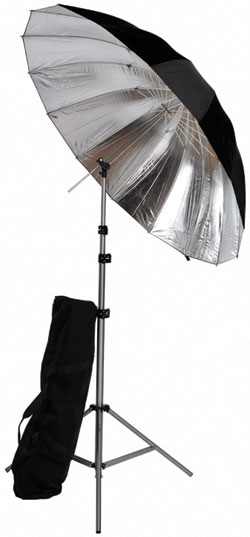
Because it produces broad lighting, an umbrella is often used for fill, but that doesn’t mean you can’t let umbrellas totally light your subject, especially with a large umbrella such as one of Booth Photographic’s (www.boothphoto.com) parabolics. That old lighting rule that “size matters” is important because a bigger umbrella is going to produce a broad, soft light for your photographs. The advantage of using a large parabolic umbrella is threefold. First, a big light source, especially when placed near the subject, is going to create soft lighting. Second, because of the umbrella’s parabolic shape, light falloff toward the edges is minimized. Third, a parabolic design results in high light efficiency, allowing you the choice of producing either high contrast directed light or extremely soft light. The average shooter often overlooks this type of umbrella because the typical European-made parabolic umbrella can cost $6000 or more, but Booth Photographic offers a relatively inexpensive option.
© Joe Farace
Booth Photographic’s Light Control and Light Diffusion series of large umbrellas are offered in two sizes, 60” (measured across the front) and the Mega 75”. They range from less than a $100 to slightly more. (See “Umbrella Chart” for specific details and prices.) The umbrellas are available in either a Light Diffusion shoot-through white satin fabric or high output Light Control silver with black backing. The wash of light created by these large parabolic light sources mimics the effects created by much more expensive pan or dish reflectors at a fraction of the price and are much more portable than traditional hard dish reflectors.
In The Studio
I received two 75” umbrellas, one white and one silver, along with one 60” silver umbrella to test and used them individually and together to create a lot of different kinds of lighting styles. What I immediately liked about the products was their high-quality construction. Because of their simple design it is easy for manufacturers to make umbrellas really inexpensively, but Booth Photographic didn’t skimp on materials or construction. Included with the umbrella is a slipcase that, while not up to the build standards of the umbrellas themselves, makes them easy to store and keep clean. While the umbrella shaft’s diameter is wide enough to work with the different heads and monolights I tested it with, all that weight from the fabric and 16 ribs creates some flex in the shaft, and while at first I was surprised and maybe a bit worried, there were no mishaps and nothing broke during all of my testing.
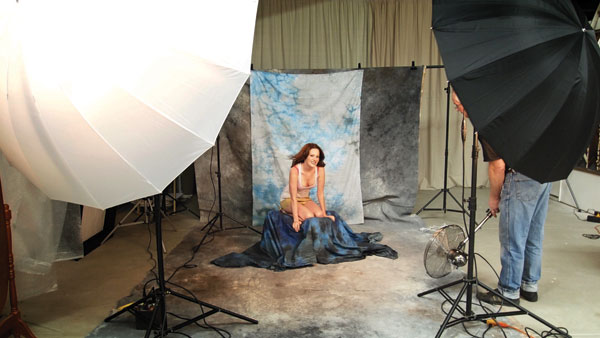
My main testing session was at Jack Dean’s (www.jackdeanphotography.com) studio in Fort Lupton, Colorado, where we used a Dynalite (www.dynalite.com) SP2000 system along with multiple heads (see photo captions for specifics) using different Booth Photographic umbrellas as both main and fill lights. What I initially discovered was that shooting with a big umbrella will involve some changes in how you shoot. When used in bounce mode, you need to make sure that the flash head or monolight “fills” the umbrella with light if you want to get the maximum spread from the umbrella. You’ll also need to be careful how high you raise the light. Jack’s studio has a high ceiling so I was tempted to raise the lights really high but, if you have the ceiling height, watch the light in your subject’s eye as you raise the umbrella. That will tell you how high it should be placed and as you can see by some of the production shots the umbrellas are placed unexpectedly low.
© Joe Farace
I really liked Booth Photographic’s large umbrellas. They are well constructed and fairly priced for what you get. Yes, the shaft could be a tiny bit more rigid but one of my friends was using another manufacturer’s large umbrellas and his light stand fell over, snapping its shaft like a twig. I didn’t do that kind of destructive testing and don’t feel like the Booth Photographic rigs would easily break under the same conditions. Tip: I recommend a sturdy light stand when using these umbrellas. The flexing I experienced is a minor quibble at best and did not affect the quality of the images I created using the bumbershoots. Yes, size does matter and Booth Photographic’s large umbrellas deliver high quality and high value at the same time.
© Mary Farace
Umbrella Chart
• 60” White Umbrella (16 ribs): $99.99
• 75” White Umbrella (16 ribs): $119.95
• 60” Silver Umbrella (16 ribs): $124.95
• 75” Silver Umbrella (16 ribs): $129.95
© Joe Farace
Silverlake Colorsmack Backdrops
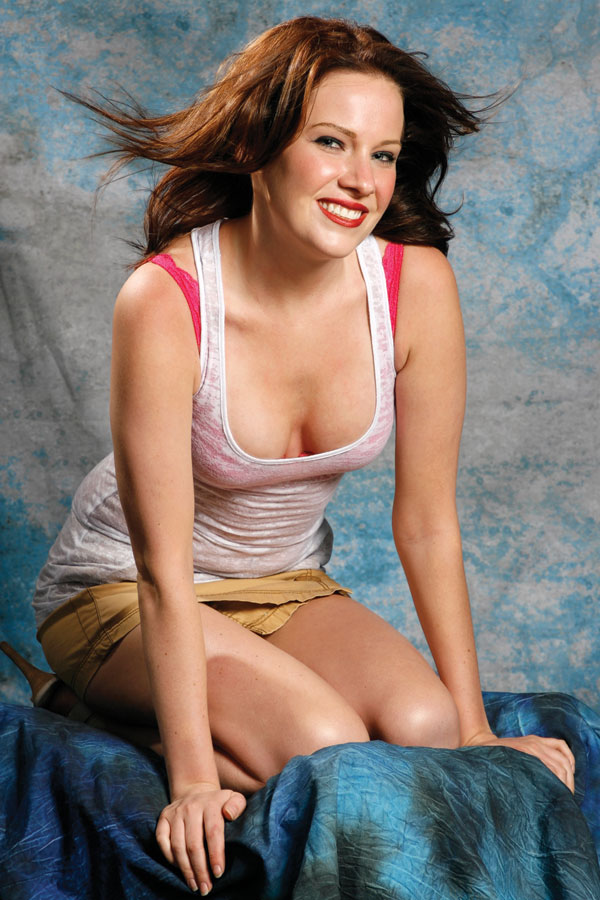
Whenever I use an interesting backdrop in a story, I invariably receive an e-mail asking, “What was it?” All of the distinctive backgrounds used in this test are Colorsmack backdrops that are available from Silverlake Photo Accessories (www.silverlakephoto.com). Colorsmacks are made from a durable, wrinkle free, and washable fabric and are equipped with loop-side touch fasteners at the top. If you supply the hook side, you can mount the backdrop anywhere, but I used the awesome and cheap clips I get from Lowe’s. Silverlake assures me that they look amazing when wet in swimming pools and although I didn’t get a chance to try it, I will. Colorsmacks are available in 5x7- or 8x8-foot sizes and cost $199 and $349 respectively, although as I was writing this Silverlake was offering a discount. They’re backed by a 100 percent satisfaction guarantee. I know the guarantee works because photographers told me about it, which is how I originally found Silverlake. All the designs are eye-catching and anyone photographing high schools seniors will want several Colorsmacks.
For more information, contact Booth Photographic Limited at: www.boothphoto.com.
- Log in or register to post comments

