Bibble 5 Pro; Asset Management & Nondestructive Editing
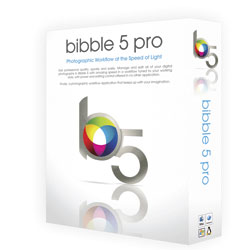 We’re all familiar with image-editing software, but we may be a stranger to asset management, that is, organizing and managing your stock photo library so that image files are readily accessible. Bibble 5 Pro’s asset management begins with pooling data from all the images you’ve shot on any given day, occasion, event, trip, or job into individual databases that Bibble defines as “catalogs.” The process also entails assigning keywords and labels, which along with other criteria, can be used to search through all of Bibble’s catalogs, whether the images or the catalogs are stored on your computer’s hard drive or on external drives.
Beyond that, Bibble 5 Pro provides some very capable nondestructive image editing and various output options. It is not all things to all people, but it will likely prove less intimidating for those of you who feel such robust applications as Adobe Lightroom and Apple Aperture are more than you want to tackle or need at the moment.
While it is multi-threaded and works with multi-core computing environments, Bibble 5 Pro operates as a 32-bit application in both 32- and 64-bit computing environments. The current version being reviewed is release 5.2. I primarily worked with the program on a Quad-Core i7 iMac, under OS 10.6.2 (8GB of RAM). I also installed it on a Quad-Core Gateway laptop (with 4GB of RAM) running Windows 7 for a quick test run and noted similar performance. A trial version is available (www.bibblelabs.com), with a licensed price of $199 for Mac, Windows, and Linux (single-platform Lite version also available for $99).
Sunsets


All Photos © Jack Neubart
Workflow: The Global Picture
When I embarked on this journey I felt I was starting off on solid footing, although the ground proved to be a little shaky along the way. Bibble 5 Pro bills itself as “photographic workflow at the speed of light.” That’s a somewhat ambitious statement. The process of creating catalogs can be quick, provided that the folder you’re importing doesn’t contain hundreds upon hundreds of files. Otherwise, Bibble 5 Pro can take some minutes to complete this step. But the good news is that you can start working on the imported images as soon as they appear as thumbnails on the screen.
From there, the workflow continues with rendering files into usable images by means of various corrective measures (exposure, contrast, color, sharpening, lens distortion, chromatic aberration, and vignetting, among other parameters), retouching and additional editing using layers, and concluding with a smattering of effects via plug-ins. Noise Ninja is included in its most basic form. Licensed Noise Ninja users will find the plug-in pops up in the Detail panel (along with lens corrections) with a fuller array of parameters. Third-party plug-ins other than the ones included are available but have not been tested by Bibble or myself.
Using Presets
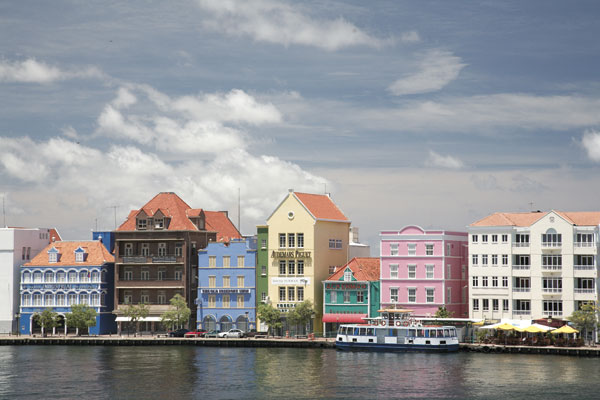
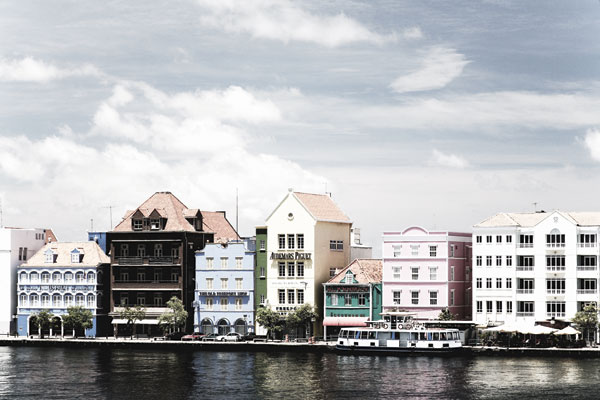
A wide range of color spaces is supported, among them Adobe RGB and ProPhoto RGB, and of course sRGB. Bibble 5 Pro lets you generate prints (with varying layouts) and PDFs, and supports soft proofing (but in limited fashion and lacking CMYK support).
What’s more, as should be true of any asset manager, all editing is nondestructive, leaving the original pixels intact should you later decide to backtrack or undo some changes—or create virtual copies—or versions, in Bibble-speak. These versions can restore the defaults, act as backups or snapshots, or serve as fodder for further experimentation. What’s more, you can copy image settings in their entirety or selectively and paste them to any version or to other images individually or in groups, further improving the workflow.
Theme And Variations: Selected Color
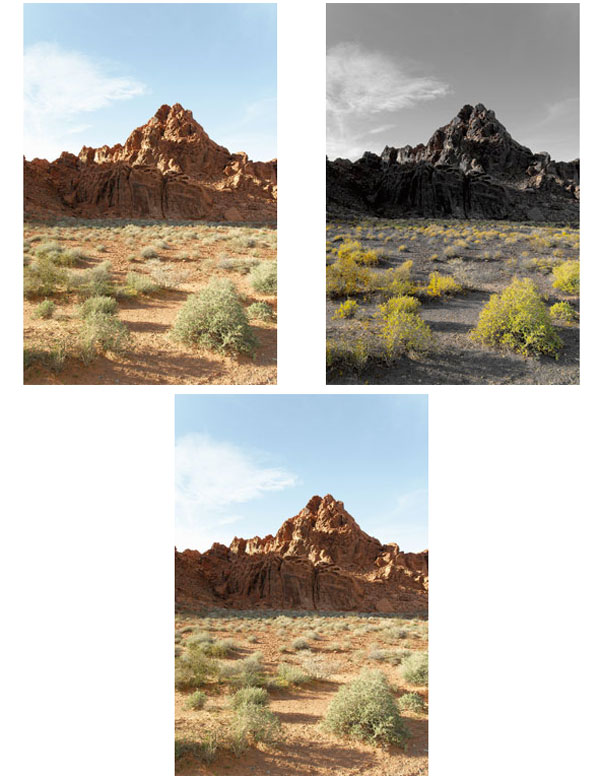
The Bibble 5 Pro Interface
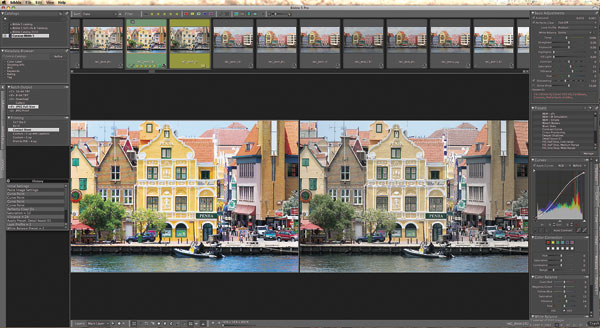
The interface is fairly simple to navigate. There are no modules to wend your way through; you essentially remain on the same screen the entire time. Tabs on the left side direct you to the browser and output options. The tabs on the right lead to most of the adjustment tools you’d use (usually via sliders or direct numerical input—more on this below). There are icons top and bottom for the various filters and views. But to me the most important icons give you access to layering and cropping, plus the on/off switch to indicate highlight/shadow clipping.
Click on any tab to bring that panel forward and reveal the full set of controls at your disposal. Or you can keep that panel in the foreground by pinning it in place with a mere click. Be selective here because it can get a bit crowded, even on a 27” monitor. Upon relaunching Bibble, these panels remain in place.
The History panel is optional—I strongly recommend activating it, as this is an important tool in retracing your steps and undoing them. (Undo, under the Edit menu, retraces all movements, including screen navigation, and should be used with this in mind.) Each time the program is launched you have to re-select the History panel option from the View menu on top (I’ve already suggested to Bibble Labs to keep this panel in place, as well as make it user-adjustable in size). Another useful option is a pop-up EXIF Viewer that is user-customized to include the data you often need (activated from the View menu or via a keystroke).
The Adjustments Workflow
Bibble has a special Presets panel. You can apply Presets to all the imported images in a folder. However, unless you’ve custom designed your own Presets or become very familiar with existing ones, I’d caution against taking this step as some Presets may produce unexpected results, such as tonal distortions, that will later have to be undone. You can always apply these Presets later. I found several governing lens corrections, fill, and contrast especially useful.
The Basic Adjustments actually begin with AutoLevel, which is automatically selected (although largely unproductive except for extreme over/underexposure). So the next step would be to enable Perfectly Clear, which in many instances produces eye-opening improvements.
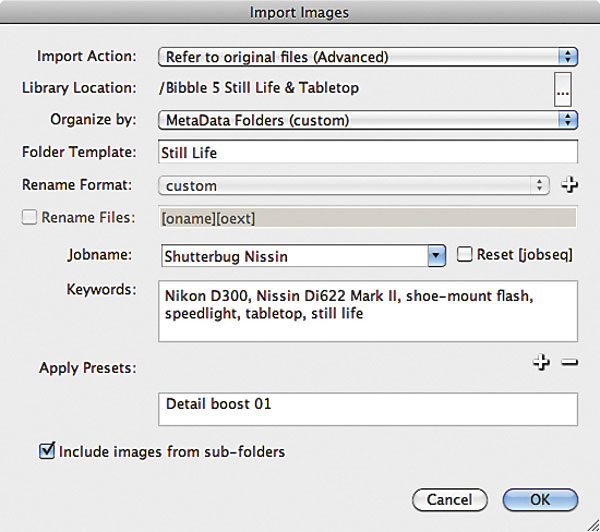
I found that AutoLevel, Perfectly Clear, Presets, and the Look Profile collectively comprised a good starting point. The Look Profile largely concerns itself with varying levels of saturation and contrast. There are four presets: Product, Portrait, Wedding, and Event and four additional subsets for “reduced,” or lessened, effects. Product Reduced is the default, but that doesn’t mean it’s the most suitable—try them all. You’ll likely use the Product profiles for nature and landscapes, especially scenes with blue sky, as it is a much better option than the Bluer Skies Preset, which tends to distort color.
Beyond that, you have a plethora of parameters you can work with, keeping in mind that these changes are nondestructive and can be undone at any time. To make further corrections, you can adjust exposure, recapture highlight detail, add fill light, enhance or lower contrast, play with saturation and vibrance, target individual colors, and correct color balance (click white option included), among other things. One Lightroom setting that I miss is “Clarity” which in Lightroom can be used to add punch to landscapes or soften facial features, for example.
