- REVIEWS
Camera Reviews 
More Reviews Mobile Reviews Photography Reviews - GALLERIES
- VIDEOS
- BUYER'S GUIDES
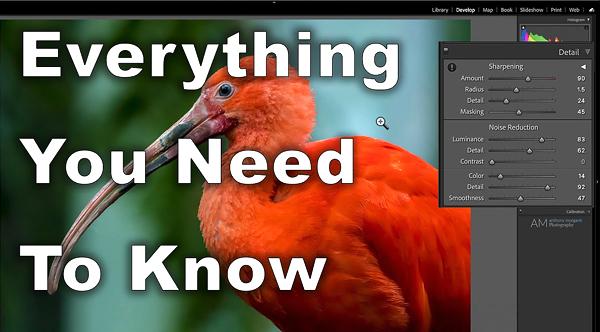
The ULTIMATE Guide to Sharpening & Noise Reduction in Lightroom (VIDEO)
One of the first things photographers do when editing images is reduce noise and sharpen soft photos. And while there’s a bunch of helpful apps that address these tasks, the video below describes what one expert says is the “quintessential” method of accomplishing both jobs in Lightroom.
There’s certainly nothing wrong with relying upon apps, but some photographers overlook the fact that Lightroom does a credible job when it comes to noise reduction and sharpening. In fact, editing instructor Anthony Morganti says, “In most instances Lightroom will work fine.”
Over the years Morganti has experimented with a variety of apps, and numerous sharpening and noise reduction techniques. And in this helpful video he demonstrates the process he prefers for making these adjustments in Lightroom.
Morganti begins by opening the Detail tab In Lightroom’s Develop module that includes everything you need. His trick is working from the bottom up. In other words, first remove color noise before dealing with luminance noise. Once you’ve done that, then it’s then time to deal with noise reduction.

As Morganti explains, this strategic sequence doesn’t have anything to do with Lightroom’s algorithms, but rather how your eyes most accurately perceive an image as you move from one adjustment to the next. It short, it’s all about the most effective means of attaining optimum results.
Precise adjustments are often easier if you zoom in on an image, but when you click and zoom in Lightroom it only does so at 100%. Fortunately, Morganti demonstrates a quick method, with a simple keystroke, that gets in much tighter so you can really see what you’re doing.
So even if you have a couple sharpening and noise reduction apps that seem to work well, we recommend you check out this all-in-one Lightroom technique from beginning to end. Then head over to Morganti’s YouTube channel where you’ll find more helpful editing tips and tricks.
And be sure to look at another Lightroom tutorial we shared recently, explaining how to save time by “batch-editing” your photos.


![]()
Get the Latest Photo Tips, News & Reviews from Shutterbug!
| Camera Reviews Other Reviews | Mobile Reviews Photography Reviews Columns | News | Features | How-To | Resources |
 © 2025 Shutterbug
AVTech Media Americas Inc., USA
All rights reserved