- REVIEWS
Camera Reviews 
More Reviews Mobile Reviews Photography Reviews - GALLERIES
- VIDEOS
- BUYER'S GUIDES
Photoshop’s 5 BEST Basic Tools for Editing Images of Starlit Skies (VIDEO)
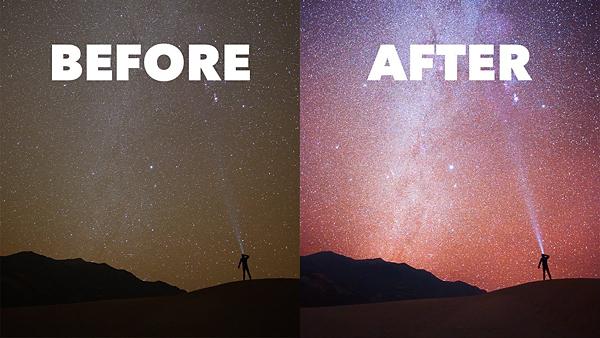
Whether you’re attempting to photograph the Milky Way, or simply trying to capture a sparkling nighttime sky over your backyard, astrophotography can be intimidating. And once you’ve captured a few shots, editing the images may also seem like a daunting task.
But it’s time to relax, because in barely five minutes the video below will reveal Photoshop’s five best basic tools for editing photographs of starlit skies. These techniques are easy to accomplish, and they’ll add some “pop” to your astrophotography.

Denver-based photographer Spencer Cox specializes in landscape and macro photography, and he does a lot of shooting at night. And like with all of his tutorials, the goal of this episode is to “help you take the images you always wanted.” The techniques he reveals here are simple, but they deliver great results.
Cox provides keyboard shortcuts for using the required tools, and he begins by explaining how to re-edit any sliders you changed in Adobe Camera Raw. All it takes is a single click to open your photo as a Smart Object with all earlier edits in place.

You’ll also see how to use Photoshop’s Overlay tool to quickly make natural-looking color adjustments to the night sky. Here you simply create a blank layer, go to the Brush tool, choose a color, and paint away. For this trick he explains how to set the blend mode and lower the opacity to achieve natural-looking results.
While watching the quick tutorial you’ll also learn how the selectively edit the foreground in nighttime photos, discover a simple method for adding an interesting glow effect, and see how to selectively process just the stars with a smooth selection.
There are more helpful tips on the Spencer Cox YouTube channel. And be sure to check out another editing tutorial we posted recently, with five unconventional ways to use conventional tools.


![]()
Get the Latest Photo Tips, News & Reviews from Shutterbug!
| Camera Reviews Other Reviews | Mobile Reviews Photography Reviews Columns | News | Features | How-To | Resources |
 © 2025 Shutterbug
AVTech Media Americas Inc., USA
All rights reserved