Luminosity Mask or Blend-If Tools: Which One to Use When (VIDEO)

Photoshop’s Luminosity Masks and Blend-in tools are similar and often used to accomplish the same tasks, and photographers often confuse the two methods and wonder when they should use one over the other. The quick tutorial below answers that question so you can make the right choice when editing your work.
Nino Batista is a photo-retouching expert and popular instructor with an avid following on his YouTube channel. In barely six minutes he clears up all the confusion between these two powerful tools, discusses their differences, and explains how and when to use them.
Batista illustrates that both easy-to-use tools may provide the same results with his outdoor image of a pretty model. So why does it matter which one you use? You’ll see that Blend-If offers more flexibility and control with some tasks than does a Luminosity Mask—but that doesn’t means it's always the superior method.

According to Batista, here’s the difference: A Luminosity Mask involves “tangible pixels” and this approach is a “destructive” method; i.e. if you make a mistake you don’t get a do-over. By comparison, he says, “Blend-If is just an instruction with a set of parameters, not actual tangible raster data, that tells Photoshop to do something.”
He further explains that the Blend-If tool works by “paying attention to the luminosity of the underlying layer and applies the layer in question to that luminosity.” That’s quite a mouthful, but what does it actually mean in practical terms?
Put another way, when you put a Curves (or any other exposure modification) layer under the Blend-If layer, for example, this is what happens: “When I brighten and/or darken I change the range because the Blend-If instructions are telling that layer to match the parameters.” Conversely, if you put the same Curves adjustment below a Luminosity Mask the range that you set doesn’t change when you brighten or darken.
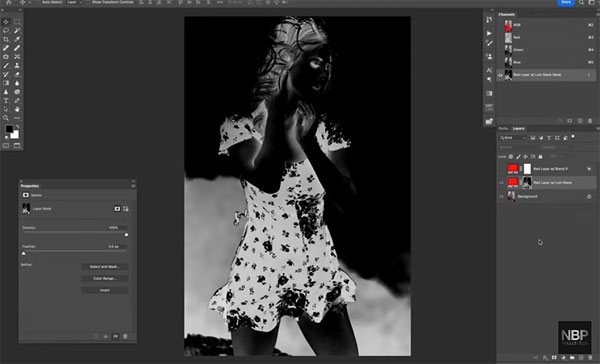
All this will makes far more sense when you’re watching the video and observing Batista illustrate the difference. Bottom line: Neither of these tools is better than the other. It’s all about the task at hand and understanding the limitations involved.
There’s much more to see and learn on Batista’s popular YouTube channel, so make sure to pay a visit.
We also suggest you watch another editing tutorial we posted, explaining what one expert says is “the best effects plugin for Photoshop and Lightroom.”


