This Is How to Use Lightroom's Most Powerful Tool: Masks (VIDEO)
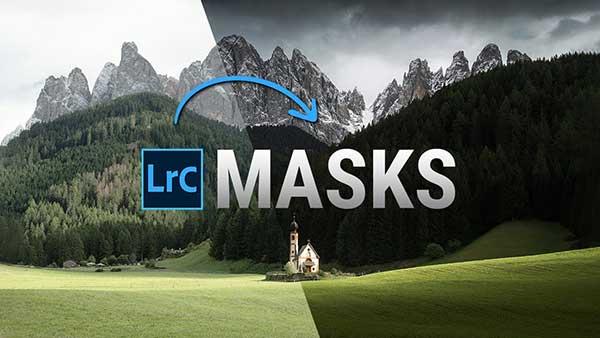
Masks may be one of the most misunderstood tools in all of Lightroom. Last week we shared a tutorial on how to use masks in Lightroom and how not to use them. Because if you don't use this tool properly, it really can ruin your photos.
Shutterbug readers still had questions about the best masking techniques in Lightroom so we're sharing another video on the subject. In the below tutorial, Christian Möhrle of The Phlog Photography explains "how you can make use of Masks in Lightroom to bring your photos to the next level."
In the video at the bottom of this post, Möhrle demonstrates the best way to use masks while processing one of his images in Lightroom.
"For this image I wanted to make the light and shadows a lot more interesting and give everything a darker mood," he explains. "For this purpose, I used a ton of different masks, but after all only used Lightroom to edit this landscape shot."
#1 Base Adjustments
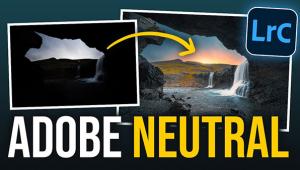
"I set up the base image by changing the profile to Adobe neutral (to get a flat image), then adjusted the white balance," he says. "To get the base-brightness right, I brought down the exposure quite a bit, while increasing the highlights and the whites."
#2 Masks
"First, I wanted to enhance the light in the grass in the foreground. Here, I used a radial gradient roughly overlapping it. Here, I simply increased the exposure, the highlights and the whites. Next, I added a linear gradient over the very near foreground. To make the shadows darker in this area, I dropped the exposure.
"Next up, I wanted to work on the sky. As we have a nice, clear edge between the sky and the mountains Lightrooms sky selection mask worked pretty well. With this one, I brought down the exposure, then added a lot of contrast and clarity to make the clouds more dramatic. This resulted in a slight yellow color cast. To fix that, I brought down the temperature. To make the top part of the sky darker, I used another linear gradient and again brought down the exposure.
To make the mountains a little more noticeable, I used a color range mask on them and subtracted the sky. On the mountains, I added highlights, whites, texture and clarity to get some more details going on in there. Finally, using another color range masks I targeted the snow on the mountains and further brought up the exposure."
#3 Color Grading
"In the HSL panel, I added orange saturation, while dropping green, aqua and blue. For the luminance I raised the yellows and greens to make the grass brighter."
