Fill Light; Use Your Flash Outdoors
Although some outdoor photographers prefer to shoot everything by available
light, electronic flash can be surprisingly useful. In the past, it was difficult
to produce a natural looking effect with flash in outdoor photography without
a bit of expertise. All too often the results appeared to be artificial, with
a harsh effect caused by flash becoming the primary light source. Today, with
high-tech flash metering systems, much more "natural" results are
possible automatically, or by using a simple camera override.
Extra light can be valuable in heavily overcast conditions, of course, producing
bright, clean colors instead of gray and muddy tones. But it can be just as
appropriate on bright, sunny days as well. There are three primary reasons why
you'll want to use flash in such conditions.
 |
|
|
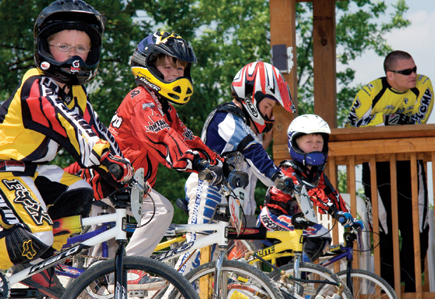
·The extra burst of light can soften hard shadows that obliterate important
subject detail: shadows cast by the bill of a hat over a person's face,
for example. It can also fill in dark eye sockets caused by "top lighting":
by the sun when it's high in the sky around noon.
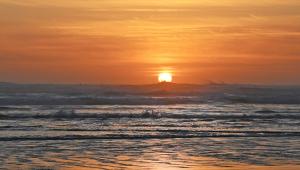
·When shooting toward an extremely bright area--the sun, a bright
sky, snow, sand or surf--flash can even out the lighting. You should get
a nicely exposed subject without an excessively bright background.
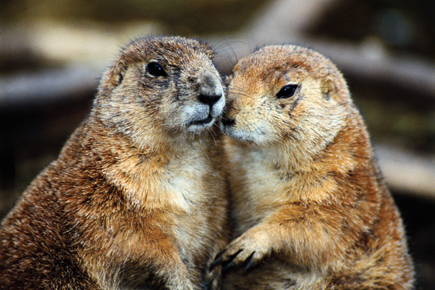
·On windy days, flowers and grasses will be moving and may be rendered
as blurred. The short burst of flash can "freeze" the subject for
a sharper photo.
 |
|
|
Flash With D-SLR Cameras
D-SLRs employ sophisticated flash metering; the features differ depending on
the camera you use, but typically they allow you to achieve some very pleasing
effects. Most cameras provide "daylight balanced fill flash"; they
automatically reduce flash intensity to avoid overpowering the ambient light.
However, you may still want to use + or - flash exposure compensation for a
stronger or a gentler effect. Particularly with very tight close-ups, a -1,
or perhaps even a -2 level may be necessary to avoid excessive brightness. And,
in very strong backlighting you may need to set a +1 flash exposure compensation
level for adequate brightness.
Note: When using a D-SLR be sure to use a flash that's
fully compatible with digital cameras. Check your Owner's Manual as to
suitable flash units.
 |
|
|
Try Advanced Techniques
For serious outdoor photography with an SLR, experiment with the following techniques;
some of these require a specific high-end flash unit or an accessory.
·Set both ambient light exposure compensation and flash exposure compensation
simultaneously. This allows you to control the brightness of the primary subject
as well as the background. For example, consider this technique when taking
photos of people against a bright background of snow, sand, surf, or sky. Set
the camera's conventional exposure compensation control to -0.5 so the
background will not be excessively bright. Then set the flash intensity control
to +0.5 or +1 to ensure that the subject will be brightly rendered.
·To freeze the motion of nearby subjects, such as a flower waving in the
breeze, try high speed flash sync available with many high-end flash units.
A 1/500 sec shutter (sync) speed often works well. Because the effective range
of flash will be very short at low ISO levels, set ISO to 400 or 800 if the
subject is not within a few feet of the camera.


