- REVIEWS
Camera Reviews 
More Reviews Mobile Reviews Photography Reviews - GALLERIES
- VIDEOS
- BUYER'S GUIDES
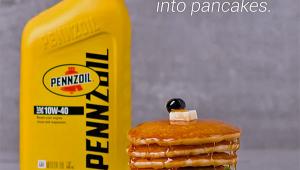
7 Helpful Tips on How to Shoot the Best Food Photos
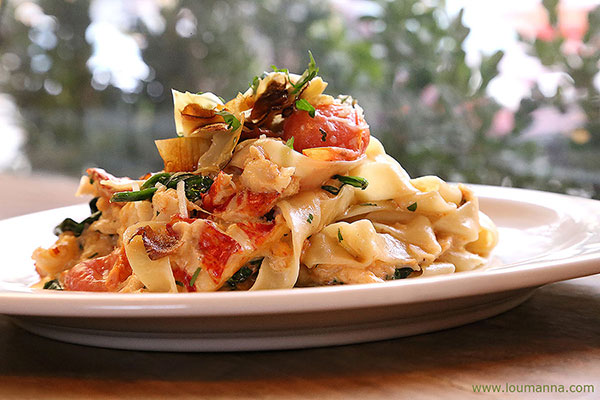
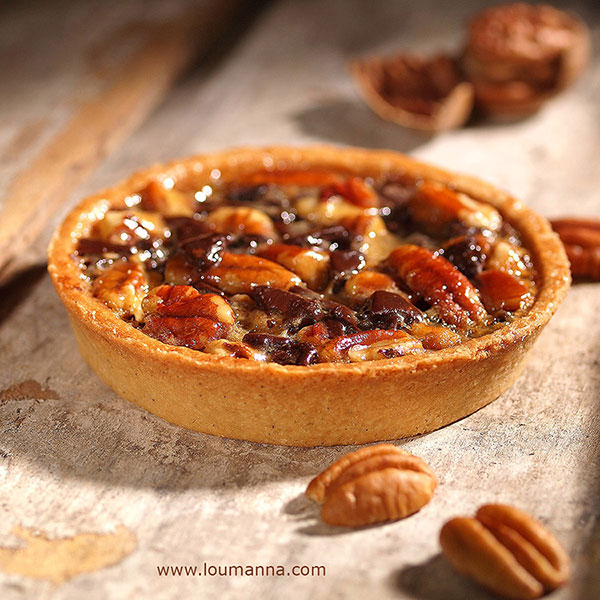
[Editor’s Note: Food photographer Lou Manna has spent over 30 years creating images of all things edible. We recently asked Manna to share some of his culinary photography wisdom with Shutterbug’s readers and he provided us with the following helpful tips for how to shoot the best food photos. You can see more of Manna’s work on his website, or read his thoughts on food photography and see more images at his blog.]
1. CAMERA TIPS
ISO: When shooting indoors without a flash, the ISO setting should be set from 800 to 6400 so that the camera sensor is more sensitive to the ambient light.
Exposure Compensation: View your photograph on the LCD screen to see if the image is too light or too dark. If you did not capture the photo with the right exposure, adjust the exposure compensation to lighten (+) or darken (-) the photo.
White Balance: The auto white balance setting in your camera normally does a good job for most lighting situations. If you are shooting indoors with household lamps, (i.e., usually under incandescent or tungsten lighting), use the camera preset for tungsten white balance. If the lighting is fluorescent, then the fluorescent white balance setting will work better. The best method is to take a custom white balance reading off of a white or grey card for a more accurate color rendition in your photo. For more information, consult your camera manual.
Scene Modes: If your camera has Scene Modes, try the Cuisine or Food Mode, Indoor or Party Mode, and Candlelight Mode to explore the different effects. You may like one better than the others for your subject.
Art Filters: Experiment with colors and moods by using the in-camera creative filters found on many cameras. Your holiday shot could look even more festive and colorful by using the Pop Art filter. The saturated color reproduction will enhance your beautiful food and setting. Try the Soft Focus filter to capture the mood of a romantic dinner.
Macro Mode or Lens: To shoot food close up, use the macro setting on a point and shoot camera, which is typically indicated with a flower icon. Use a macro or a close focusing lens on a camera with interchangeable lenses to get closer to your subject.
Tripod: A tripod helps to avoid camera shake under low light conditions and when using slow shutter speeds (below 1/60) resulting in a clearer photo.
Two-Second Self Timer: To reduce camera shake even on a tripod, set your camera to take the picture a few seconds after pressing the shutter release button. This will reduce the movement your hand might cause when taking the picture. With a DSLR, try the mirror-lock up feature to further reduce camera shake.
Video: With the cameras’ video feature, you can capture special segments of your entire meal event. The cameras are easily set to video mode and recording only requires the touch of a button. The video clip can be downloaded and shared just like a photo.
2. LIGHTING TIPS
Built-in Flash: Try to avoid using your camera’s built-in flash since this direct light flattens the subject and reduces texture and depth. It is better to use the available light from lamps and lighting fixtures in the room or natural daylight from a window.
External Flash: If you are using an external flash unit and not a built-in flash, bounce the light from the flash into a neutral colored ceiling or a side wall to give your subject more dimension and create some shadow for depth.
Reflectors/Diffusers: Use household items such as aluminum foil, makeup mirrors and white napkins to reflect the light source into the shadow areas of the photo and capture more detail. To soften the light source, try diffusing it with wax paper or a sheer white cloth to achieve more detail in the bright portions of the photo.
3. COMPOSITION TIPS
Subject: Try to have a main point of interest in your image. Avoid using too many objects that crowd the space and distract attention from the main subject. Keep it simple since less is more when it comes to food photography.
Placement: Whatever your subject, compose your photograph to draw the viewer’s eye to it. Keep in mind the “Rule of Thirds” in which you divide the frame into a tic-tac-toe design and place your subject at one of the intersecting points. A spiral composition leads your eye clockwise into the food and works well also.
View: Lower and raise the camera to obtain unique perspectives. Get closer and crop into the subject to create a unique view and a dramatic effect.
4. FOOD STYLING TIPS
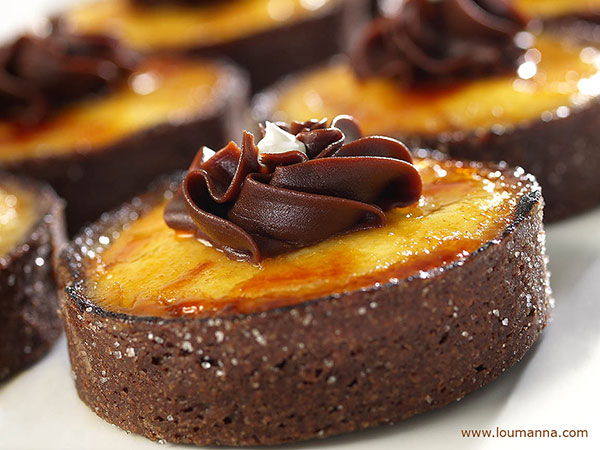
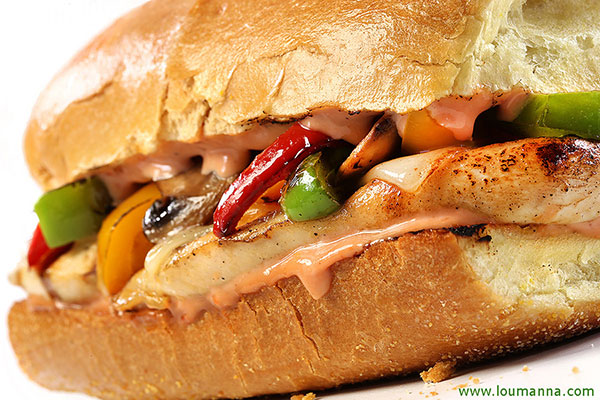
Contrast: Work with contrasting colors and shapes of the food items whenever possible.
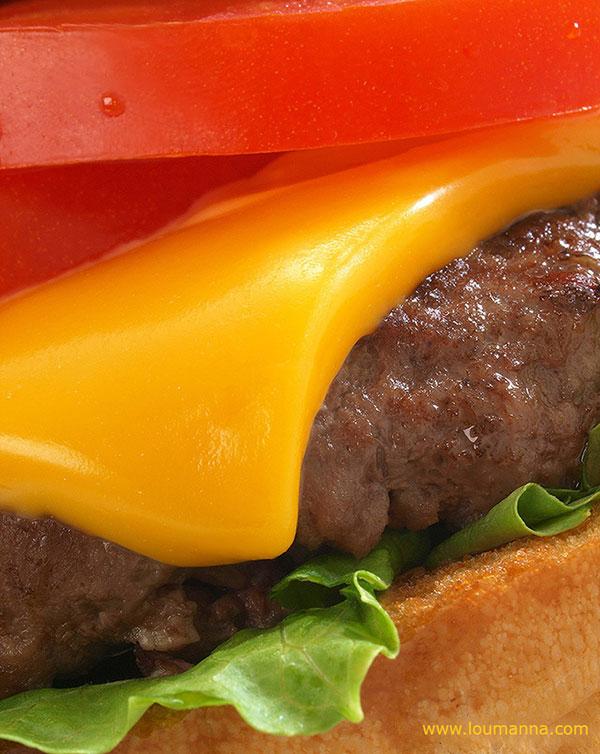
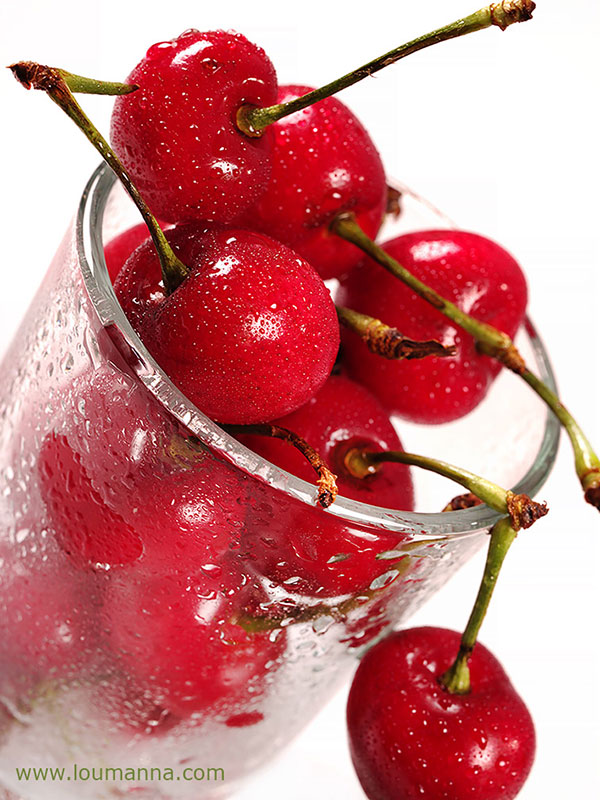
Highlights: Be prepared to shoot as soon as the food is ready so that it looks fresh, moist, hot, etc. Lightly brush the food with vegetable oil to add shine and highlights. Spray a mixture of glycerin and water or just water to create moisture droplets to make fruit and vegetables look fresh and drinks appear cold.
Tools: Manipulate small food elements with tweezers. Clean up crumbs and food particles on the plates or elsewhere with Q-tips and paper towels.
5. PROP STYLING TIPS
Setting: Select props and elements to create an appropriate mood and an environment for the image.
Subject: Keep the props simple so that the food is the star; try to blur them in the background.
Selection: The color of the food will determine what color props should be used. Experiment with solid and textured background fabrics instead of stripes and patterns.

6. IMAGE PROCESSING TIPS
Photo Editing Software: Use an application such as your camera software or Photoshop, Lightroom, iPhoto, etc., to touch up and enhance your favorite photos.
Brightness and Contrast: Adjust your image to ensure there is detail in your highlights and shadows.
Touch Up: Remove small, unwanted marks or distracting elements with the clone or stamp tool.
File Size: Reduce the image size to 8x12-inches at 72 dpi and save as a JPEG for emailing or for posting to social media sites. Remember to sharpen the image when you decrease the size.
7. BONUS TIP
Immediate Gratification: Make sure to take a bite of everything that you shoot!
- Log in or register to post comments


![]()
Get the Latest Photo Tips, News & Reviews from Shutterbug!
| Camera Reviews Other Reviews | Mobile Reviews Photography Reviews Columns | News | Features | How-To | Resources |
 © 2025 Shutterbug
AVTech Media Americas Inc., USA
All rights reserved