- REVIEWS
Camera Reviews 
More Reviews Mobile Reviews Photography Reviews - GALLERIES
- VIDEOS
- BUYER'S GUIDES
2 Great Tricks for Making Better-Looking Photos in Photoshop Using Adobe’s New Camera Raw
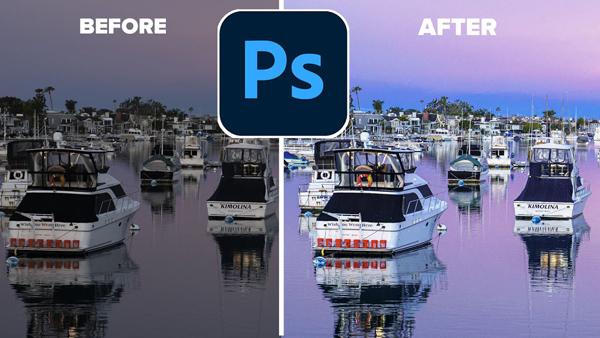
Earlier this month Adobe introduced a powerful update to Photoshop Camera Raw. In the quick tutorial below, you’ll learn how to make better-looking photos by using two simple features.
Photographer Colin Smith of Photoshop Café is known for easy-to-follow Photoshop and Lightroom tutorials that can make a big difference when processing your images. Here he focuses on color and tone adjustments for turning good images into great ones.
In just 10 minutes Smith demonstrates how to use these features to better process your images. The techniques he illustrates work just as well in Lightroom and Lightroom Classic. So follow along and see how it’s done.
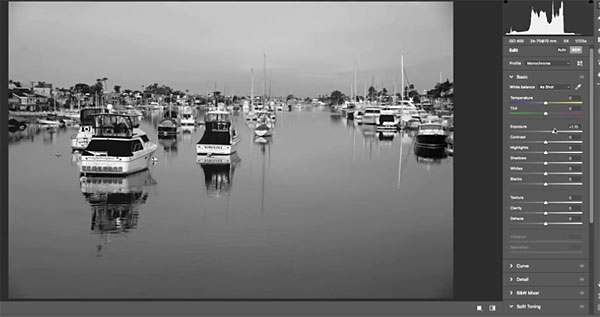
Smith begins with a review of the adjustment panels and illustrates which ones to use for enhancing color and tone. His first approach is to convert images to black-and-white so he can make precise adjustment to luminance. While paying attention to the histogram, he shows how easy it is to capture more details in the highlights and shadows.
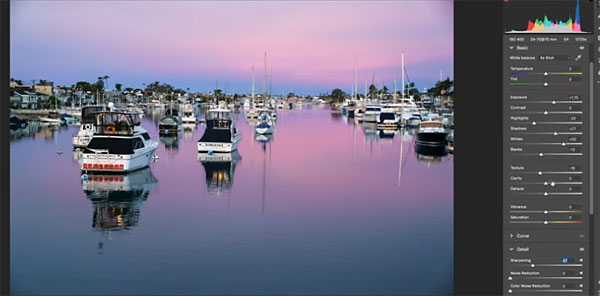
Once he brings the color back Smith adjusts the white and black tones for a much cleaner image. He also explains how this approach is more effective that adjusting contrast. The next step is to add a touch of Sharpening and Clarity for a bit of punch to the image.
There’s a lot more to learn about enhancing color and tone, so take a look at the video to for a complete description. You can find more helpful videos on Smith’s YouTube channel. And don’t miss a recent tutorial we posted with 10 hidden secrets in the new Camera Raw.


![]()
Get the Latest Photo Tips, News & Reviews from Shutterbug!
| Camera Reviews Other Reviews | Mobile Reviews Photography Reviews Columns | News | Features | How-To | Resources |
 © 2025 Shutterbug
AVTech Media Americas Inc., USA
All rights reserved