Personal Project; Modern Pictorialism; Printing Techniques For Smooth Tonality
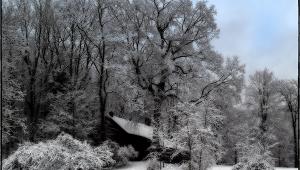
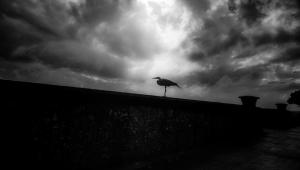
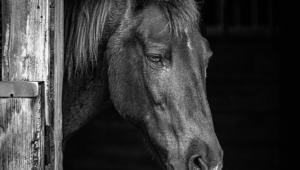
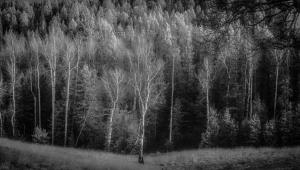
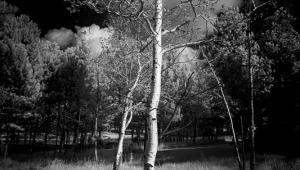
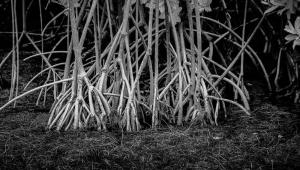
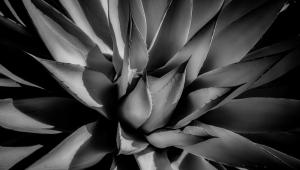
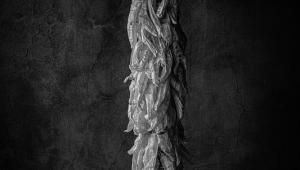
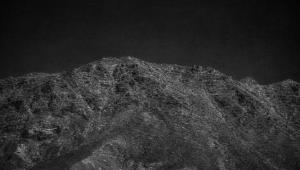
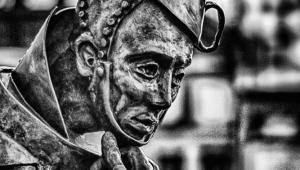
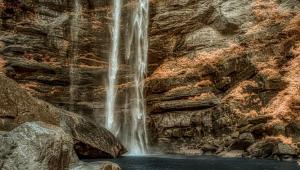
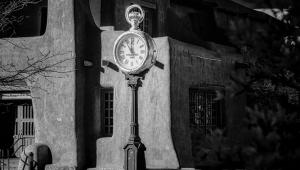
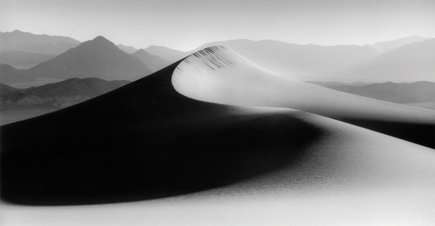
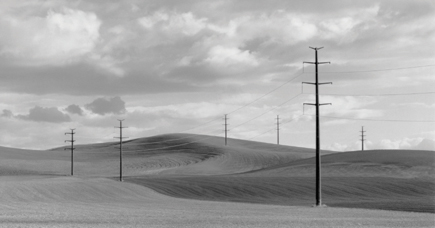
As someone who prefers a minimal style, I want to control, beyond the usual photographic variables, the level of detail and the sense of depth in an image. For this I have embraced the use of diffusion while enlarging. The use of diffusion during film exposure to soften a scene, or when used in a portrait to reduce skin texture and flaws, is long established. Nature can be just as imperfect and by using diffusion while printing I am able to control the level of fine detail in a print. Diffusion also has a significant effect on the appearance of tonal gradations in a print. In all, I am striving for a certain look, a modern pictorialism, if you will.
First Light Dune |
|
 |
|
|
I am often asked how I achieve the smooth tonal gradation that appears in
my prints. There isn't one particular technique or ingredient; it's
more of an overall process I keep in mind during the entire photographic experience.
While I can elaborate on the elements of that process, every image offers many
different choices along the way. Each choice alters and customizes the end result.
One of the biggest enemies of smooth tonality is film grain, so to start I decide
on what film and film size to use. This is an important first choice because
I can't go back on this one after the film is exposed. Excessive grain
will produce a coarse tonality and the best way to reduce film grain is by using
a fine-grained film and/or using a larger film format. Finer grain usually means
slower film speed; larger format usually means slower working, less portability,
and higher film costs. I often use 120 roll film in a 6x12cm format with either
a dedicated 6x12cm camera or with a view/field camera and a 6x12 rollfilm back.
This combination gives me the best combination of speed of use, portability,
ease of travel, and image quality.
Power Lines, Palouse |
|
 |
|
|
As 120 roll film is cheaper and easier to carry in quantity than large format
film, I "wait out" a scene. That is, I can continue to expose film
as the light or conditions in a scene improve. I can also try different filters
and vary exposure times to show cloud or water movement. Often I may shoot 5-6
rolls (30-36 frames of 6x12cm) of the same scene.
I won't discuss specific film and developer combinations as there are
too many variables there. However, films like Kodak's T-MAX 100, Fuji's
Acros, and Ilford's Delta 100 and Pan F are among many excellent choices.
An integral part of my printing style is the use of some sort of diffuser on
the enlarging lens during print exposure. I am not referring to a diffusion
enlarger vs. a condenser enlarger, but to adding a diffuser to the enlarging
lens and altering, or filtering, the optical image after it leaves the lens.
You can use diffusers, foggers, misters, cellophane, nets, Vaseline on a filter,
etc. There are many choices and they each create a different look.
Lone Tree |
|
 |
|
|
These choices allow me to customize the effect. In addition, I can further
customize the effect by choosing to break up print exposures and use differing
filters during different exposures, or even differing contrast settings if I
am using VC paper. This works well when using split filtration. I can use one
type of diffusion during the magenta exposure and a different or even no diffusion
during the yellow exposure. I even use this technique during burns. However,
sometimes I encounter a focus or even positional shift when exposing a print
with a filter and then exposing it again without one. This is most noticeable
on the edges of the image. The best solution that I have found for this problem
is to replace the diffuser with a plain filter--a skylight works best.
I'm not an optical engineer but this seems to replicate the added optical
density, or if I understand correctly, the minute focal length shift of the
diffusion filter and keeps the image's registration intact.
- Log in or register to post comments


