A New Photoshop Tool Creates Great Lighting Effects with Gradients (VIDEO)
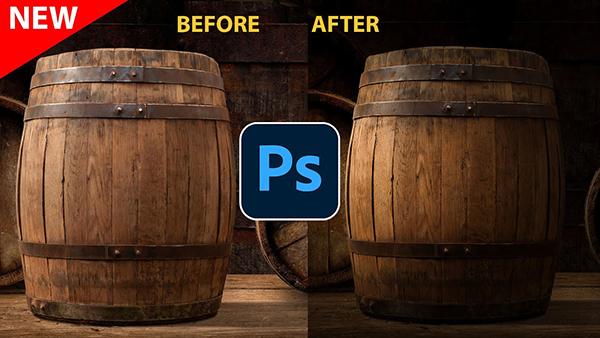
Adobe is constantly at work updating Photoshop and Lightroom with effective new features. Some familiar tools may fall by the wayside, but as you'll see in today's tutorial from the Photoshop Café YouTube channel, these are usually replaced with more powerful options.
Instructor Colin Smith is an image-editing expert whose advice we often solicit when it comes to understand new processing capabilities. In this Photoshop episode he explains that we recently lost a popular lighting-effects filter, that was replaced with a new Gradients feature that can be adapted to handle the same task and works even better.
This new feature is currently only available in the Beta version of Photoshop, and Smith explains how to download it if you haven't done so already. Smith wants to work with a darker view of his demonstration image which is easily created by going to the Photoshop's Adjustment Layers panel and using the Exposure slider.
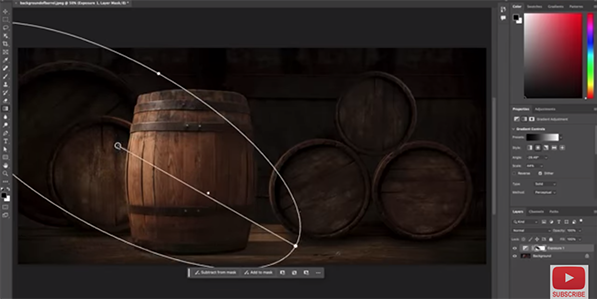
His goal is to also add a spotlight effect and add a bit of texture. He begins with the spotlight and employs a Layer mask by first setting the foreground to black so that as he paints over the image the mask will be hidden—allowing the light to show through. Then he grabs a Radial Gradient and chooses the Foreground to Background option, which is black to white.
You'll quickly see how this method differs from using the Lighting Effect filter that was recently retired. Now you can easily drag the gradient around the image and watch how light changes in different areas of the photo until you see the effect you like. So here's the new feature: you'll notice a small red dot that enables you to pull the gradient down to create sophisticated directional light that Smith says, "changes everything."
It's also possible to grab the midpoint and modify light falloff to suit your needs. Now it's time to add the texture, which is quickly accomplished within the Channels panel. Smith selects the red channel using the keyboard shortcut he provides, and now you'll notice "marching ants" on the barrel that's hit by the light he created earlier. Resetting the channels is as easy as clicking on the RGB tab in the panel.

Next, Smith chooses the background layer and copies the previously selected pixels. This enables him to further accentuate the texture. He then chooses a High Pass filter to further refine the texture by dragging the Radius slider. Everything else in the image that wasn't selected in the red channel remains unaffected.
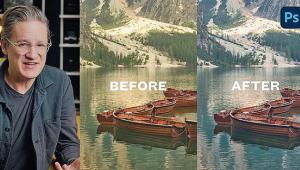
Check out Smith's before/after images and you'll be very impressed by this simple and effective transformation. You can find more simple solutions like this on Smith's popular YouTube channel so be sure to visit often.
We also recommend watching a tutorial we posted recently, in which another respected pro explains why, "Photoshop's Generative Fill won't replace you just yet."
- Log in or register to post comments
