- REVIEWS
Camera Reviews 
More Reviews Mobile Reviews Photography Reviews - GALLERIES
- VIDEOS
- BUYER'S GUIDES
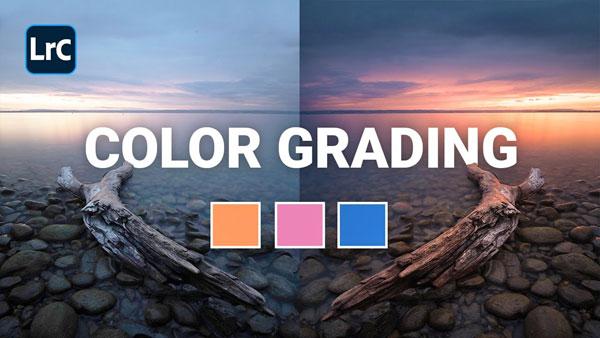
Want to Make Intense, VIBRANT Sunset Photos? Try This Quick Lightroom Edit (VIDEO)
There are a number of ways to portray sunset scenes, from images with a natural-looking effect to those that are more vibrant and intense. You can sometimes achieve the look you’re after in the camera, but other times a bit of processing is required.
In the straightforward tutorial below, German photographer Christian Mohrle demonstrates his color-grading technique for eye-popping landscape photos at sunset. As he explains, “For my personal workflow, color grading is done over the whole editing process. That means I do a bit of color grading at the start, throughout editing, and in the last phase of post processing.”

For the image in this tutorial Mohrle’s wants vibrant, intense colors, with warmer tones near the horizon and cooler tones around bright areas. He also adjusts the foreground to accentuate details in the shadows.
As he typically does, Mohrle begins by changing Lightroom’s color profile to Adobe Standard. For this particular shot he also selects the Cloudy option for White Balance to warm up the photo. He then balances the exposure by dropping the highlights, increasing the shadows, and bumping up contrast.
Next Mohrle turns to local adjustments, using a graduated filter to darken and add deeper blue tones to the top portion of the sky. He also applies a radial filter over the brighter areas of the sky to adjust temperature and tint while increasing saturation.

To finish the job Mohrle eliminates the heavy green tones and adds a subtle split-toning effect to increase blues in the shadows. The finished image is exactly what he envisioned.
You can find more helpful tips on Mohrle’s YouTube channel and in a tutorial we posted from another editing expert, explaining a simple trick for adjusting Vibrance in Lightroom.


![]()
Get the Latest Photo Tips, News & Reviews from Shutterbug!
| Camera Reviews Other Reviews | Mobile Reviews Photography Reviews Columns | News | Features | How-To | Resources |
 © 2025 Shutterbug
AVTech Media Americas Inc., USA
All rights reserved