- REVIEWS
Camera Reviews 
More Reviews Mobile Reviews Photography Reviews - GALLERIES
- VIDEOS
- BUYER'S GUIDES
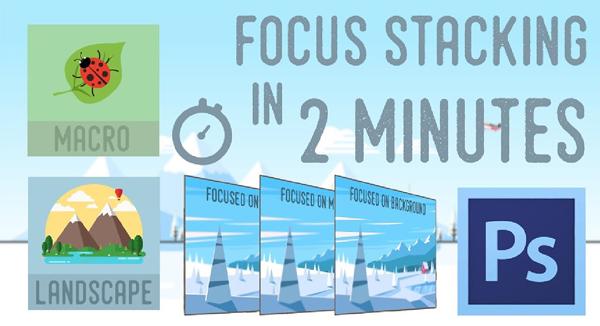
Understanding Focus Stacking and How to Use It for Maximum Depth of Field (VIDEO)
Minnesota-based photo instructor Vincent Ledvina has a unique ability to simplify confusing photography concepts and illustrate how to use them with unique animated graphics he creates himself. In this quick tutorial, he explains how to employ a powerful technique to create images with maximum depth of field.

Focus stacking involves shooting multiple photos of the same scene, each with a different zone of sharpness, and then combining them in Photoshop or another editing app to create a single image with almost limitless depth of field. This method is a valuable one to learn, as it can be used for macro, landscape, and other types of scenes in which it’s impossible to capture a wide range of focus in just one shot.

As complicated as this may sound, Ledvina uses his teaching skills to demonstrate everything you need to know in just two minutes. He explains that you’ll need a camera with manual focus and manual exposure capabilities, and a sturdy tripod to eliminate camera movement between shots.
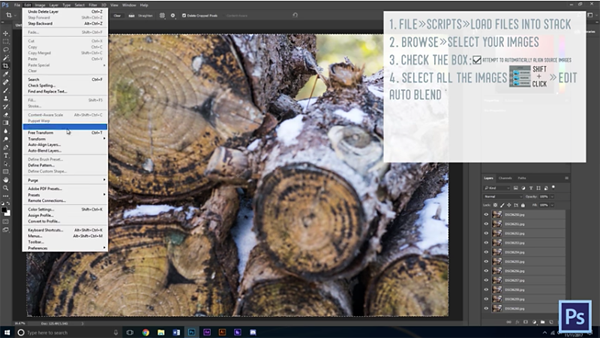
Ledvina walks you through the necessary camera settings, describes the proper way to focus each of several images, and explains how many shots are necessary. The final step is to edit and merge the images, and Ledvina shows you how.
There are more interesting videos on Ledvina’s YouTube channel. You may also want to look at the earlier tutorial we posted, with what he says are the five biggest misconceptions about photography.


![]()
Get the Latest Photo Tips, News & Reviews from Shutterbug!
| Camera Reviews Other Reviews | Mobile Reviews Photography Reviews Columns | News | Features | How-To | Resources |
 © 2025 Shutterbug
AVTech Media Americas Inc., USA
All rights reserved