- REVIEWS
Camera Reviews 
More Reviews Mobile Reviews Photography Reviews - GALLERIES
- VIDEOS
- BUYER'S GUIDES
No Vibrance Tool in Lightroom? Here’s the SECRET Adjustment (VIDEO)

Photoshop users know that Vibrance and Saturation are similar but not quite the same, and these tools can be employed separately or together for different purposes. Lightroom, on the other hand doesn’t have a Vibrance tool, and if that sounds crazy just take a look; all you’ll find is a Saturation slider.
In the quick tutorial below, however, photo-editing instructor Matt Kloskowski comes to the rescue with a hidden method for adding Vibrance in Lightroom. He uses a colorful abstract image to demonstrate how to use Lightroom’s “secret” Vibrance adjustment and explain how Vibrance and Saturation interact.
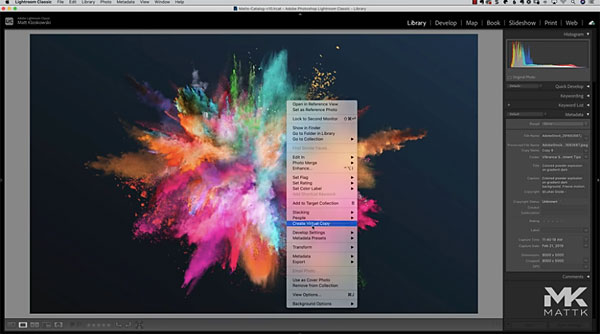
Keep in mind that this technique also works for portraits, landscapes, and other types of images. Before jumping into the Develop Module, Kloskowski makes three copies of his image. The rest of the process takes barely five minutes to explain.
Kloskowski begins with his first copy and cranks up Vibrance to 100%. On the second copy he boosts Saturation to 100%. By comparing the two it’s easy to see the difference. He demonstrates his “secret” Vibrance adjustment with the third copy by going to the Gradient Filter and dragging a gradient off the edge of the photo.
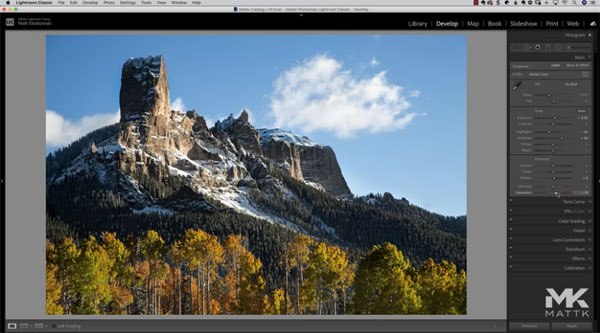
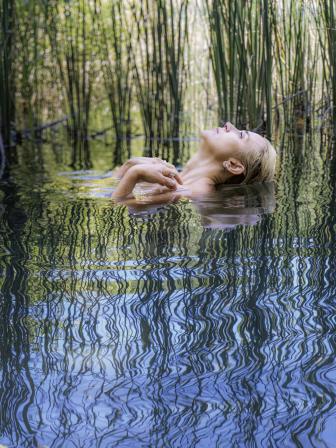
Now he cranks up Saturation to 100% on the Graduated Filter layer and the magic begins. He does the same for a portrait and a landscape shot with very similar results.
As Kloskowski says, “What we know now, is that we do have a Vibrance local adjustment in Lightroom, because when we take Saturation and go positive, it’s Vibrance. When we go the other way it becomes negative Saturation.”
If this sounds a bit confusing, it all makes sense while watching the video and comparing his examples. After you’ve done that, head over to Kloskowski’s YouTube channel for more tips and tricks.
And be sure to check out an editing tutorial we posted with another expert, explaining the best way to cut out hair and fur in Photoshop.


![]()
Get the Latest Photo Tips, News & Reviews from Shutterbug!
| Camera Reviews Other Reviews | Mobile Reviews Photography Reviews Columns | News | Features | How-To | Resources |
 © 2025 Shutterbug
AVTech Media Americas Inc., USA
All rights reserved