Lightroom Tips: How to Get Rid of Shiny Hot Spots in Portrait Photos (VIDEO)

One way to really mess up an otherwise nice portrait is to get the lighting wrong and end up with shiny hot spots on a model’s face. But if you make that mistake, never fear, because one of our favorite image-editing experts comes to the rescue with a Lightroom quick fix below.
In this really helpful tutorial, Anthony Morganti shows you how to get rid of that horrible shine in less than five minutes. And once he’s done with demonstrating the technique, he offers some really good advice for eliminating the problem in the camera so you needn’t fix the image later.
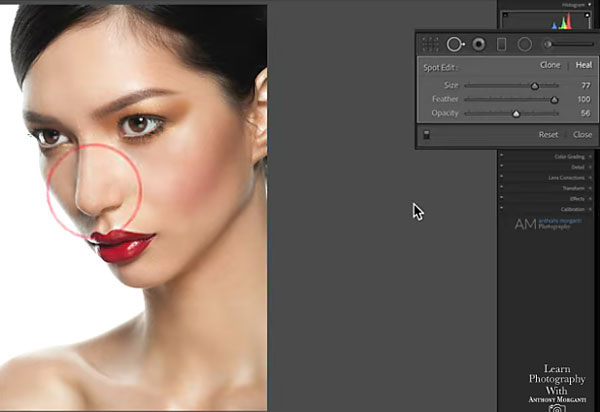
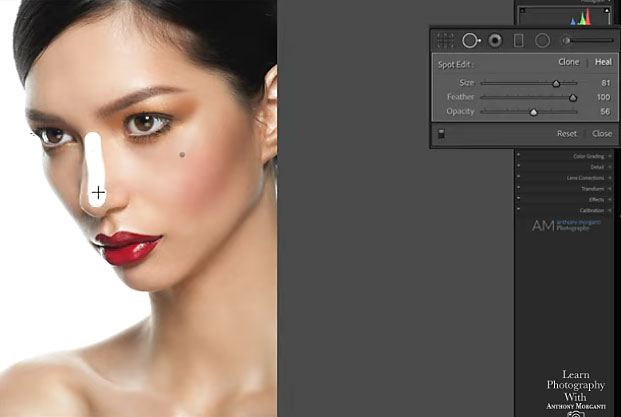
After pulling up an image Morganti jumps right in with the Spot Removal Tool in the Heal mode, and he explains the proper settings for feathering, opacity, and brush size. He provides before and after examples as he modifies the adjustments while working on the image, and you’ll see how less tends to be more if you want a natural-looking result.
As Morganti repairs various hot spots, he slightly modifies the opacity setting for different portions of the model’s face. The end result is just what you’d want it to be if the image was captured perfectly in the camera.
The final portion of the tutorial demonstrates that Morganti’s knowledge isn’t limited to the computer, and he knows his way around a camera just as well. His advice for shooting portraits is simple, effective and very helpful. Here he discusses the effect of different light sources, both in terms of quality and size, and how to make necessary adjustments to avoid those shiny hot spots.
He also explains how the distance between a model and any supplemental light you use can have a big impact in solving the shiny face syndrome. There are a few other good tips as well, and they’ll make a big difference in your portraits.
We shared another good Lightroom tutorial from Morganti recently, explaining the best way to convert color images to black and white. And there are plenty more great tips on his YouTube channel.


