Leaves: Graphic Designs And Image Options
Every photographer has a personal vision and a particular taste in composition, light, color and so on. For example, many photographers chose nature’s details simply to abstract the color and form they find. Others like to use extremely shallow depth of field—also called selective focus—so only a sliver of the subject is sharp while the rest of it is soft. People who are intrigued by the beauty, intricacy and complexity of nature usually shoot with the opposite approach. They want to reveal as much detail in the subjects as possible so those who view their work can appreciate the designs and the patterns in the images with tack sharp clarity.
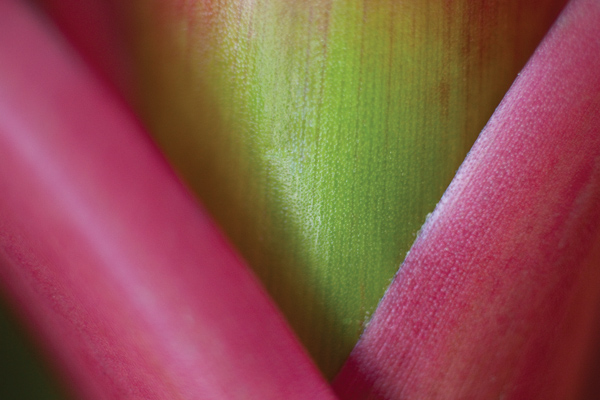
I am in the latter group of shooters. I feel that nature is so fascinating that to render it largely blurred doesn’t make sense. For example, in (#1) the color and graphic design of the leaves of this bromeliad look good, but notice I purposely focused on the center green area and used f/2.5 on a 50mm macro lens to show the effect of shallow depth of field. The left side is completely soft because it was about an inch closer to the camera than the other sections of the plant, and both the right side and the middle portion have significant curved surfaces that contributed to the lack of depth of field. Personally, I think this is terrible. The out of focus areas are distracting and visually annoying because we want to see the texture and detail, but we can’t.
All Photos © Jim Zuckerman
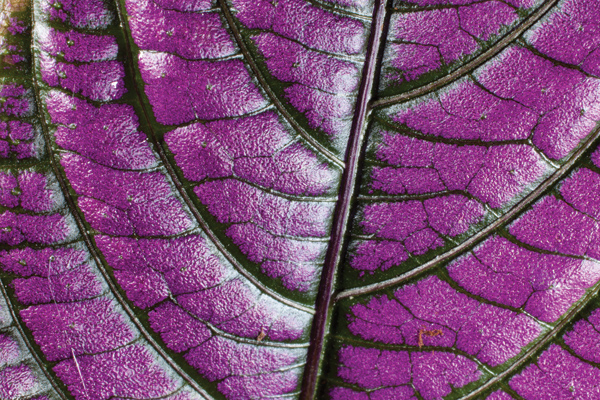
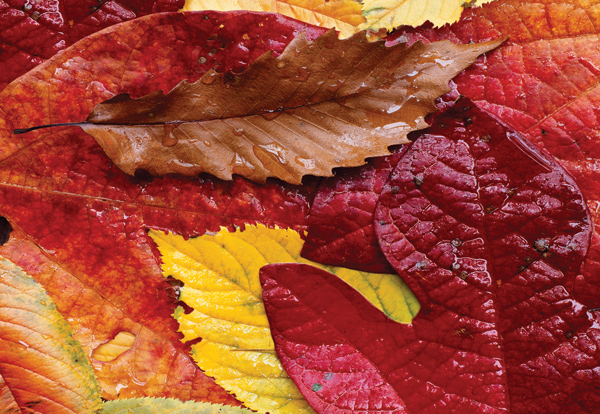
Much better in my opinion are photos (#2 and #3) where I took my time and did it correctly. I used a tripod and closed the lens down to f/32 with aperture priority. This gave me the maximum amount of focus throughout the image, and the length of time the shutter was open was irrelevant because nothing was moving and I used the firm support of a tripod.
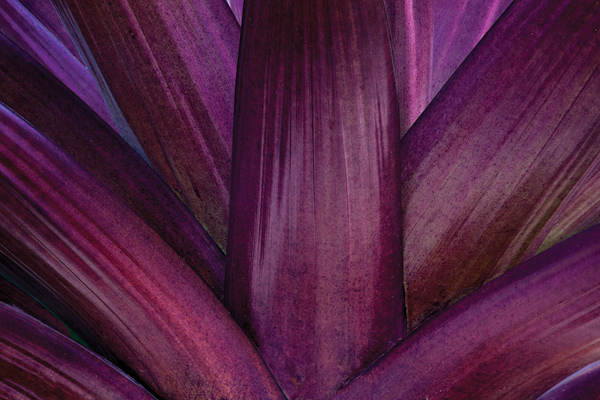
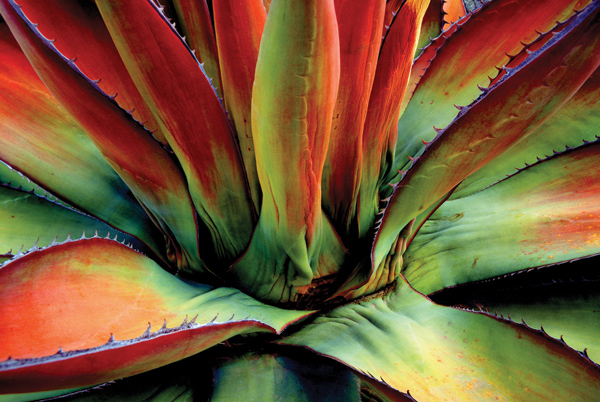
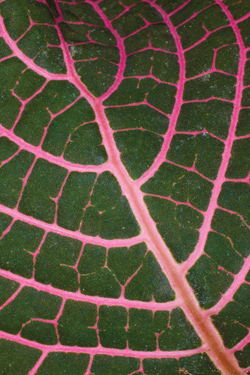
To help maintain as much depth of field as possible, set the camera so the back of the camera is as parallel as possible to the surface of the leaf. Even with f/32, you can’t render a leaf with a curved surface as sharp as you want. This is particularly true when you move in very close, as I did in (#4). Notice at the top of the picture the leaf is almost sharp but not quite. This is because the camera back wasn’t parallel with the leaf. In (#5) I corrected that problem and, as you can see, the entire leaf from edge to edge is tack sharp. When I shot straight down on the group of autumn leaves in (#6) I moved away from the camera setup 3-4 ft to judge how parallel the camera was to the ground. Sometimes it seems like the camera is positioned correctly, but when seen from the side it may, in fact, be slightly oblique to the subject. This takes just a moment to check, and it can save a lot of close-up shots.
Light
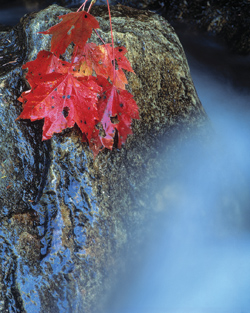
Most of the time, soft and diffused lighting is ideal for shooting all macro subjects, leaves included. This kind of light typically doesn’t have black shadows or very light highlights, and that means that none of the detail in the leaves is lost. A good example of light that is too contrasty because of the direct sunlight is (#7). This isn’t a terrible picture, but I don’t like it because the sheen on the leaves is too light and the shadows are too dark. I do like the black background in this case, but the contrast on the berries and the leaves is too harsh. Compare the seemingly washed out color in this picture with the rich red color in (#8). These maple leaves I photographed in a Vermont stream were taken in diffused light, and the difference is remarkable. I used a long exposure (4 seconds) to blur the water, but it’s the saturated color in this image that makes the picture look so appealing. The large green leaves in (#9) were also taken with extremely soft light. In fact, this was in a greenhouse for orchids and other tropical plants, and the whitewashed windows created an ideal soft light.

 \
\

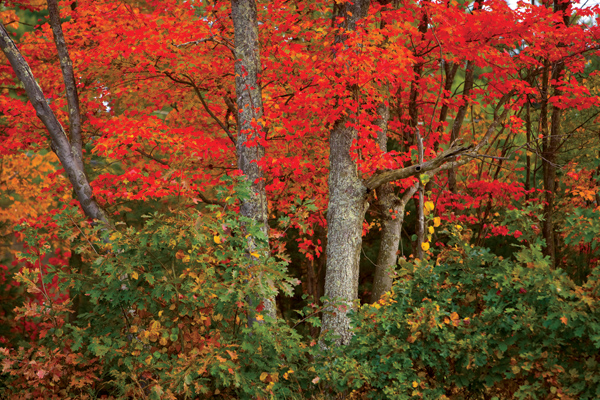
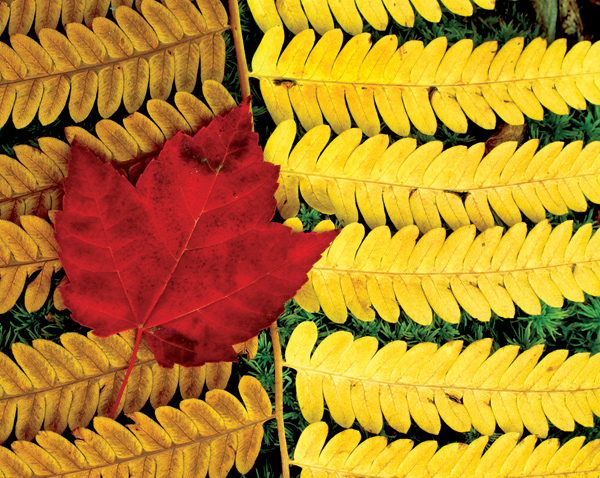
When I shoot autumn leaves, I always hope for overcast days. Contrary to popular belief, the intensity and saturation of the colorful leaves is not a function of direct sunlight. Instead, the rich color is most in evidence under a cloud cover. This is true when photographing individual leaves or an entire branch or tree such as in (#10). When you are doing macro work and the sun is high in the sky, use your body or even an umbrella or diffusion panel to block the sun from the leaf or any small subject. That’s what I did when I photographed the red maple leaf on the fern (#11). I knew the diffused light would be much more flattering to the plants than direct sunlight.
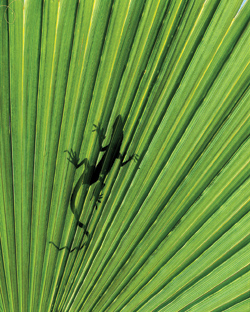
Another type of light that is quite dramatic when shooting leaves is backlighting. This works best when the leaves have a lot of detail in them and when they are thin enough for the light to come through. You now have the added benefit of silhouetting something interesting on the leaf. For example, in (#12) a small frog was on the opposite side of the leaf. I had a friend hold a flash directly behind it and used a PocketWizard (www.pocketwizard.com) to trigger the flash wirelessly. The PocketWizard fires the flash using a radio signal so the fact that the leaf blocks the flash from view isn’t a problem at all. In another example, (#13), a lizard was on a palm frond and even though it was very awkward, I positioned myself beneath the large leaf so the midday sun was in the background. I was shooting straight up and caught the graphic pattern of the palm with the silhouette of the reptile. Notice how in both of the silhouette photos, the leaves seem like they are glowing from within. That’s why photographers love using this visually compelling type of light.

Ice
A unique way to photograph leaves is to put them in a shallow container of water and freeze them overnight in the freezer. This simulates a shallow stream in winter. I like using autumn leaves for this because it simulates a real wintry situation and because of the wonderful color juxtaposed with the ice. Image (#14) shows what this looks like. I use a plastic container for this project because glass would be a disaster. When water is cooled below 4˚ Celsius (39˚ Fahrenheit), it expands and will crack anything brittle like glass.
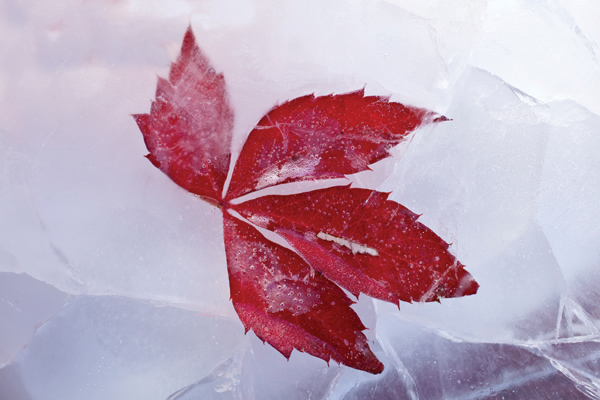
After several hours (usually overnight) in the freezer, I bring the plastic container out and run hot water over it for a couple of seconds. This cracks the ice, making it look more realistic, as if this is a small section of a stream or creek.


