- REVIEWS
Camera Reviews 
More Reviews Mobile Reviews Photography Reviews - GALLERIES
- VIDEOS
- BUYER'S GUIDES
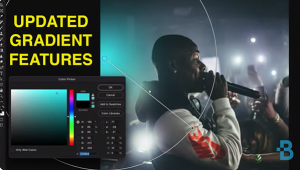
How to Create & Edit an Epic HDR Panorama Photo in Photoshop (VIDEO)
Panorama photos are a lot of fun to make and can really grab attention. Some cameras can automate the process by merging successive shots to achieve a pretty good result. Doing it this way may require a tripod for absolutely precise merging, and you'll still need some post-processing to finish up the job.
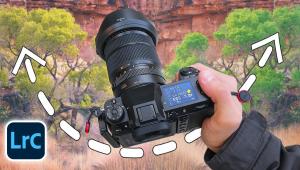
Oftentimes a better approach is to simply shoot multiple images, and then use Photoshop to both stitch the photos into a clean panorama and edit it at the same time. This is what you'll learn how to do in today's tutorial from the PHLOG Photography YouTube channel. Not only will your panorama look perfect, but this process is surprisingly easy to accomplish.
Instructor Christian Mohrle is an accomplished German landscape photographer, and he walks you through the necessary steps in barely 11 minutes. Be sure to download his sample Raw files in the description beneath the video, so you can make the adjustments yourself as they're explained.
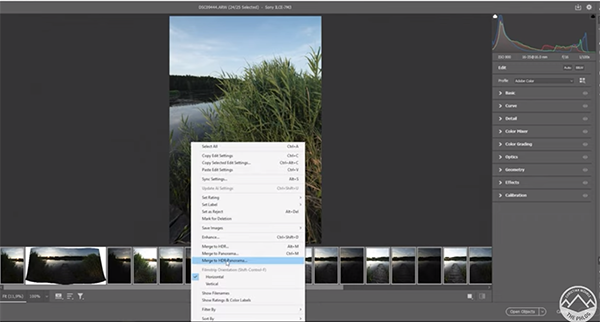
First you have to merge the HDR panorama which involves selecting all the images from your sequence, right-clicking on one of the thumbnails, and choosing Merge to Panorama from a dropdown menu. This process can take a while depending upon your system, so patience may be required.
A preview window appears with the merged image once this step is complete, and there are a few preliminary refinements that can be made—either automatically or manually if you wish. Then Mohrle makes several global adjustments to prepare the photo for the selective enhancements that follow to different portions of the scene.
These basic adjustments begin by changing the profile from Adobe Color to Adobe Landscape to increase overall saturation and make dark areas a little brighter. Mohrle then raises exposure, opens up shadows for more detail, and modifies White balance for more warmth. He also adds Clarity, Texture and Vibrance.

Now it' time for the essence of the edit, with adjustments that are selective in nature. Here masking is the initial step to adjust exposure and other variables to different areas in the shot. Then Mohrle demonstrates the color grading technique he prefers to achieve the specific look he's after.
With everything now looking really nice, Mohrle further refines the image with careful sharpening, a bit of dodging, and a quick fix to colors. You'll also see how to correct any distortion that resulted from the merging process. Now the transformation is complete.
After watching this lesson head over to Mohrle's instructional YouTube channel where you'll find additional editing techniques for improving your outdoor photographs.
We also recommend watching a tutorial we posted last week, explaining how to install and use Photoshop Actions for a fast and efficient editing workflow.
- Log in or register to post comments


![]()
Get the Latest Photo Tips, News & Reviews from Shutterbug!
| Camera Reviews Other Reviews | Mobile Reviews Photography Reviews Columns | News | Features | How-To | Resources |
 © 2024 Shutterbug
AVTech Media Americas Inc., USA
All rights reserved