- REVIEWS
Camera Reviews 
More Reviews Mobile Reviews Photography Reviews - GALLERIES
- VIDEOS
- BUYER'S GUIDES
Here’s an Easy Way to Dodge & Burn Skin in Photoshop from Portrait Pro Anita Sadowska (VIDEO)
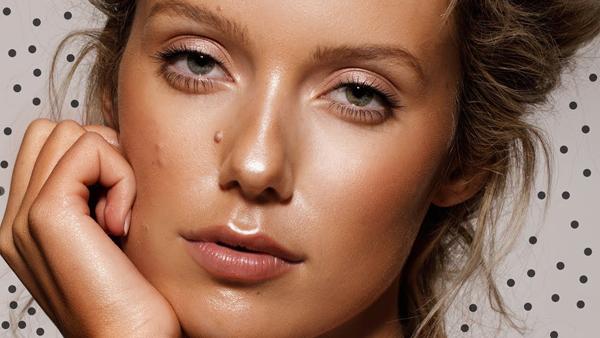
Editing portrait photos can be a demanding task, especially if you're a working photographer. In the three-minute video below, you’ll learn an alternative method for dodging and burning skin in Photoshop that’s really easy to accomplish.
Anita Sadowska is a portrait and fashion photographer based in Dublin, Ireland, and in this quick tutorial she demonstrates a simple technique for refining the skin tones of her subjects that doesn’t involve Photoshop’s standard Dodge and Burn tools.
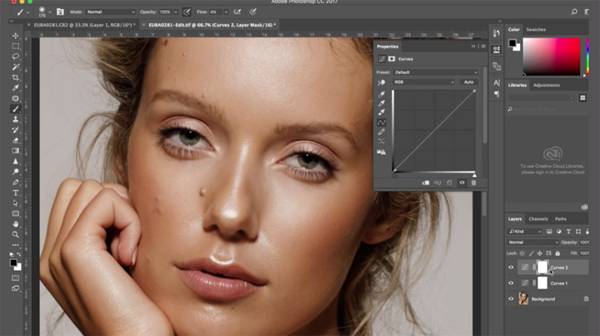
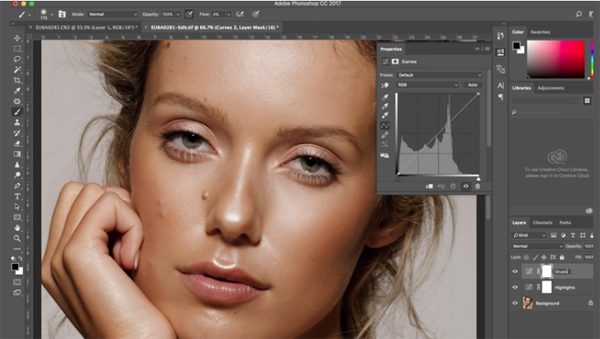
Sadowska begins by creating Curves layers for both the highlights and shadows in her image. Then, in a somewhat counterintuitive approach, she further brightens the highlights and darkens the shadows. Her technique makes sense when she inverts both masks and turns to the Brush tool to add highlights and shadows where needed.
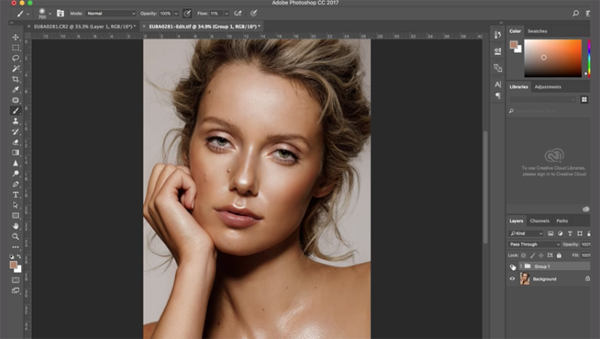
This approach works well in general, as it does for dark-skinned subjects. Give it a try and you’ll be pleasantly surprised. You can find more tips on Sadowska’s YouTube channel, and be sure to look at an earlier tutorial we posted, explaining a simple auto dodge and burn trick for adding dimension to portrait photos.


![]()
Get the Latest Photo Tips, News & Reviews from Shutterbug!
| Camera Reviews Other Reviews | Mobile Reviews Photography Reviews Columns | News | Features | How-To | Resources |
 © 2025 Shutterbug
AVTech Media Americas Inc., USA
All rights reserved