- REVIEWS
Camera Reviews 
More Reviews Mobile Reviews Photography Reviews - GALLERIES
- VIDEOS
- BUYER'S GUIDES
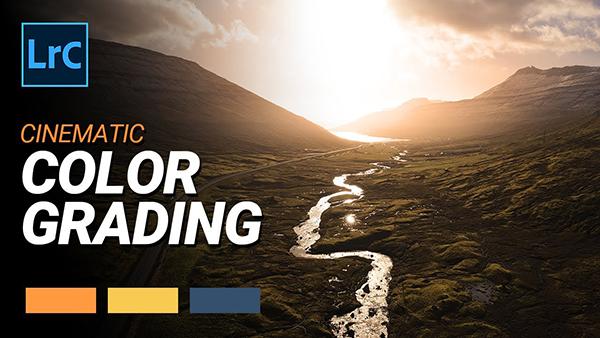
Golden Hour Photos All Day Long with an Easy Edit in Lightroom (VIDEO)
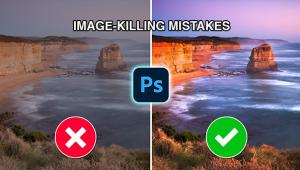
Sometimes we can't choose the time of day when we come across a beautiful landscape scene. So we take a few shots, despite the terrible midday light, and our images seem destined for the trash.
But what if you could fix the photos rather than delete them? That's what you'll learn how to do in the quick and easy tutorial below from the Phlog Photography YouTube channel. The goal of this episode is to transform a mediocre image by introducing a beautiful Golden Hour look with a few adjustments in Lightroom.
Instructor Christian Mohrle is an acclaimed German landscape photographer who is just as adept with the computer than he is behind the viewfinder. This straightforward color-grading method is accomplished in barely eight minutes with a combination of basic global adjustments, selective masking, simple color adjustments, and a bit of sharpening.

We encourage you to download Mohrle's demonstration image via a link in the description beneath the video so you can make the enhancements yourself as they're explained. Mohrle always begins with a few overall adjustments to create a sold base image for the key enhancements that follow.
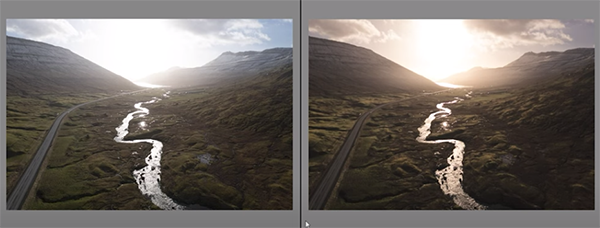
For this hazy, uninspiring shot Mohrle first changes the profile from Adobe Color to Adobe Standard which immediately lessens contrast and brightens up the darkest areas in the frame. He then adjusts Color Balance by increasing the temperature, while modifying exposure in the overly bright areas of the sky.
While doing this he's careful to take a subtle approach that won't detract from the glow he creates later. He makes a few other quick adjustments to the shadows to give the image an overall "dreamy" appearance.
Now it’s time for local adjustments to various portions of the scene, beginning with a Color Range mask to enhance bright spots within the much darker foreground. He then places a Linear Gradient over the near area of the foreground to introduce a bit of Clarity and Texture.
Mohrle adds a thin-but-wide Radial Gradient where the sky meets the background, making sure to include part of the adjacent mountains in the selection. This is used to produce the intended glow, and you see the adjustments he makes to get it just right.
Careful color-grading completes the transformation. As you'll see, this begins with a split-toning effect that's contributes to the Golden Hour look. You can find more great editing tips on Mohrle's instructional YouTube channel, so be sure to pay a visit when time permits.
And don't miss the tutorial we posted recently from another accomplished outdoor photographer, explaining seven common landscape photography mistakes and how to fix them in the camera.
- Log in or register to post comments


![]()
Get the Latest Photo Tips, News & Reviews from Shutterbug!
| Camera Reviews Other Reviews | Mobile Reviews Photography Reviews Columns | News | Features | How-To | Resources |
 © 2024 Shutterbug
AVTech Media Americas Inc., USA
All rights reserved