- REVIEWS
Camera Reviews 
More Reviews Mobile Reviews Photography Reviews - GALLERIES
- VIDEOS
- BUYER'S GUIDES
Get a New Perspective: 7 Ways to Capture Unique Landscape Photos in Popular Locations
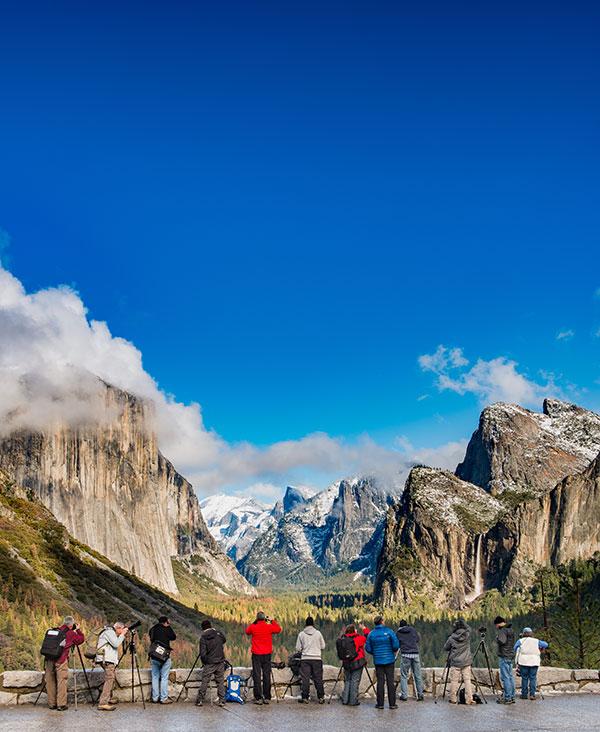
Have you ever made that bucket list trip to follow in the footsteps of the great masters of landscape photography by visiting places like Yosemite or Yellowstone but wished you came home with photos that didn’t look like those taken by everyone else? While standing in a crowd with 50 other photographers at a viewpoint might be a fun way to make friends and chat about gear, it is unlikely you are going to produce many new or unique photos.
And while it’s fun to test ourselves against those who came before us by shooting the same scenes, it also leads to a bit of a creative dead end. The struggle is how to create something new in these popular landscape locations when it seems like every shot has already been taken.
Try these seven tips to help get your creative juices flowing.
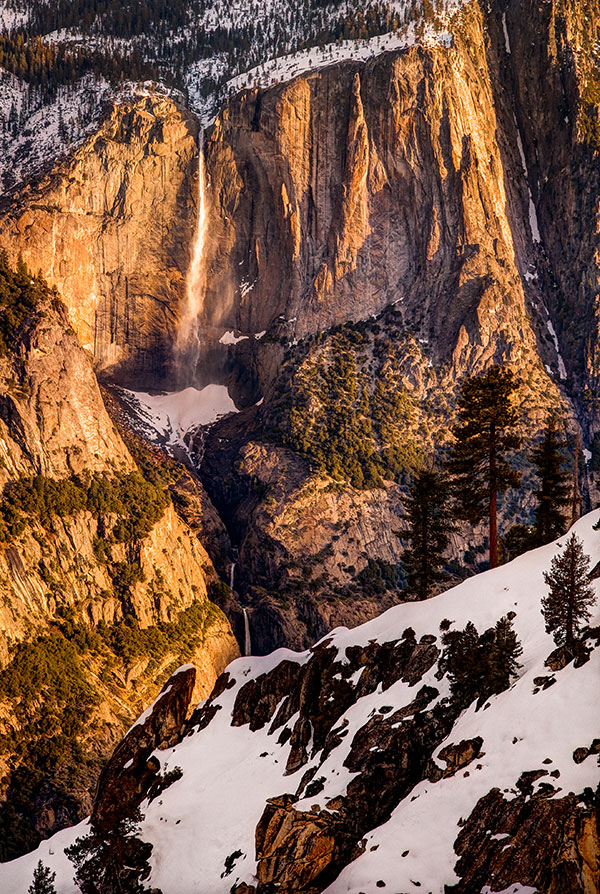
1. Move Beyond the Classic “Hero” Shot
The first step to creating unique images in well-known locations is to shoot the classic “hero” shot. I know you might be thinking this is exactly the opposite of creating something new, but once this well-known shot has been checked off the list, you are no longer tempted by it or feel like you are missing something. By having the “hero” shot in the bank, you are more willing to take creative risks and walk past the crowd. Many times heading in the opposite direction from the crowd can mean you miss the big show, but by taking this risk you are also in the running for an even bigger show. Imagine shooting the classic Horsetail Fall in Yosemite from a viewpoint no one has ever tried before. Once I had the “hero” shot in the bank I was far more willing to spend the entire day focused on getting to a potential location that was not a guarantee.
2. Go Back Regularly
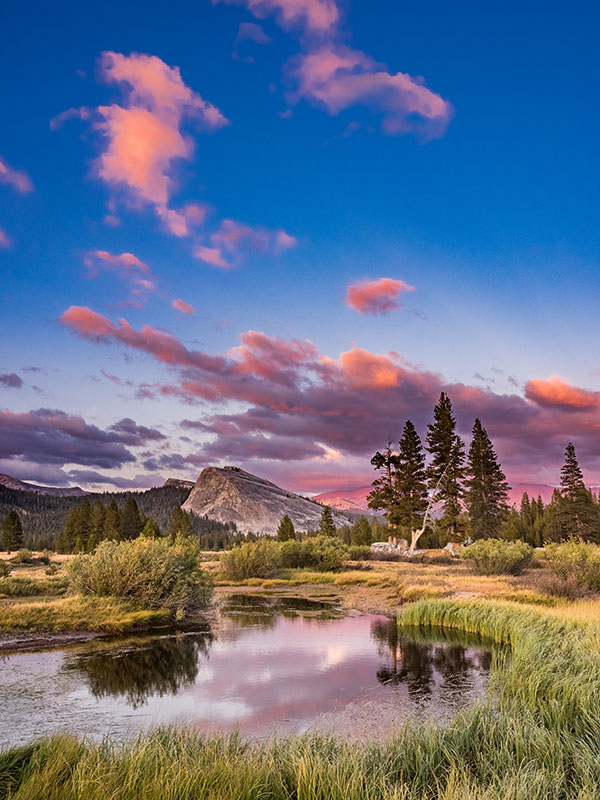
Another key to going deeper in well-known locations is the ability to return on a regular basis. In my case, Yosemite is just five hours away and I go several times a year, in different seasons. By visiting there regularly, I have the opportunity to capture the classic “hero” shots when they present themselves, but it also gives me the chance to explore new locations or return to favorite ones time and time again. Getting to know the park has allowed me to adapt to changing weather and create images that many photographers drive right past because they are not included in the “guidebook.” This point holds true when you look at my very thin portfolio from parks I have only visited for a limited time. While I have many of the “classic” shots from these parks, the unique images require time and exploration. As I have developed as an artist, I find myself less interested in visiting new locations, but rather wanting to go back and dig deeper into familiar ones.
3. Do Research
The next best thing to returning to a location on a regular basis is good in-depth research. Where have other photographers gone and what have they produced? Do you want to just replicate their work or use their work to inform you of potential new compositions? There are two schools of thought on this in terms of the value of looking at the work of other photographers prior to visiting, but I am firmly in the camp that the more I know about a location the more productive I will be. Looking through a photographer’s website or Instagram feed often gives me ideas of other angles, compositions, and seasons. After my initial research online and in books, I dig deeper into the specifics with paper/digital maps and The Photographer’s Ephemeris app on my iPhone—the app helps me see where the sun and moon will be on any given day at my location. Add in a bit of Google Earth and I have a very good idea of a location before I even leave home. Thus, I spend less time driving around exploring and more time being productive with my camera.
4. Make a Shot List
One of the tried-and-true tools of professional photographers is not which camera they use, but rather the shot list they create prior to a shoot. While landscape photographers may not be going on a professional commercial shoot, the concept still very much applies. If you have done your research and have a good idea of what opportunities exist, creating a list of “goals” will help keep you focused so you can stick to your creative vision. Here are some questions to ask yourself: Do I want my shots to have iconic recognizable landmarks, or are smaller intimate scenes my goal? Is there one particular shot that is my main goal, and everything else can happen if it happens? The more you have an idea before you arrive, the more productive your shooting time will be.
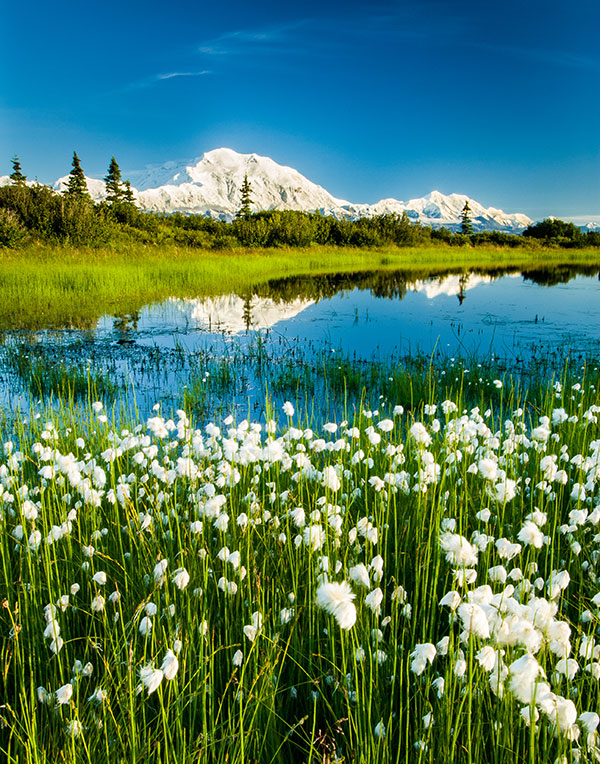
5. Walk Past the Crowd
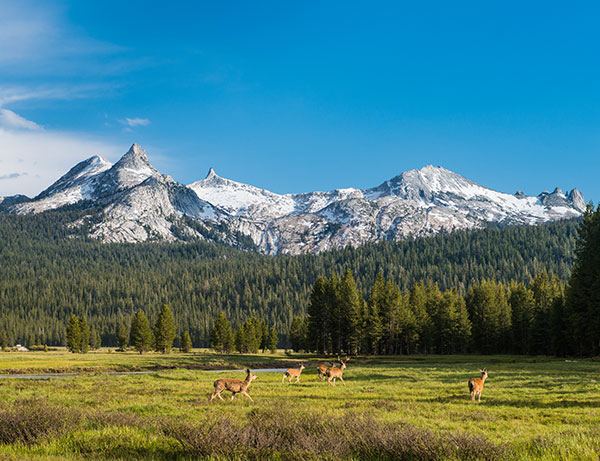
Put on those hiking boots and get away from the road. You don’t need to be a backpacker or mountaineer (though it couldn’t hurt) to get away from the crowd. In most national parks the majority of visitors never walk more than a few hundred yards from the paved road. You don’t have to walk far to leave them all behind and find your own view or your own wildlife. Challenges such as parking or tripod space have even created fistfights or traffic accidents in some popular locations. Once you have that “classic” shot in the bank avoid this chaos and start exploring. In places like Yosemite or Denali National Park, a 10-minute walk off the road can lead to great rewards.
6. Use a Different Lens
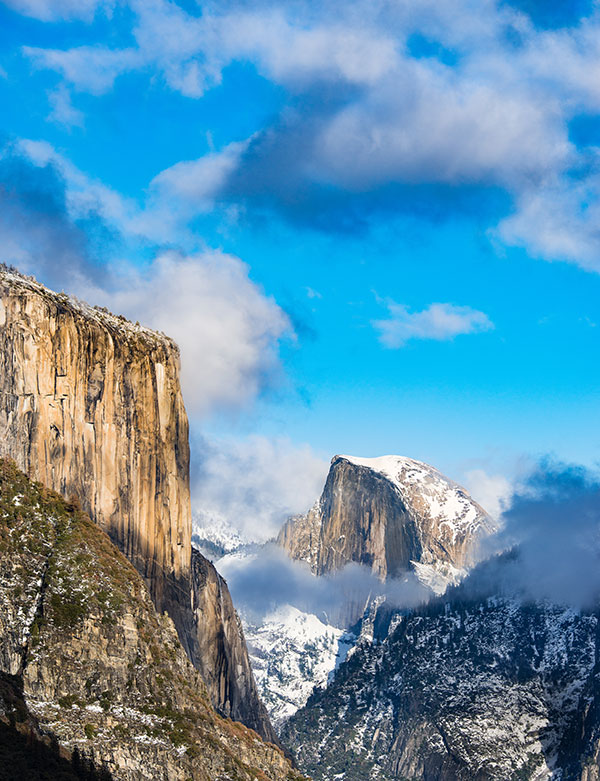
When you were doing your research did you notice that all the shots were taken with a wide angle? Next time, after taking a couple of wide shots to get it out of your system, put on the telephoto and start isolating parts of the scene. Often you may still want to include recognizable landmarks but by looking for long lens shots at grand viewpoints photographers are able to create more depth and often more drama. Imagine including Half Dome and El Capitan together in a shot, but isolating them into a tight composition that makes Half Dome look right behind El Capitan.
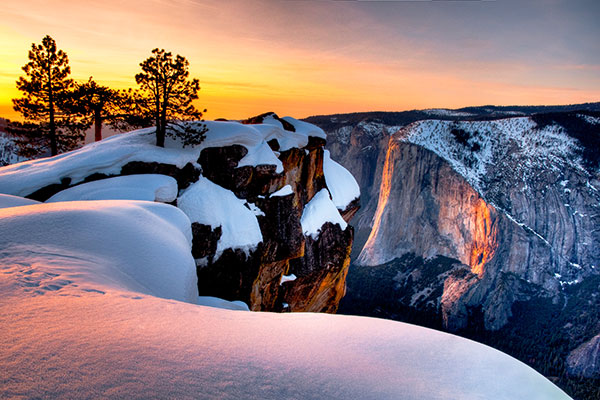
7. Visit in the Off-Season
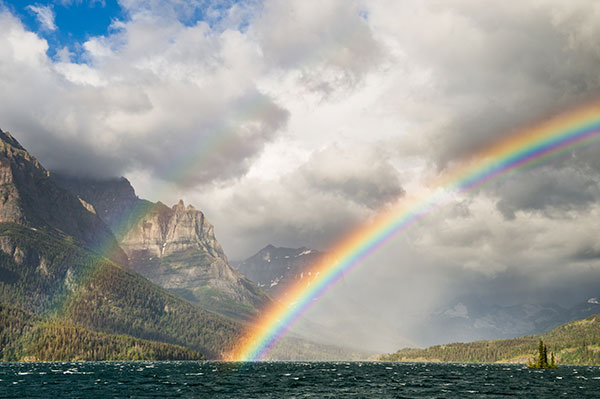
While many popular locations are packed during peak season, often these locations are nearly empty in the off-season. Sure, the regular tourists want it to be warm and sunny when they visit Yosemite, but for us photographers we want the exact opposite. We want big storms, fresh snow, and the crazy light shows that come with clearing winter storms. Wintertime in most national parks is often less crowded, cheaper, and often offers a greater chance to create something a bit different from the norm. Even classic viewpoints take on a different feel in harsh weather, and lesser-known locations become truly unique. Places like Yosemite still have plenty of untapped scenes if you are willing to work for it and suffer through some weather. Remember that camera is far more weather sealed than you give it credit for and can take way more abuse than you think. Get it wet, risk some scratches, and create something new.
Josh Miller’s images have been featured in publications throughout the world and his work is represented by Aurora Photos. To find out more about his work and his workshops, follow Miller on Facebook and Instagram @joshmillerphotography or check out his website, joshmillerphotography.com.


![]()
Get the Latest Photo Tips, News & Reviews from Shutterbug!
| Camera Reviews Other Reviews | Mobile Reviews Photography Reviews Columns | News | Features | How-To | Resources |
 © 2025 Shutterbug
AVTech Media Americas Inc., USA
All rights reserved