Food Coloring In Water: Floating Abstracts
The Container
I recommend either glass or plastic with a flat side for the container of water. If you use a round or cylindrical vessel, there will be unwanted distortion caused by the curvature of the container. This will make sharp focus practically impossible, and even though the mixture of food coloring and water is completely abstract, it still needs to be sharp. An inexpensive aquarium works well for this technique (you can buy a plastic one at a pet shop or Wal-Mart for about $10) or, if you want to spend a few minutes constructing a makeshift container as I did, you can have a glass store cut a few pieces for you that form a narrow container (figure A). The sides and ends can be glued together with silicone rubber (I first attached them with duct tape to hold them together so I could apply the silicone) which also seals the cracks. With a single application of this stuff, I had no leaks at all.

All Photos © Jim Zuckerman
The reason I went to this trouble and made my own water container was because I preferred to shoot through glass rather than plastic. It is optically superior. I also wanted to make a vessel that constrained the swirling color to a relatively narrow plane. This isn’t a crucial aspect of the technique, but my reasoning was if the colorful designs were constrained to only an inch or two in depth, then depth of field would be easier to achieve throughout the mixture of color.
I took all of the photos in this section with a 50mm macro. You can certainly use a telephoto macro lens, too. Sometimes I added an extension tube for a tighter composition. I did not use a tripod because the flash solved the problem of a slow shutter speed.
Lighting
To illuminate the abstract color, I placed a piece of white foam core about 14” behind my glass vessel. A single off-camera flash was all I needed to light the foam core. I placed a Pocket Wizard (www.pocketwizard.com) Mini TT1 transceiver on the Canon 5D Mark II and the Flex TT5, which is the receiver, on the flash. I positioned the flash on the counter top in my kitchen and aimed it at the background and, even in the small area in which I was working, the distance from the flash to the white backdrop enabled the light to spread across the foam core evenly. This type of diffused backlight is perfect to light up the food coloring, and it was also bright enough to allow a small lens aperture.
I set the camera on Manual Exposure mode and the flash was on ETTL. I chose f/32 to give me as much depth of field as possible, and each picture turned out perfectly. I checked the LCD monitor on the back of the camera to make sure I was happy with the exposures.
An inexpensive set of food coloring (you can find this in any decent size grocery store) comes with red, blue, green and yellow in small plastic squeezable bottles. I would squeeze a single drop of color into the water and watch it through my viewfinder as it swirled through the water. After I took several monochromatic images I then added other drops of color and watched them do their magic together. After a minute or two, the water became completely streaked with color, and then I would add additional drops of food coloring into that.
When the drops of food coloring are first dropped into the water, the color will be quite dense (except for yellow). The photos you take will reflect this, and to bring out the saturated color that is hiding in all that density, use the fill light slider in Adobe Camera Raw or Lightroom (www.adobe.com) or any software that allows you to lighten the shadow portion of an image. This will miraculously open up the shadows to reveal the color you want to see. I suggest shooting these pictures in Raw mode as opposed to JPEG simply because you will have the ability to get the most detail in the highlights and the shadows.
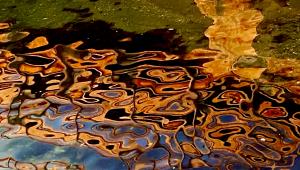
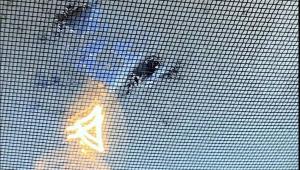
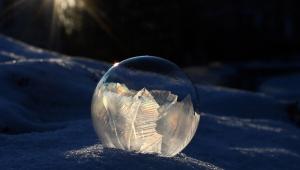
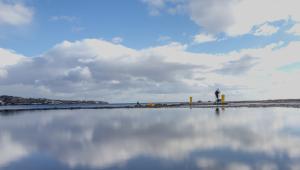
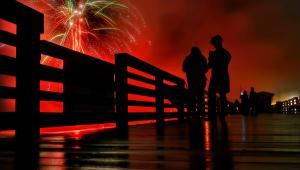
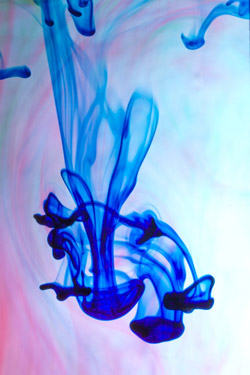
It is very easy to start over if the colors get too muddy. Simply pour out the water and refill the container with fresh water. Wait a minute or so for the water to stop churning, and then add the first drop of food coloring and start shooting (#1, #2, #3, and #4).



- Log in or register to post comments


