- REVIEWS
Camera Reviews 
More Reviews Mobile Reviews Photography Reviews - GALLERIES
- VIDEOS
- BUYER'S GUIDES
The Easy Way to Convert Color Photos to B&W in Lightroom (VIDEO)
One effective way to salvage a low-impact photo is to convert the image to b&w. That’s because certain photographs are far more compelling when rendered in monochrome.
There are numerous ways to make b&w conversions, some more involved than others. In the seven-minute tutorial below, you’ll learn how to get the job done is 10 simple steps. Best yet, this Lightroom technique delivers fantastic results.
To demonstrate this straightforward method, image-editing expert Anthony Morganti begins with an unprocessed color image that’s cropped as intended. He opens Lightroom’s Basic tab and explains how to make preliminary tonal adjustments to highlights, shadows, whites and blacks.
The second step is a quick one, and involves choosing an appropriate Profile from Lightroom’s Profile browser that includes 17 different b&w options. Simply pick one that suits your fancy. Next comes noise reduction, followed by adjustments to white balance—and Morganti explains why the latter adjustment is important even when working with b&w images.
Step #5 is what Morganti calls “b&w mix,” and this is where you affect key tones more directly depending on the original values in the color image. Next Morganti turns to the “Presence” options in the Basic tab to make any necessary refinements to Texture, Clarity and Haze.
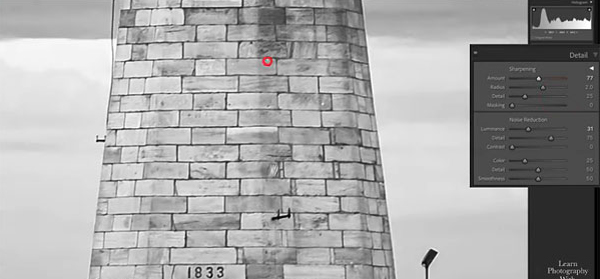
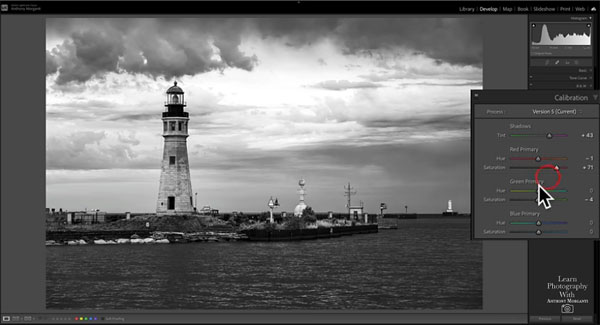
All that remains are a few tweaks in the Calibration tab, some simple local adjustments, a bit of sharpening, and whatever effects you want to add like vignetting or grain. If all this sounds remarkably easy it is. So give this technique a try.
There are a variety of helpful tips an Morganti’s YouTube channel and in another editing tutorial we posted recently, explaining how to use Lightroom’s hidden Soft Proofing Mode for more accurate colors.


![]()
Get the Latest Photo Tips, News & Reviews from Shutterbug!
| Camera Reviews Other Reviews | Mobile Reviews Photography Reviews Columns | News | Features | How-To | Resources |
 © 2025 Shutterbug
AVTech Media Americas Inc., USA
All rights reserved