- REVIEWS
Camera Reviews 
More Reviews Mobile Reviews Photography Reviews - GALLERIES
- VIDEOS
- BUYER'S GUIDES
Don't RUIN Photo Edits by Adding Clarity: Do This Instead (VIDEO)
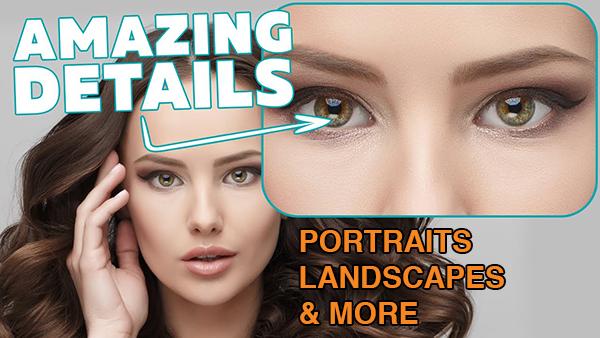
Let's say you capture a nice image, and you want to bring out a bit more detail during the editing process. It doesn't matter whether the photo is a portrait, macro shot, a landscape scene, or something else. What's your strategy?
Be forewarned that you risk degrading the photo rather than improving it by bumping up Clarity and Texture. As you'll see in today's tutorial from the popular f/64 Academy YouTube channel there a much better method than the conventional "nasty" approach, and it's not difficult to accomplish.
Instructor Blake Rudis begins with this plea: "Please, please, stop using texture to try to bring out details in your photographs when editing within Photoshop." What Rudis recommends is a lesser-known technique that relies upon Photoshop's High-Pass filter in combination with the Linear Light Blend mode.
Rudis first addresses the skeptics by demonstrating what really happens to a photo when Clarity and Texture are employed, even if you don't go overboard with either of these tools. At first glance his results look pretty good, that is until you zoom in on the shot. Admittedly, the photo does have more detail, but that's accomplished at a significant cost.
The sacrifice occurs in the plain background of the shot that should appear as a clean blur with a nice smooth bokeh effect. Instead, because Texture and Clarity have been added to the entire image, these areas are now a real mess. In other words, "you're created detail where no detail is supposed to exist."
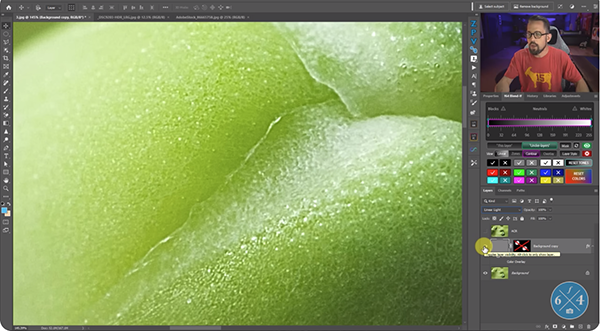
Now that Rudis has grabbed your attention, he explains how his method works to "bring out the absolute best details in a photo" without any of the drawbacks. His first demonstration image is a 5X macro shot of a broccoli plant, and he begins by duplicating the background layer. He then desaturates the layer to eliminate all color information, selects the Linear Light Blend mode, and gets to work.
Now Rudis clicks the Filter tab atop the screen and chooses the High Pass option. He recommends the Radius setting to use depending upon the image at hand. In general, the higher the resolution the more you'll want to increase the Radius setting for optimum results.
Rudis explains that the adjustments that follow are Global in nature, just like when using Clarity and Texture. Yet, with this approach the detail he achieves is outstanding and there's absolutely no sacrifice in quality when it comes to the background. In other words, fine detail appears only where it's supposed to be.
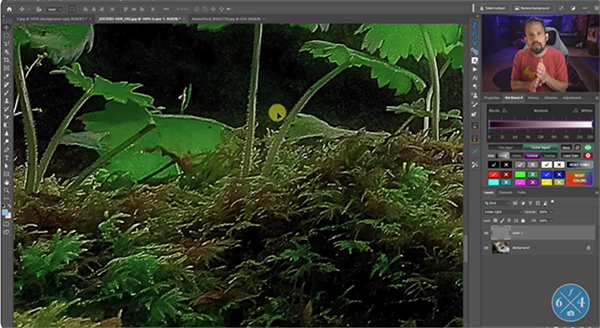
After walking you through the specific step-by-step process for enhancing his macro shot Rudis does the same for landscape and portrait photos, just so you'll appreciate the versatility and "superiority" of this method. Once you're done watching head over to his YouTube channel for more tips and tricks.
We also recommend watching the tutorial we posted earlier from another image-editing expert, explaining problems to avoid when using Lightroom's AI Denoise to fix underexposed photographs.


![]()
Get the Latest Photo Tips, News & Reviews from Shutterbug!
| Camera Reviews Other Reviews | Mobile Reviews Photography Reviews Columns | News | Features | How-To | Resources |
 © 2025 Shutterbug
AVTech Media Americas Inc., USA
All rights reserved