- REVIEWS
Camera Reviews 
More Reviews Mobile Reviews Photography Reviews - GALLERIES
- VIDEOS
- BUYER'S GUIDES
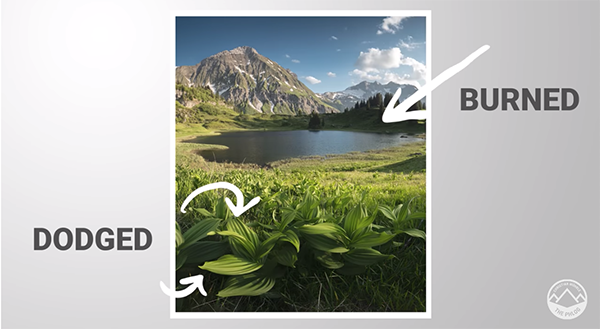
Dodge & Burn in Lightroom for Landscape Photos with Perfect Exposure (VIDEO)

Dodging and burning is a popular editing technique used by landscape photographers to balance the tones in an image. While commonly accomplished with Photoshop, you'll learn how to get the job done in Lightroom by watching this tutorial from the PHLOG Photography YouTube channel.
This method enables you to selectively adjust the exposure in different portions of an image—thereby lightening darks areas, and darkening areas that are too bright. You can also take the opposite approach in certain situations where you want to further brighten light areas and make shadows even darker.
Instructor Christian Mohrle is an acclaimed German landscape photographer and we suggest you download his demonstration image using the link beneath the video so you can follow along and make the changes yourself as they're explained. He begins with a few global adjustments to prepare a base image for the dodging and burning that follows.
Mohrle changes the profile from Adobe Color to Adobe Standard, thereby lessening overall contrast and providing more control for subsequent adjustments. The next step is slightly increasing exposure to pull more details out of the shadows. Mohrle likewise drops highlights to increase details in the bright sky and adjusts both the blacks and the whites.
Before turning to the meat of this lesson Mohrle adds a bit of Clarity and Dehaze, and slightly pumps of Vibrance for more base saturation. Now the image has more punch with stronger colors. Effective dodging and burning is all about carefully targeting specific areas, and Mohrle explains how to do that.
With this particular image, for example, you may want to draw attention to plants in the foreground by brightening them up. Conversely, by darkening trees at the far end of the lake you'll increase contrast between that portion of the scene and the mountains in the background.
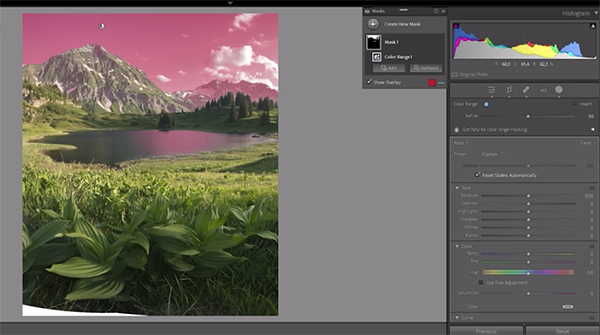
Mohrle walks you through the step-by-step masking techniques used to accomplish these goals. After opening the Masking panel he uses a Color Range mask to darken blues in the sky without affecting the clouds or adjacent mountains. A Linear Gradient is then employed to refine the selection so blue tones in the lake are unaffected.
You'll then see the straightforward way Mohrle applies masks to other portions of the image to further balance the exposure. After that, some thoughtful color grading and subtle sharpening is all it takes to complete the impressive transformation. There's much more to learn about editing landscape photos on Mohrle's popular YouTube channel. So be sure to pay a visit and explore.
And don't miss the tutorial we posted last week explaining why another experienced pro says, "Contrast is the most underrated tool" in landscape photography.


![]()
Get the Latest Photo Tips, News & Reviews from Shutterbug!
| Camera Reviews Other Reviews | Mobile Reviews Photography Reviews Columns | News | Features | How-To | Resources |
 © 2025 Shutterbug
AVTech Media Americas Inc., USA
All rights reserved