- REVIEWS
Camera Reviews 
More Reviews Mobile Reviews Photography Reviews - GALLERIES
- VIDEOS
- BUYER'S GUIDES
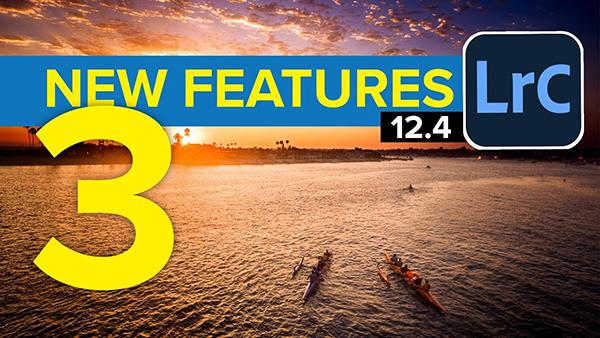
The 3 Top NEW Lightroom Features in v.12.4 & How to Use Them (VIDEO)
Adobe has been busy updating Lightroom, making this popular editing software more effective, faster, and easier to use. The quick tutorial below from Photoshop Café explains how to improve your workflow with a trio of new capabilities.
Instructor Colin Smith is a favorite among Shutterbug readers who appreciate the straightforward manner in which he keeps us informed whenever Photoshop and Lightroom updates are released. Today he walks you through what he considers "the three top new features in Lightroom version 12.4."
Not only will Smith's picks enable you to achieve better edits, but they're simple enough for anyone to use, as evidenced by the fact that they only take five minutes to demonstrate. The first new feature is called Grain in Masks, and Smith pulls up a seascape photo with grain in the sky to walk you through the rehabilitation process.
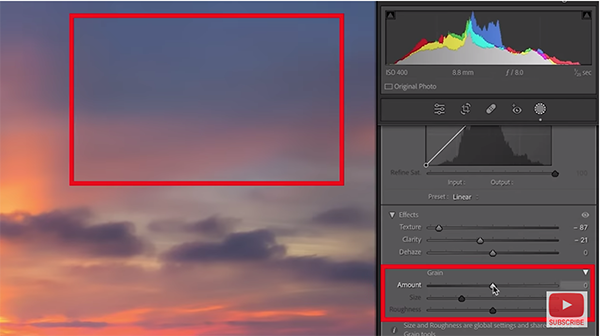
Smith starts in the Develop module and creates a Linear Mask to illustrate how blurring the background is one common fix. But here's the problem: the sky no longer matches the grain in the rest of the image. This is where the new Grain in Masks tool comes to the rescue. As you'll see, there are three sliders under the Effects tab for adjusting Texture, Clarity and Dehaze.
Immediately below you'll also find Grain sliders that control Amount, Size, and Roughness. Smith demonstrates how to use these simple tools to remove or add a slight bit of grain to various portions of an image so that the photo has a uniform appearance. Check out his before/after images and you'll be impressed.
The second new Lightroom feature on Smith's list is Visualize Colors, and he demonstrates why it's "super useful." This one is somewhat hidden within the familiar HSL panel, but the ALT/Option keystroke unlocks the new capabilities. Let's say you're adjusting saturation, for example. By using this keystroke Lightroom will hide all the colors other than the one you're adjusting with its slider.
The same holds true when working with the Hue and Luminance sliders. There's also a Targeted Adjustment tool at the top left of each HSL section that enables you to click and drag within the image to quickly make whatever color adjustments you desire.
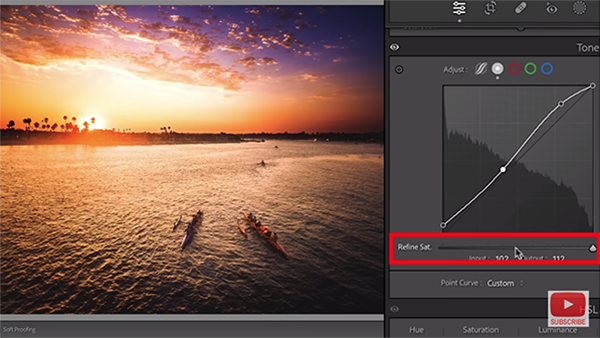
Saturation Recovery is Smith's third favorite new feature, and you'll have to watch this lesson to see what it can do. Let's just say is involves using Curves and is just as simple and effective as the tools outlined above. You can master these three new features in no time, and your edits will be more effective as a result.
Smith's instructional YouTube channel is loaded with helpful lessons like this, so pay a visit and check back often.
On a related note, be sure to watch the tutorial we posted from another pro recently, explaining more details about using Lightroom's updated Curves tool to solve Saturation problems.


![]()
Get the Latest Photo Tips, News & Reviews from Shutterbug!
| Camera Reviews Other Reviews | Mobile Reviews Photography Reviews Columns | News | Features | How-To | Resources |
 © 2025 Shutterbug
AVTech Media Americas Inc., USA
All rights reserved