- REVIEWS
Camera Reviews 
More Reviews Mobile Reviews Photography Reviews - GALLERIES
- VIDEOS
- BUYER'S GUIDES
Output Options; New Ink Mix From Epson; The New Stylus Photo R1900
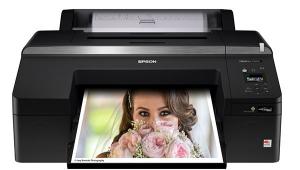
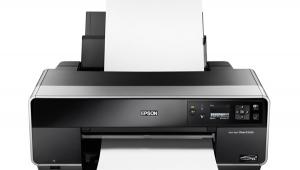
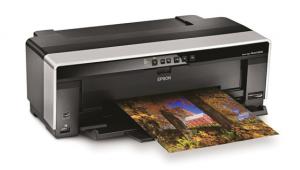
The Epson Stylus Photo R1800 has been a popular choice for digital photographers needing a 13x19 format but not willing or able to spend the additional money for the R2400. Add to that exceptional gloss printing thanks to a special Gloss Optimizer, and you have an excellent option for high-quality printing at an attractive price.
But, as usual, the market doesn't sit still. It seems that no matter how good a product might be, there's always a need to come out with a new and improved version. The Stylus Photo R1900 is Epson's answer to this need, and they've done an admirable job with the updates.
The biggest change, especially for anyone coming from the R1800, is the new mix of ink colors. Dubbed UltraChrome Hi-Gloss 2, the inks have reformulated the Gloss Optimizer to be more transparent, and improved the red ink. Gone is the original blue, being replaced with orange. Epson claims this results in better skin tones, which we'll take a look at in just a bit.
 |
|
|
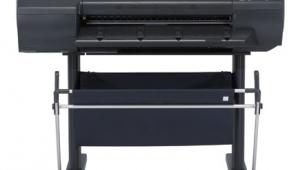
Setup
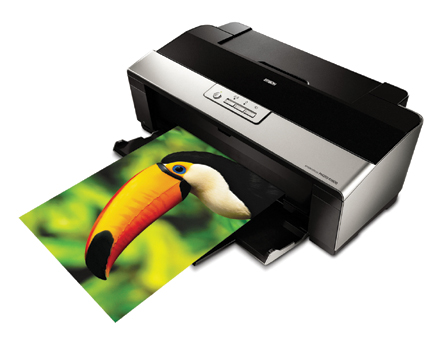
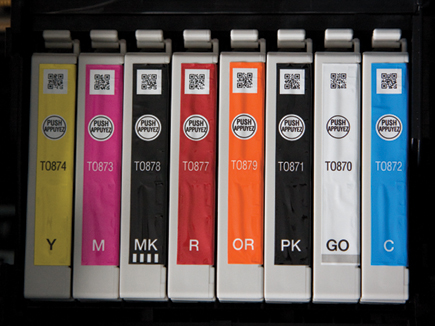
Setting up the R1900 (#1) couldn't be easier, although I'd love to have stock in the company that makes the tape every printer seems to be wrapped in these days. After removing all the packing materials, plug the printer in, power up, and then install the inks. The R1900 has eight individual ink tanks--cyan, magenta, yellow, red, orange, photo black, matte black, and Gloss Optimizer (#2). Included with the printer is a spare Gloss Optimizer cartridge, and you're going to need it sooner than you'd expect. Because the Gloss Optimizer covers the entire page when used, the small cartridge size quickly empties. I was able to get about 14 11x17 prints before replacing the cartridge.
 |
|
|
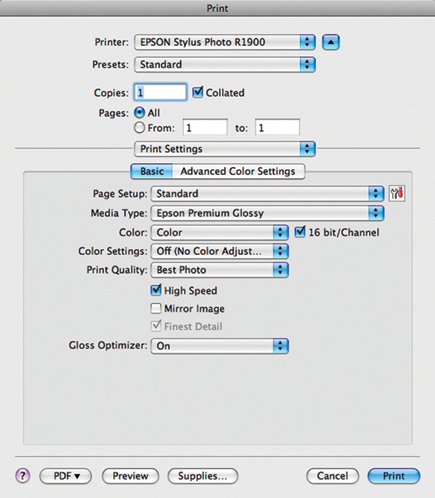
After installing and charging the printer, install the software for your system. Epson includes drivers, a Print CD, profiles, and an online help system. Mac OS X 10.5 users should be sure to check online at www.epson.com for updated drivers that are designed for Leopard. These new drivers include support for 16-bit printing and an enhanced print dialog layout (#3).
 |
|
|
The R1900 includes a PictBridge connection for printing directly from a camera or portable device, and also has two USB 2.0 ports, allowing you to connect multiple printers at one time.
Also included with the R1900 are roll feed adapters, supporting panoramic printing (up to 13x44"), a tray for printing directly onto inkjet compatible CD and DVD media, and a rear feed adapter for printing with thicker media.
Using The R1900
Epson printers are among the easiest photo printers to use when it comes to user interaction. The driver is straightforward, letting you select paper type and quality, along with color management. If you're printing from Photoshop, I recommend using Photoshop to manage color and turning off color management in the printer driver to get the most accurate results. You'll also want to use this mode if you're working with custom profiles. There are only four buttons on the printer itself (#4); Power, Page Feed, Ink Replace, and Roll Feed.
 |
|
|
Depending on the type of media you're using, there are several Quality modes available. For normal use, I find that Photo mode is a good compromise between print quality and ink use. It's also much faster. For final prints, I seldom go beyond Best Photo mode. In this mode, an 8x10 print took less than 2 minutes.
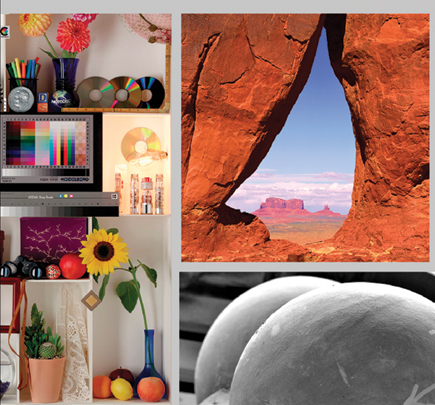
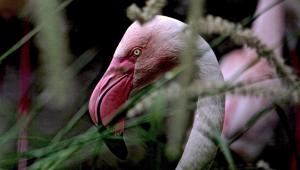
New to the R1900 is Epson's Radiance technology. Essentially, this is an algorithm that increases color gamut through intelligent blending of ink colors. It also reduces grain patterns and gives smoother transitions in areas like sky and skin (#5). Finally, it seems to reduce metamerism problems that are seen when moving a print from one type of light source to another. Combined with the small drop size of 1.5 picoliters, it's difficult to see any dot pattern without magnification.
 |
|
|
|
| |||||||||
- Log in or register to post comments


![]()
Get the Latest Photo Tips, News & Reviews from Shutterbug!
| Camera Reviews Other Reviews | Mobile Reviews Photography Reviews Columns | News | Features | How-To | Resources |
 © 2025 Shutterbug
AVTech Media Americas Inc., USA
All rights reserved