
it
- REVIEWS
Camera Reviews 
More Reviews Mobile Reviews Photography Reviews - GALLERIES
- VIDEOS
- BUYER'S GUIDES
First Look Review: Nikon D7200 DSLR Field Test (Full Resolution Sample Images)
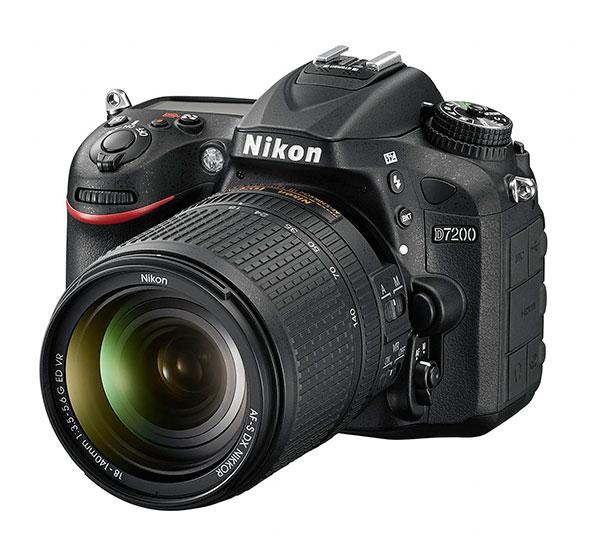
The Nikon D7200 with the 18-140mmm VR kit lens.
The new 24.2-megapixel Nikon D7200 replaces the D7100, which came out in 2013, and offers several upgrades and modernizations to that popular APS-C-sensor-based enthusiast DSLR.
New features on the Nikon D7200 include a more efficient image buffer, an upgraded Expeed 4 processor, WiFi and NFC, and improved video modes and added shooting options. Other than that though, the D7200’s specs remain essentially the same as its predecessor, except for the ability to use higher ISO speeds up to ISO 25,600 in standard settings (which was the “push” offered by the D7100). In addition, ISO can be expanded in the D7200 to 102,400 equivalent; however, those push settings are restricted to Monochrome mode.
First Impressions
When I first got the Nikon D7200 test camera and lens (AF-S DX Nikkor 18-140mm f/3.5-5.6G ED VR) I showed it to a couple of photographers and the first question was: why didn’t Nikon incorporate a swiveling LCD monitor on back of the camera? I checked around the web and the common wisdom is that a swivel monitor would decrease the ability to protect this unit from dust, water spay etc. in an otherwise well-sealed body.
Frankly, I’ve become spoiled by using cameras with tiltable screens. They’re great for framing shots when shooting low to the ground, or for holding the DSLR up high to shoot over crowds and not have make it a complete "Hail Mary" photo. I missed having an articulating screeon on the D7200, although there are other compensations in the specs.
While the Nikon D7200 uses essentially the same image sensor as the previous model – Nikon says the chip has been “slightly optimized” in the new camera – it still offers a lot of resolution for a DX-format DSLR: 24.2MP, APS-C CMOS sensor, and no low pass filter.
There’s also a 9-step bracket (+/- 5EV); a large 3.2-inch LCD for Live View still and video; a pentaprism optical finder with 100% field of view; six frames per second shooting rate at full resolution (which drops to a bit under 4 fps with Live View and goes up to 7 fps when using the “crop” framing mode via the optical finder); the ability to mount a very large range of past and present F-mount lenses; two SD card slots with various configuration options; depth of field preview capability; a highly responsive and flexible AF setup; good microphone sensitivity and adjustability; and somewhat reasonable size and weight (5.4x4.2x3.0 inches, just shy of 24 oz, sans lens).
All in all, not bad set of features for a DSLR that costs just under $1,200 (body only). Let’s take a closer look at the Nikon D7200 in this field review.

The D7200's Mode dial on left has two levels, top for exposure and scene modes and two user-defined modes, and a lower ring for drive modes. Both are “lockable,” preventing shifting during the heat of the shoot. The LED screen on the right reads out settings and aids in spontaneous handling and quick settings.
In the Hand
Users will not confuse this camera with a mirrorless model, as the Nikon D7200 has a definitive DSLR shape with the bulk that entails, albeit in a relatively compact, although not exactly lightweight body.
The D7200’s most prominent feature is the protruding right-hand grip, atop which sits the shutter release and a few other controls, which is complemented by a “thumb rail” on the camera back: this makes the camera easy to carry and firm in hand. Unfortunately, for me, the grip is too close to the lens mount collar and cramps the fingers that naturally fall within the gap when shooting. I adjusted to this as I used the camera and found it didn’t get in the way for everyday use.
Nikon has perfected the control dial, located top/left, and I appreciated the locking feature that prevents shifting of settings, also found on the menu selection OK switch. The combo dial handles exposure modes, effects, and two user-defined setups on the upper portion, as well as drive modes and self-timer in a ring at the base.
An LED panel on the right is a most welcome guide to selecting commonly used parameters, an aid in what is supposed to be the spontaneous nature of the format, and something many mirrorless and some entry-level DSLR models sorely lack. The body is well sealed, according to Nikon, and composed of magnesium alloy construction with some plastic and rubberized sections on the exterior. The battery compartment door feels a bit less hardy than I would like, but the mic, headphone, download and HDMI ports are covered with snap-close rubberized covers.

Anyone who has used a Nikon DSLR in the past will feel quite at home with navigation in and through the many-layered menus; those coming new to the brand with any DSLR experience will not be too far out to sea. And those options are legion for both still and video recording. The 3.2-inch TFT LCD has 1.228 million RGB dots of resolution.
In the Field
Perusing the CD-only instruction book I was struck by the large number of intriguing options: time-lapse movie shooting, the 9-step bracket potential, Dusk/Dawn Scene mode, Live View preview of so-called Special Effects, “extending” the focal length of the lens in use through a 1.3X crop (not digital zoom), AF-A focusing mode, HDR performance, “Flat” Picture Control, and Auto-D-Lighting bracketing.
My first job, however, was setting the camera up for “straight” shooting. This means making choices for exposure modes, framing rates, image size and quality, ISO, assigning the function of each SD card slot and so forth, The menu is well thought out and easy to navigate, and I give high marks to Nikon’s thoughtful layout of controls.
My first step with Nikon DSLRs is to go into the Custom settings and segregate AF from AE Lock functions, assigning the AF/AE lock button to AF Lock and the shutter release to AE lock. I then set up autofocusing.
(Click image to view at full resolution.) HIGH ISO – The D7200 expands the “native” ISO to 25,600, which virtually removes any block to shooting color in dim lighting conditions. Yes, there’s some mottling on considerable enlargement, but consider where we were only a few years back. Do you always need to shoot this high an ISO? I usually set the ISO on AUTO and set the upper limit at the highest “native” sensitivity, then choose my shutter speed and/or aperture as needed, and allow the microprocessor to do the rest. This guarantees a good exposure without going over the ISO you actually need. Here, for the test, I set the 25,600 ISO manually. ISO 25,600, f/10 at 1/100 sec. ©George Schaub
There are numerous patterns and AF target areas you can choose, which for most will be a matter of taste and shooting style, mine being the ease with which I can quickly choose and lock my prime point of focus for depth of field control. For me, that means Normal-area AF for selective focus or perhaps 9-point for wider area vistas; sports and nature photographers probably should check out the 21- and 51-point dynamic-AF options, particularly when shooting in continuous advance mode. For studies I use AF-S (single) and for candids, AF-C (continuous). Once set up, I headed out to test the camera in the field.
Performance
I worked with the D7200 for about two weeks and shot in a variety of locales and under different lighting conditions. My comfort level grew daily as did my confidence that the camera would deliver what I wanted. I was very impressed with the speedy autofocus and the ability to control depth of field, as well as the fast framing rate that came through when photographing a soccer match.

(Click image to view at full resolution.) AUTOFOCUS AND DEPTH OF FIELD – In this shot of lanes on a track field I set the aperture at f/22 at the 18mm (effective 27mm) focal length with focus locked at the base of the yellow triangle using the AF lock button. I used Normal-area AF to pick my point of nearest focus at the base of the frame and engaged the Depth of Field Preview button to check that I had focus near to far. ISO 250, f/22 at 1/80 sec. ©George Schaub
Those high ISOs are exciting and for me opened up some interesting street candid possibilities, where I set the camera at 51,200, the exposure mode to aperture priority at f/22, and focus to manual. This yielded a depth of field at 27mm that seemed to be about 3 feet to infinity, which made sighting and focusing unnecessary: in short, a very spontaneous street camera.
The imaging options are legion and the menus are quite easy to navigate, and using every trick in the book, including all the Custom setups, might be a fun exploration for a rainy day indoors. However, I tend to hone in on a few setups to make the camera “predictable” and spontaneous when I am shooting in the field, and stick with them.
Things like in-camera HDR, D-Lighting, Special Effects, etc. are available in the Nikon D7200 if you want them, but that’s a matter for your taste and visual disposition. I do have to mention that the bracketing range –you can use 1/3 or ½ EV gaps in 9 steps—is very easy to set up and valuable for both HDR and exposure tweaking of ephemeral moments.
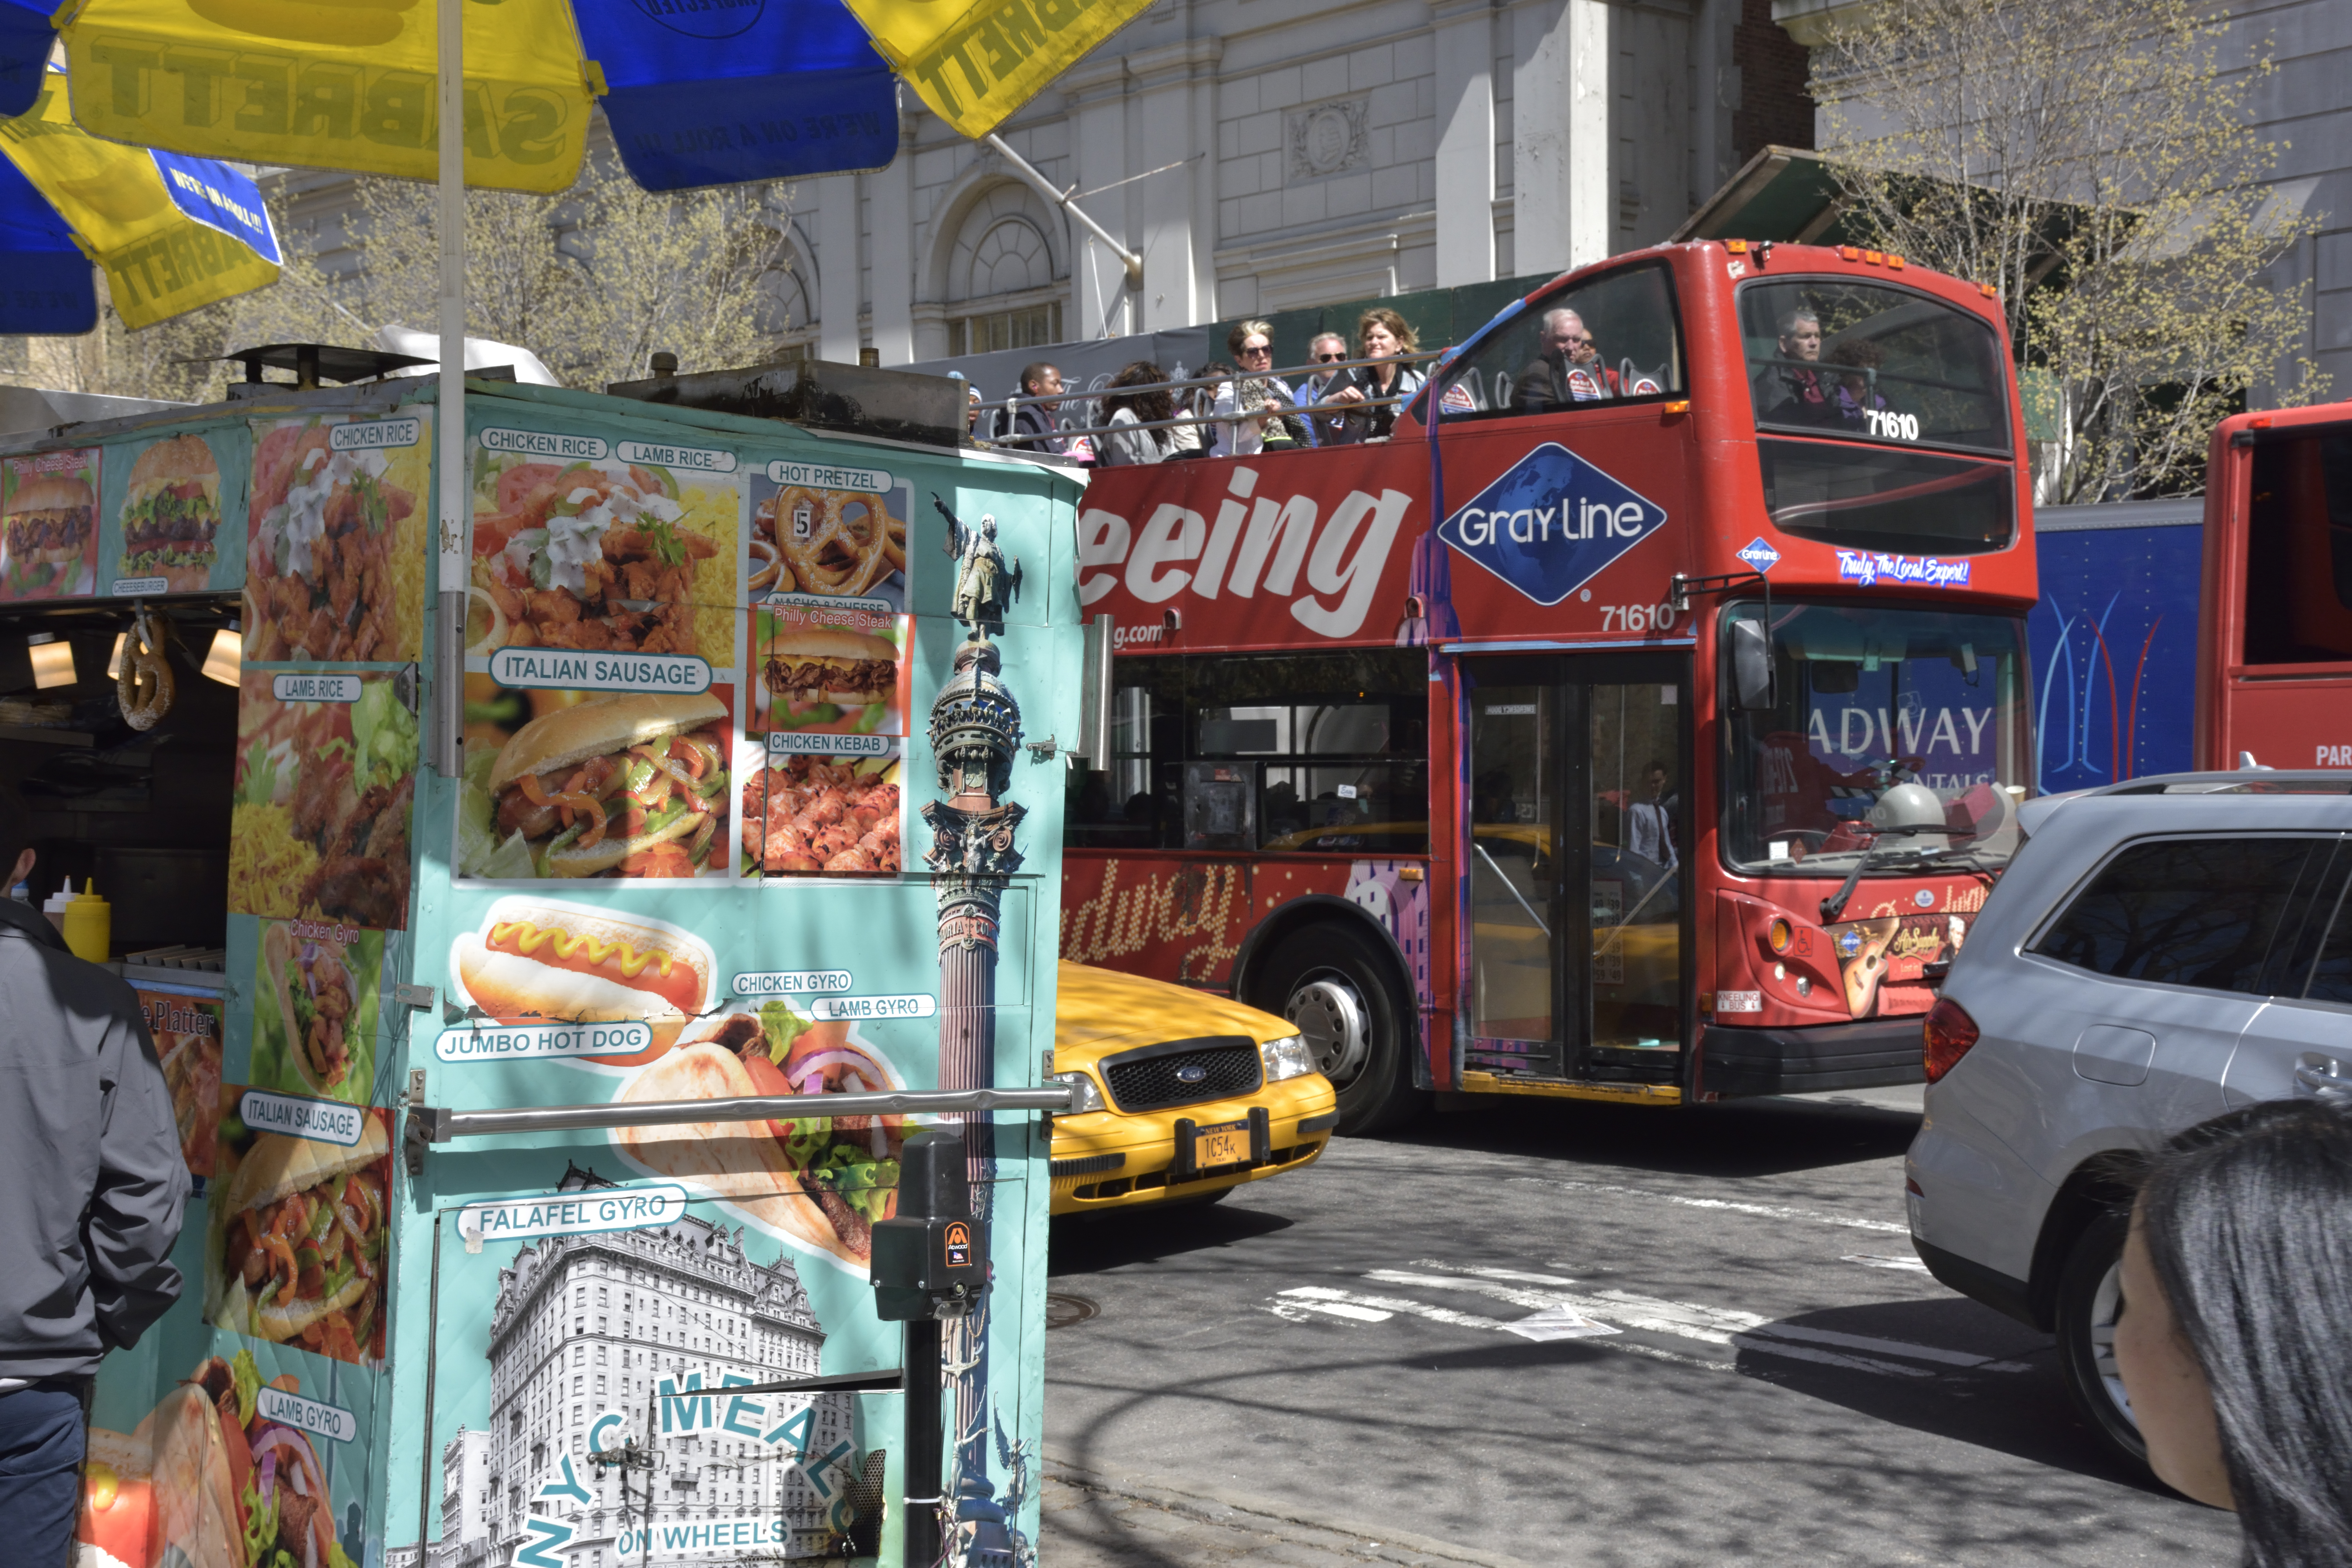
(Click image to view at full resolution.) IMAGE QUALITY AND COLOR SPACE – Part of the camera setup is choosing a color space (I use Adobe RGB) and Image Quality (I choose NEF (Raw) + JPEG. The Nikon Raw converter allows you to make numerous adjustments to a NEF image after exposure; indeed, many image parameters like white balance, exposure compensation, Picture Styles, saturation, etc. are quick and easy to change in the converter. I first shot this New York street scene in Standard Picture Style on a very bright spring day; it was so bright that I set Active D-Lighting (to Low) to help open up shadow areas. This looked good on the monitor during playback, but later, when exploring the options in the Raw converter, I found that Neutral Picture Style helped tame the contrast even more. The sharpness results are startling: those who want to enlarge the image will see this in the sign on the street food cart. f/11 at 1/500 sec at ISO 400. ©George Schaub
In the Lab
As part of the Nikon D7200 test I delved into lab results from Betternet, Shutterbug’s TIPA affiliated testing lab. In summary, the D7200 showed a very good performance of the white balance system; low color errors (except for a boost in blue saturation), excellent sharpness results (3941 lines per picture height, nearly the nominal resolution of 4000 lines); and very good noise results (up to ISO 6400 and slightly higher color noise up to 25,600).
The D7200’s Dynamic range is excellent at 11.5 f-stops at reasonable ISO settings: this drops as expected in the higher realms. You can read all the lab results on the Nikon D7200 in our full review of the camera in an upcoming issue of Shutterbug magazine.
Final Thoughts
The D7200 is a camera that offers numerous ways to alter and interpret images in-camera, but most of the extra processing and effects on offer within the camera can be easily done by simply shooting Raw (NEF) and putting in some post-processing time later. Does this make some of those extras window dressing? Perhaps, but as a fast, responsive, quality image-making machine, the D7200 earns its DX flagship honors.
Pricing
The Nikon D7200 sells for $1199 (body only). Add the AF-S DX Nikkor 18-140mm f/3.5-5.6G ED VR kit lens, with which this test was conducted, and it’s $1499, or $200 less than if you opted to buy the lens separately. (Note: Effective focal length range of the kit lens on the crop-sensor based D7200 is 28-210mm.)

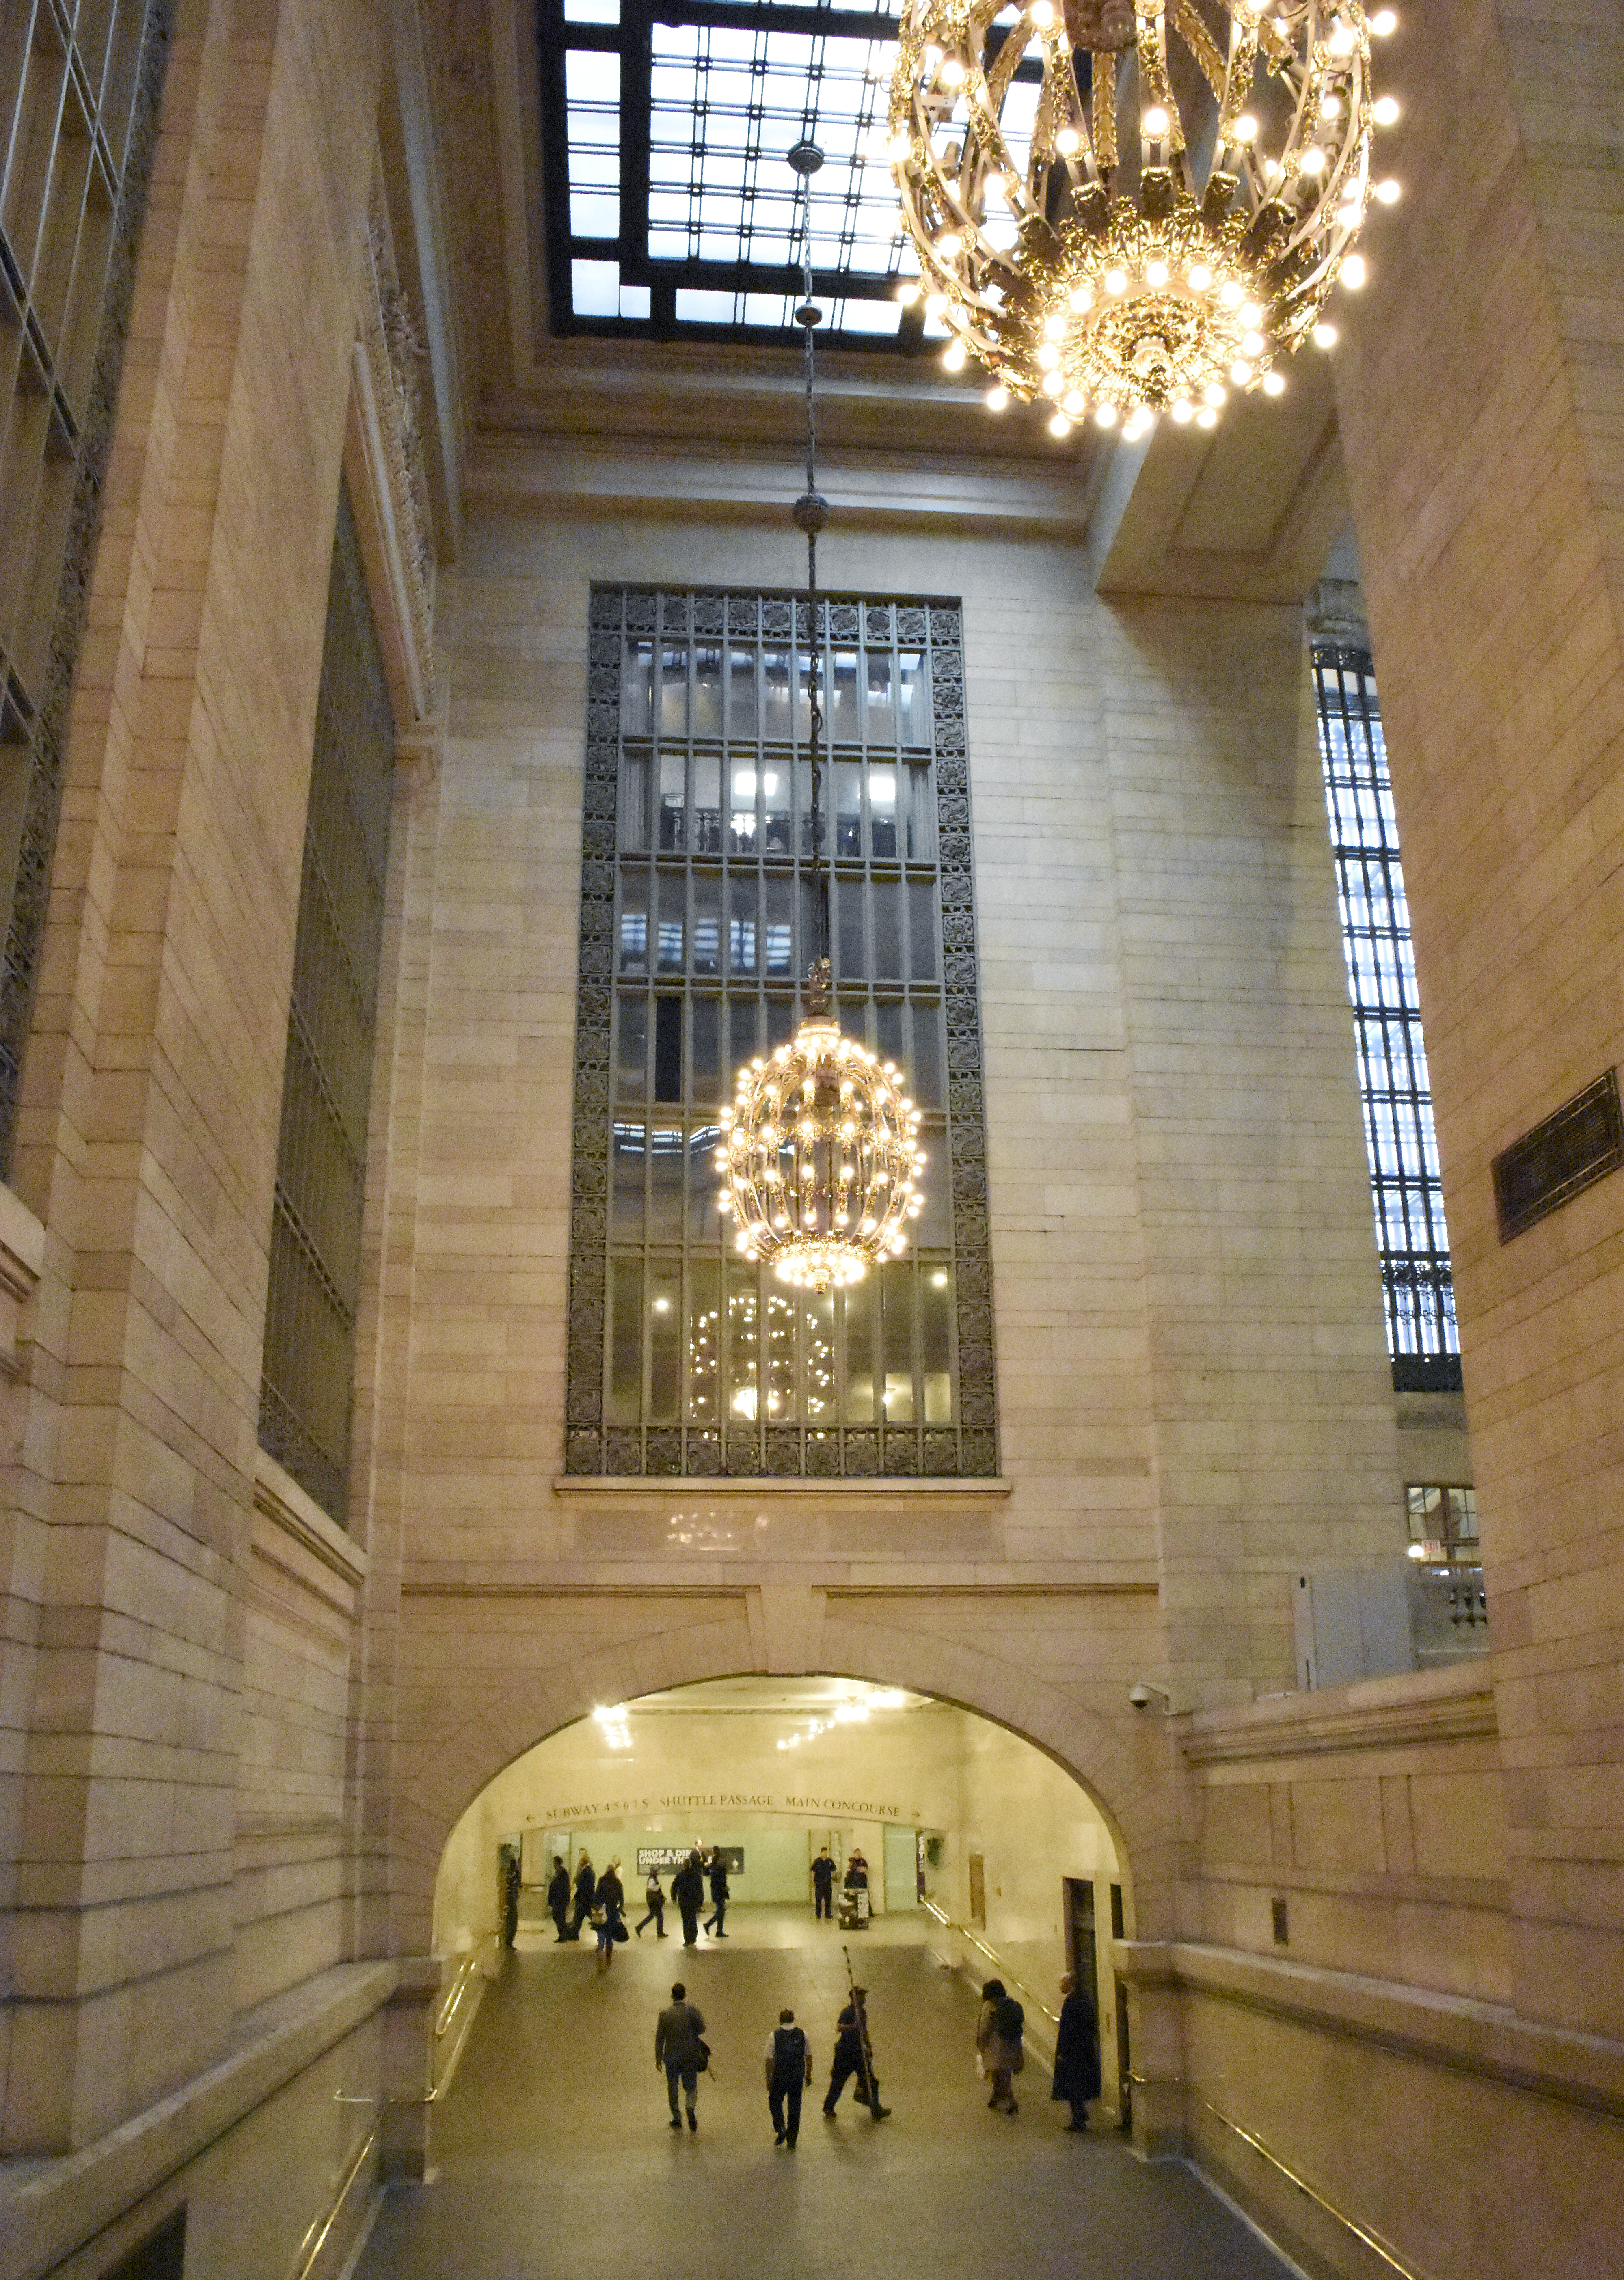
(Click image to view at full resolution.) EXTREME ISO MONOCHROME – The D7200 offers two push steps from its native 25,600 ISO all the way up to 102,400 ISO (!), albeit only in Monochrome mode. But considering this dizzying height the results are quite good, mostly due to only having luminance and not color noise to deal with, and I’d hazard to guess that this will open up some very interesting candid shooting possibilities. While some “chalkiness” appears at this height (and you can be restrained at ISO 51,800) I think you’ll be amazed at the results. This photo of the interior of Grand Central in New York City was shot at f/10 at 1/250 second at ISO 102,400. ©George Schaub
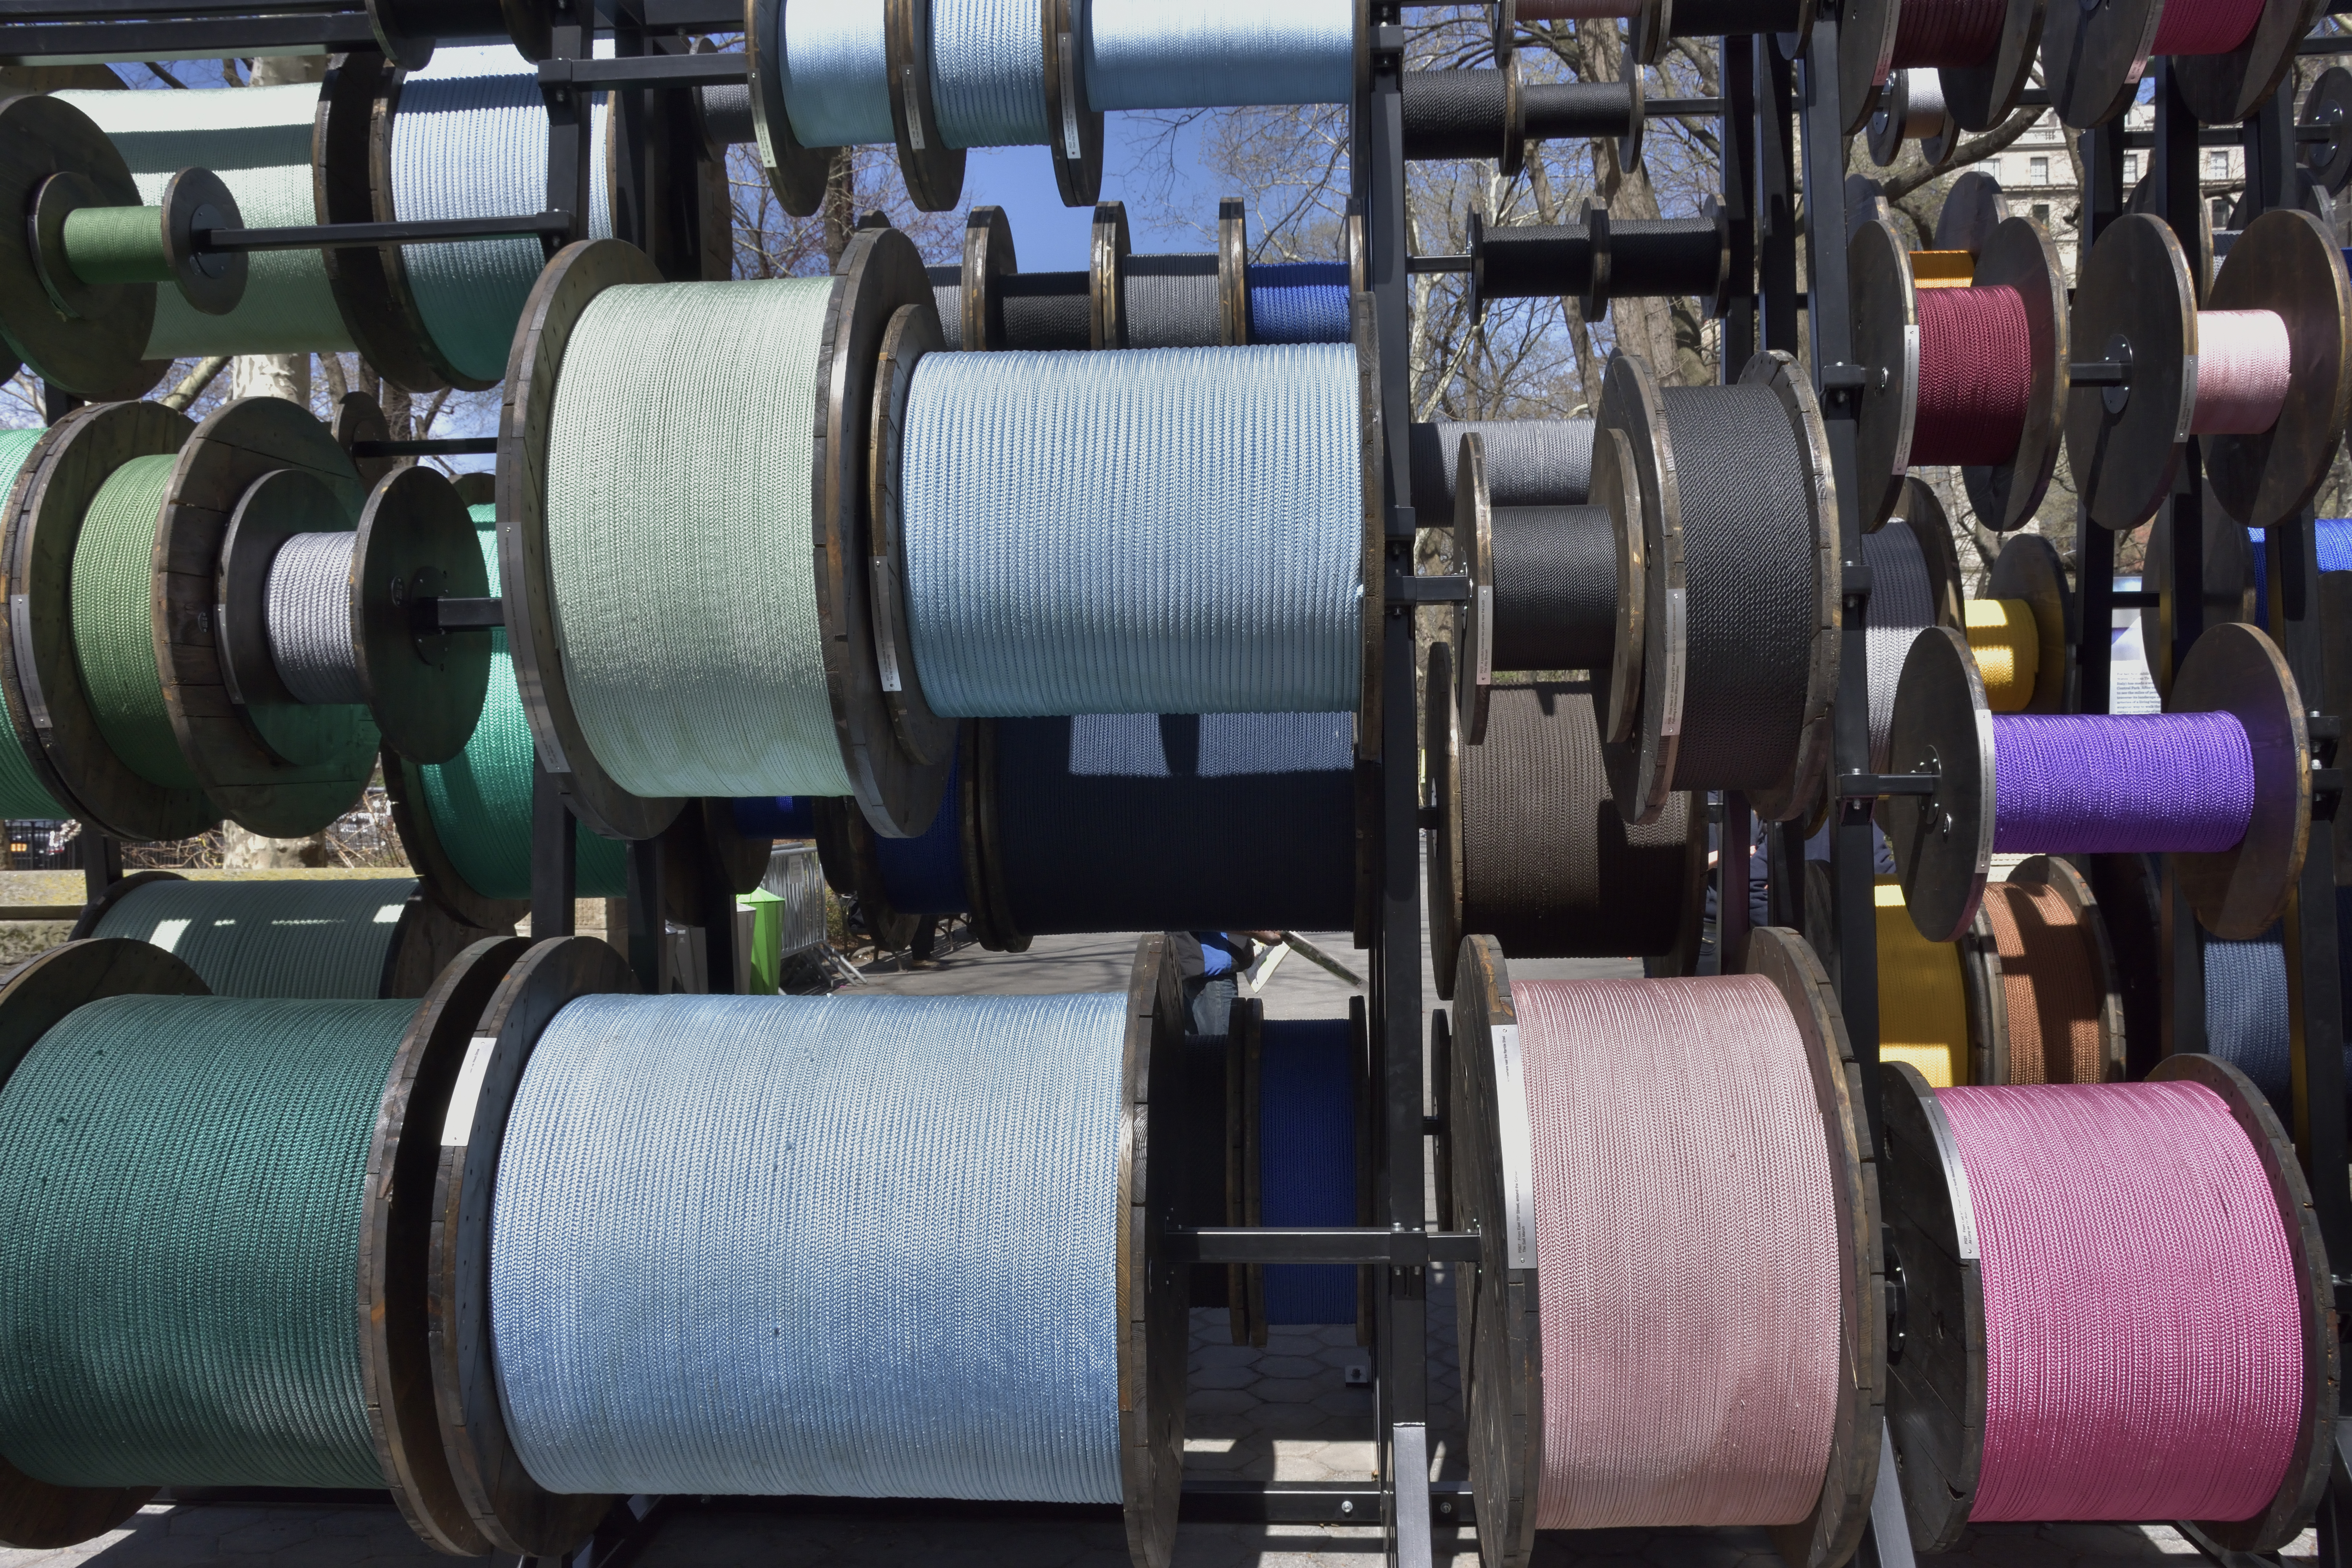
(Click image to view at full resolution.) NO FILTER – The sharpness of the D7200 continued to impress each time I checked the day’s shoot on my studio monitor. Following the trend of eschewing a high pass filter, plus the Expeed 4 image processor, makes the D7200 one of the sharpest APS-C image producers I’ve worked with of late. This NEF exposure was made in Standard mode of part of a public artwork by Tatiana Trouve’ in New York’s Central Park. Aside from the interesting color play, I shot this to check out if any Moire problems showed up in these spools of different color rope. On review I zoomed in and didn’t see any bothersome effects. Prior to final output I switched to “Flat” Picture Style in the Raw converter. f/13 at 1/500 sec at ISO 400. ©George Schaub
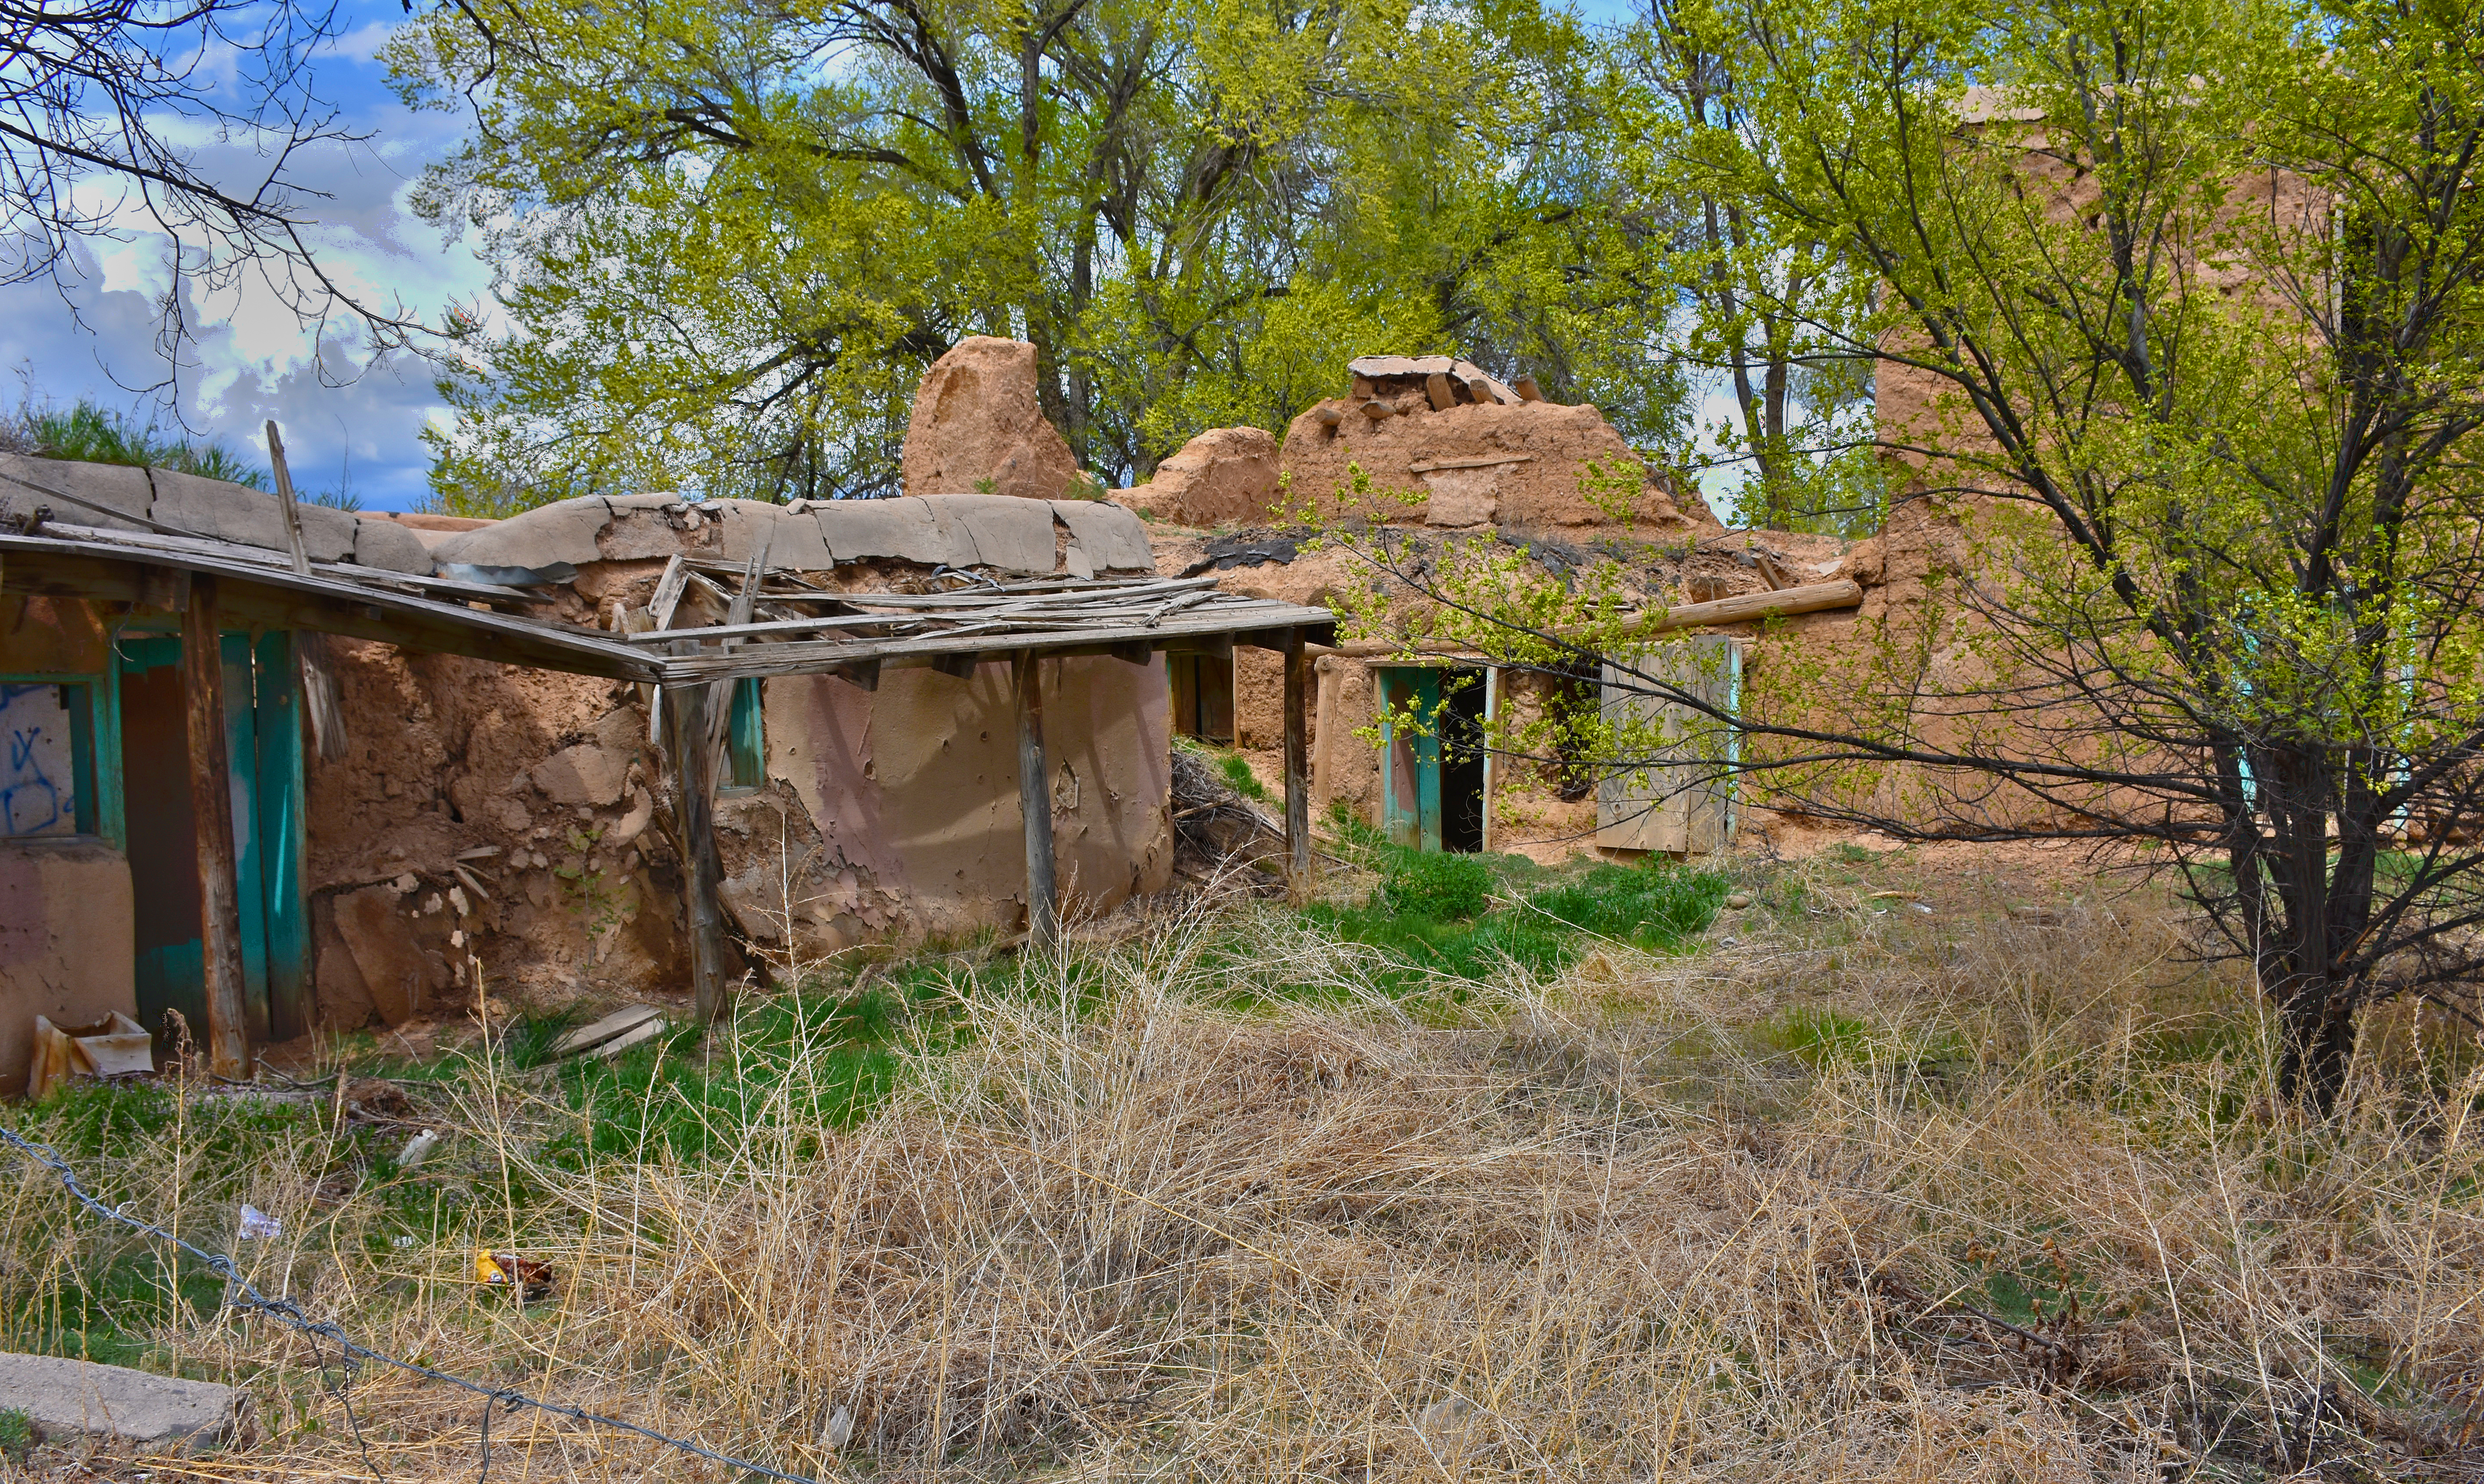
(Click image to view at full resolution.) BRACKETING – The D7200 offers a 9-step exposure bracketing sequence that you can set up in any way you desire, which makes it a dream machine for HDR-ers. I made this HDR in New Mexico from three exposures from a 7-step bracket: the final choices were N, +2.67 (for shadow detail) and -2.67 (highlight saturation). ©George Schaub
- Log in or register to post comments

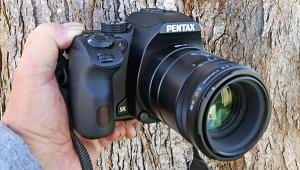
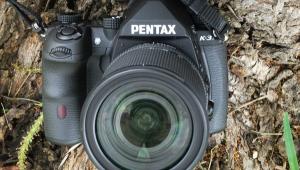
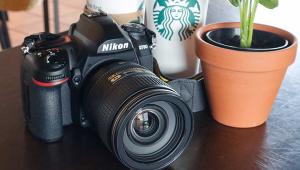
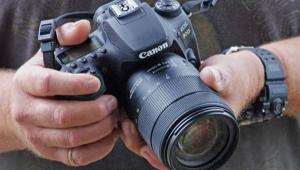
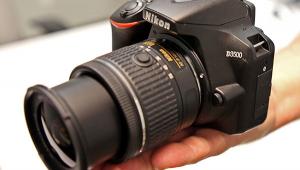
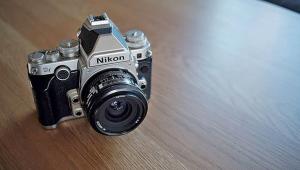


PHOTO OF THE DAY

Today’s photo is Contentment by Linn Smith
eNEWSLETTER SIGNUP
![]()
Get the Latest Photo Tips, News & Reviews from Shutterbug!
| Camera Reviews Other Reviews | Mobile Reviews Photography Reviews Columns | News | Features | How-To | Resources |
 © 2025 Shutterbug
AVTech Media Americas Inc., USA
All rights reserved