Bracketing And Processing Multiple Exposures
Exposure Tips
Bracketing And Processing Multiple Exposures
George Schaub
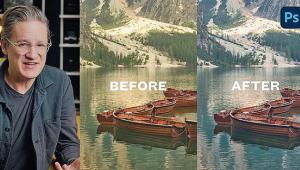
One technique to expand the dynamic range potential of an image, in other words, to overcome contrast problems, is to make a number of exposures at different settings of the same scene and combine them later to pull the best out of each exposure. There are various programs that do this automatically, each with their own foibles and charms. Another method is to use each exposure as a Layer, put one (or more) Layers on top of the other and “paint” one Layer into another using a Layer Mask. It’s a simple, fun, and hands-on technique.
 |
|
|
It all starts in the field when you make the exposure. To make sure the images will align properly when you layer them, shoot on a tripod to maintain framing and make sure all the shots are of the same resolution and format. Make a series of exposures plus and minus from the recommended exposure. You can do this in Manual by setting the exposures yourself, or better yet use auto-bracketing so that there’s less of a chance of manual shutter release and exposure changes causing the framing to change. Make sure the darkest exposure completely eliminates the “blinkies.”
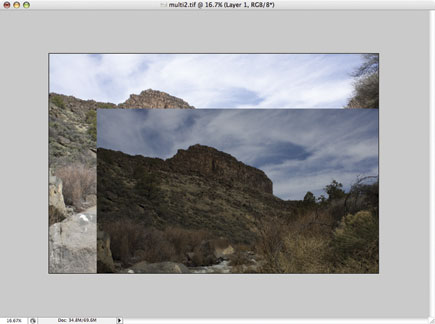 |
As seen in Adobe Bridge, these two exposures from a bracketed series of shots range from deep shadows (and saturated highlights) to somewhat overexposed highlights (and open shadows). In other words, while neither exposure is good onto itself, combined they will cover the full range of values in the scene. You can use more than one Layer with this technique if desired, but two will work just as well.
Once you have the two images open on the screen cut and paste one atop the other. In Photoshop you do this via Select>Select All on one image (I usually cut and paste the darker image as the Layer) and then use the Move tool to drag it onto the other. The images will align, or snap together as you drag it closer to the frame edge.
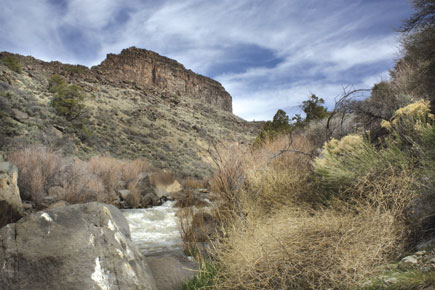 |
The next step is to create a Layer Mask so you can “paint down” from one Layer to the other. In Photoshop go to Layer>Layer Mask>Reveal All. Next choose the Paintbrush tool. Set the Opacity of the Paintbrush to about 30 percent for more control, and begin to paint away the top Layer, stroke by stroke, revealing the underlying Layer. With the darker Layer on top this reveals lighter areas as you work. If you over stroke you can flip the foreground/background color box from black to white and retrace your steps. You can also change the Opacity of the Paintbrush as you work. Here’s the combined image.
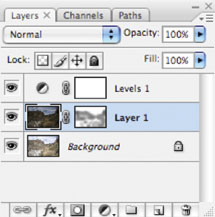 |
Here’s the Layer Palette in Photoshop showing the stages of the work. Note that at the end a final Levels New Adjustment Layer was used to add snap to the entire image.
- Log in or register to post comments


