AutoFX AutoEye 2.0 Page 2
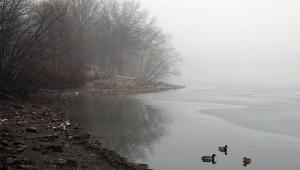
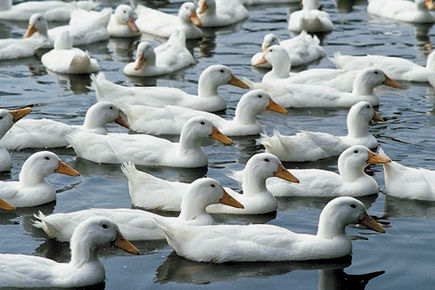
#5: Removing the red color cast. When the photo opened in AutoFX, some minor enhancement was performed, but the color cast was still present. By moving the Color Cast slider to a higher setting, AutoEye was able to completely remove the color cast in this photo. The Color Cast slider uses settings of 0 (no color cast correction) to 130 (highest color cast correction). This photo was adjusted using a setting of 110. Note that AutoEye was powerful enough to completely remove the cast, but still allowed the photo to retain the amount of red that it should contain. An example of this effect can be seen by looking at the duck's beaks. They retained their brownish yellow coloring, something that would be impossible if too much red had been removed.
 |
|
|
AutoEye's Color Controls Panel
You can switch from the main enhancements panel to other control panels by clicking
the icons located at the top of all of the control panels. The Color Controls
panel is opened by clicking the second of the three icons.
#6: AutoEye's panel selection icons.
 |
|
|
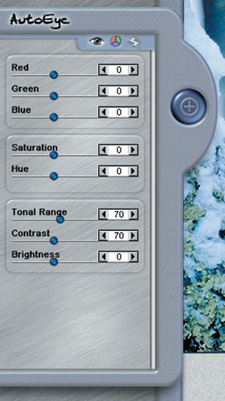
#7: Saturation levels, and Brightness, Contrast, and Tonal
Quality values.
Although the wolf photo was significantly improved using the AutoEye automatic
enhancements, I still felt that the photo could use a mild brightness adjustment.
This type of change is accomplished using the Color Controls panel, the result
is seen in #8.
 |
|
|
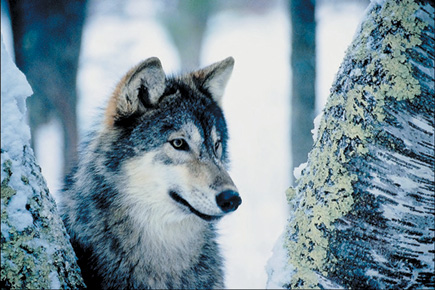
#8: Common image adjustments to color and brightness can be made using the Color Controls panel. In this case, I lowered the Brightness setting 10 points. The difference is subtle, just enough to tone down the excessive brightness coming from the light in the photo's background.
 |
|
|
AutoEye's Creative Controls Panel
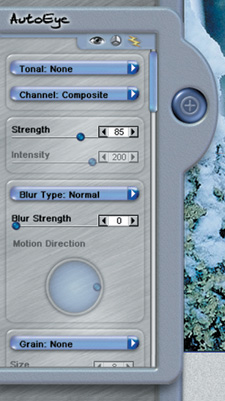
The Creative Controls panel is used to add effects to your image. They're
accessed by clicking the third of the three Panel Selection icons. There are
three groups of effects: Tonal, Blur, and Grain. Each group can be applied to
the composite image (the Red, Green, and Blue color channels), or applied individually
to any of the color channels. You'll find these controls particularly
useful if your photo editor lacks color channel separation tools, or if it does
not ship with a sufficient assortment of effects (#9).
#9: The AutoEye Creative Controls panel.
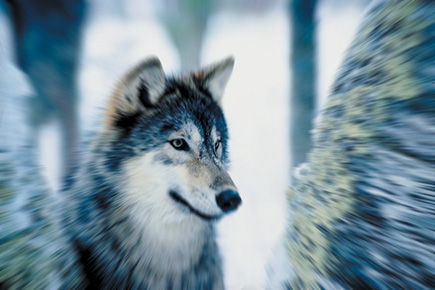
The zoom blur is an exceptionally useful control, since it's not found
in all image editors, and those shooting without a digital SLR system might
have trouble creating this effect when they take the picture.
 |
|
|
#10: Adding a zoom lens effect to the wolf photo. The AutoEye zoom lens uses a range of 0 (no effect) to 200 (most intense effect). This particular example uses a setting of 25, which allows a significant zoom effect at the edges of the photo, while the center of the photo is almost unchanged. You can use the Focal Point control (the cross arrow on the right side of the Creative Controls panel) to move the center of the zoom effect to any area of the image.
 |
|
|
Availability
AutoEye retails for $129, with an upgrade for Version 1.0 users available for
$79. Here's the website for AutoFX to place as link www.autofx.com/demo_center.asp)
- Log in or register to post comments


