- REVIEWS
Camera Reviews 
More Reviews Mobile Reviews Photography Reviews - GALLERIES
- VIDEOS
- BUYER'S GUIDES
Software How To
Sort By: Post DateTitle Publish Date


|
Feb 22, 2024

|
Mar 01, 2010

|
Jul 05, 2012 |
First Published: Jun 01, 2012
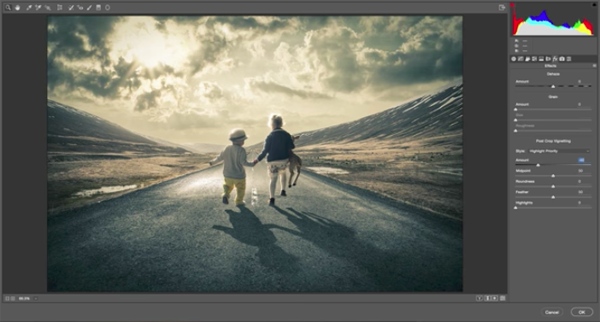
 With each successive release of ACDSee Pro, the photo management suite adds ever-more-powerful features. In this review I hope to help you decide whether or not its features match up with your own workflow, meet your needs, or even improve on existing features to enhance your photographic creations.

|
Aug 30, 2022

|
Jun 09, 2017


Pages
PHOTO OF THE DAY

Today’s photo is Flight Imminent by Linn Smith
eNEWSLETTER SIGNUP
![]()
Get the Latest Photo Tips, News & Reviews from Shutterbug!
| Camera Reviews Other Reviews | Mobile Reviews Photography Reviews Columns | News | Features | How-To | Resources |
 © 2025 Shutterbug
AVTech Media Americas Inc., USA
All rights reserved