Want EPIC Sunrise Photos? Here’s How to Edit Them in Lightroom (VIDEO)

Sunrises and sunsets are among the most popular scenes captured by photographers, and they present a few challenges for arriving at correct focus and exposure. One factor is the unusual light that occurs just before the sun peaks over the horizon in the morning, or when it drops out of view at dusk.
There are several techniques for getting the job done in the camera, as we explained in a previous tutorial. But what should you do when the images you shoot don’t make the grade? That’s what the tutorial below is all about.
Vincent MacNamara is a professional landscape photographer based in Ireland, and an equally adept instructor. In today’s episode you’ll see how he uses Lightroom to transform a sunrise photo captured during a trip to the Wild Atlantic Way on Ireland’s stunning West Coast.
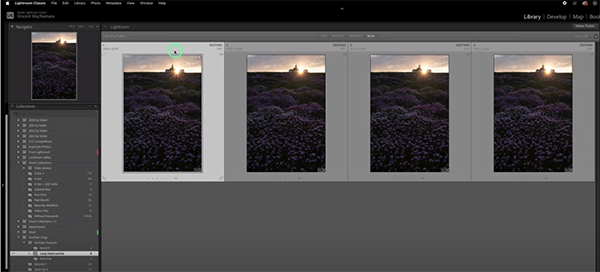
This particular technique is extremely effective and combines global and local adjustments in Lightroom, as well as focus stacking in Photoshop. The process involves shooting four images of the same scene. The first is made at f/22 to accentuate a sunburst effect, but diffraction caused by the small aperture presents a few problems that need to be solved.
Sharpness and a lack of detail are two disadvantages of stopping down to minimum aperture—especially on breezy days when camera movement is exacerbated by slow shutter speeds. This is why MacNamara captured three additional exposures at f/13 with a shutter speed of 1/50—each with a different point of focus from foreground and midrange to the background.
MacNamara begins with several simple enhancements before turning to Photoshop to merge the four photos. He chooses the image with focus set on the foreground because the in-your-face flowers are what make the shot. He changes the profile to Adobe Landscape, modifies White Balance and tint, and then makes important adjustments to Exposure, Saturation and Contrast.
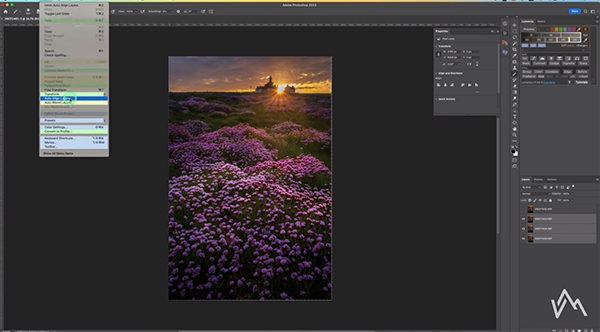
With the global adjustment complete, MacNamara applies selective enhancements to various portions of the scene. He walks you through every step of the process, which is surprisingly easy to accomplish. Once everything looks great MacNamara syncs these adjustments to the other three shots. Now it’s time to open them in Photoshop and complete the merge.
With the four images in Photoshop, each on a separate layer, this is what you do: Select all four images from the lower right of the screen, choose the Auto Align Layers option (even if your tripod was spiked to the ground), and follow MacNamara’s straightforward advise.
As an aside, what you learn here will work much the same way when processing sunset images for optimum results. lf you want more tips and tricks like these, pay a visit to MacNamara’s YouTube channel.
And be sure to check out the tutorial mentioned above, with five tricks for capturing beautiful sunrise photos in the camera.
- Log in or register to post comments

