- REVIEWS
Camera Reviews 
More Reviews Mobile Reviews Photography Reviews - GALLERIES
- VIDEOS
- BUYER'S GUIDES
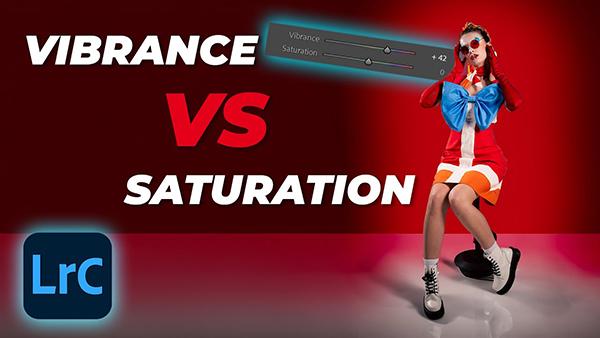
Vibrance vs. Saturation: Which Editing Tool to Use When (VIDEO)
The second day of the week is often referred to as Taco Tuesday, but Shutterbug readers know it's also Tutorial Tuesday when we often post the weekly lessons from Park Cameras—one of the leading photo retailers in the UK. This episode explains the difference between Vibrance and Saturation sliders, so you'll understand when and how to put these simple sliders to use.
This demonstration takes place in Lightroom, but everything you'll learn is equally applicable when processing images in Photoshop, Capture One, or just about any editing software you use. As you'll see, Vibrance and Saturation adjustments work in similar ways but the difference is significant. And the choice you make depends both on the specific image you're working on and the enhancements you have in mind.
Photographer Gareth Evans is today's exuberant instructor, and his lessons are just as entertaining as they are informative. He kicks off the video like this: "The difference between Vibrance and Saturation is subtle, but it can also be quite meaningful in terms of how to decide to edit a photo."

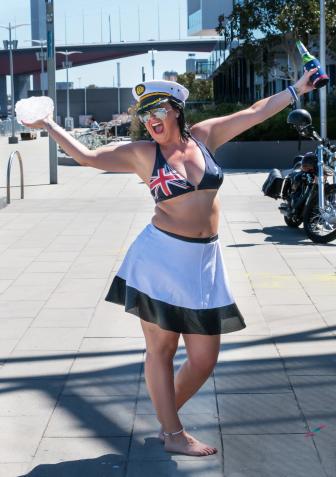
Evan uses a variety of images to illustrate the distinction between these important tools and how they affect different types of photos in different ways. His first example is a very colorful portrait with an intense red background, while other shots exemplify scenes in which colors aren't intended to pop of the screen.
The portrait is a good place to start because it's important to maintain clean and realistic skin tones while enhancing other tones with the shot. Evans explains that Saturation is the most straightforward slide because it affects all colors equally when pumping up a shot. His point is that saturated skin tones is rarely your goal when editing portrait photos.
Lightroom's Vibrance slider, on the other hand, "is a little bit more subtle and natural in the way it increases saturation of colors." That's because this tool "specifically focuses on colors in the midtones." The "more gentle" Vibrance tool also tends to boost less-saturated colors first, before pumping up more intense colors in an image.
Thus, Vibrance is generally a better to choose when skin tones are part of the equation. He provides a clear demonstration of how all this works when your goal is a "less aggressive" enhancement.
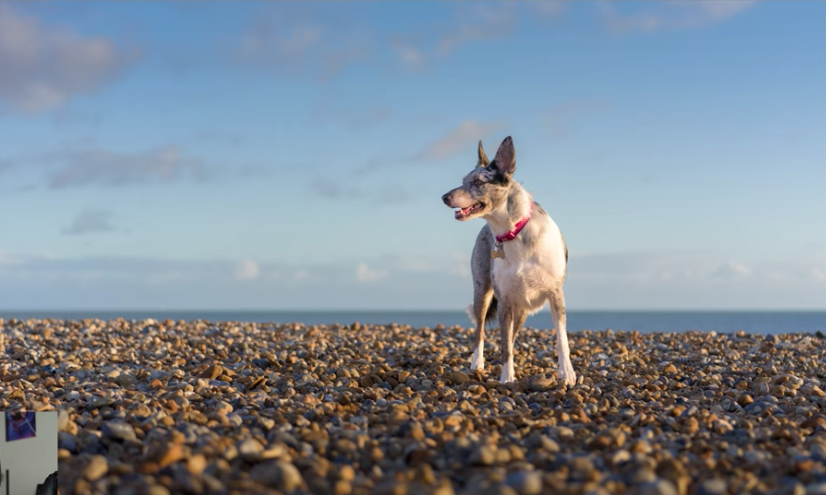
Of course, there are other types of photos for which the Lightroom's Saturation tool is exactly what you want—especially for adjusting photos that were captured on dull days with flat light. Evans show you how to make these types of adjustments, and why the Vibrance tool is far less effective in situations like this.
The Park Cameras YouTube channel is well worth a visit, because there's a wide-array of shooting and editing videos from which to choose that will greatly help you up your game.
And be sure to check out the tutorial we posted earlier from another great instructor who explains how to create pro-quality b&w images with a little help from Lightroom.


![]()
Get the Latest Photo Tips, News & Reviews from Shutterbug!
| Camera Reviews Other Reviews | Mobile Reviews Photography Reviews Columns | News | Features | How-To | Resources |
 © 2025 Shutterbug
AVTech Media Americas Inc., USA
All rights reserved