- REVIEWS
Camera Reviews 
More Reviews Mobile Reviews Photography Reviews - GALLERIES
- VIDEOS
- BUYER'S GUIDES
Underexposed Photos? How to Bring Them to Life in Lightroom (VIDEO)
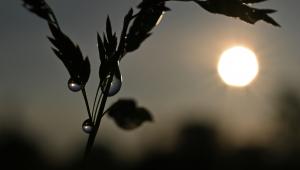
Landscape photographers constantly grapple with complicated, messy scenes that have a wide range of tones, whether their shooting at sunrise, sunset, or in the middle of the day. As a result it's not uncommon to return home with a few images that would be spectacular were it not for the fact that they're seriously underexposed.
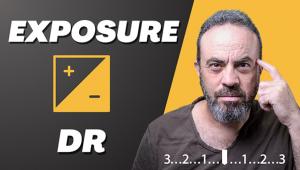
The goal of this video tutorial is help avoid dampening your spirits when this occurs, and to provide a straightforward method for rescuing these underexposed images in Lightroom. Or as instructor Neil Borg puts it, "transform dark photos into stunning masterpieces."
Borg is an accomplished pro specializing in travel and landscape photography, so he's experienced this challenge on numerous occasions. He notes that bright highlights and dark shadows are often the culprits and they're easy to fix by using the few simple steps that he provides.
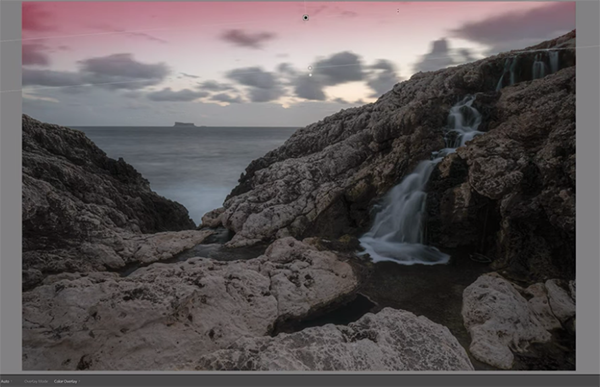
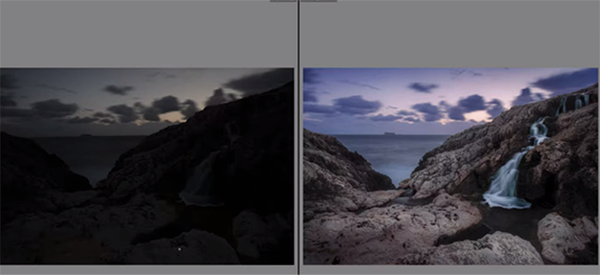
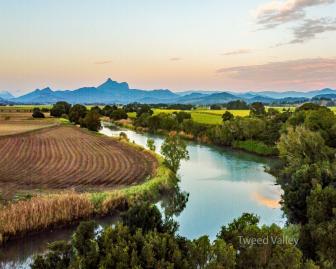
The demonstration seascape was shot at the coast on the small island of Malta, with the sea in the background, some nice clouds in the sky, and imposing rock formations and a waterfall in the foreground. Sounds like a perfect scene, right? Unfortunately the original shot is so dull and dark that most of us would consider it a throwaway.
Borg isn't someone who gives up that easily and the transformation he achieves is nothing short of breathtaking. In barely 10 minutes you'll learn his techniques for boosting exposure, recovering details, and enhancing colors in way that the beautiful result retains a very realistic look.
He begins with few basic exposure adjustments that open up the image, but it still appears dull and drab with hardly any color to faithfully represent the scene. Other techniques are clearly needed and Borg begins by cutting Dehaze and Clarity to introduce a subtle "dreamy effect."
He then bumps up Texture to accentuate details in the sky, foreground, and waterfall in the rocks. Borg also desaturates green tones under the waterfall because he finds them objectionable. A Linear Gradient over the top portion of the shot enables him to selectively adjust exposure in the sky.
The waterfall should be an attention-grabbing element of the scene, but it's severely deemphasized in the original image. So Borg makes a selection with the Brush tool and significantly brightens up the flowing water. A couple more masks and some thoughtful color grading are also required to complete the impressive job and Borg quickly demonstrates how that's done.
There' much more to learn by visiting Borg's YouTube channel and by watching the tutorial we posted recently from another accomplished pro, explaining how to use Linear Profiles in Lightroom for complete control when editing landscapes and other outdoor photographs.
- Log in or register to post comments


![]()
Get the Latest Photo Tips, News & Reviews from Shutterbug!
| Camera Reviews Other Reviews | Mobile Reviews Photography Reviews Columns | News | Features | How-To | Resources |
 © 2025 Shutterbug
AVTech Media Americas Inc., USA
All rights reserved