- REVIEWS
Camera Reviews 
More Reviews Mobile Reviews Photography Reviews - GALLERIES
- VIDEOS
- BUYER'S GUIDES
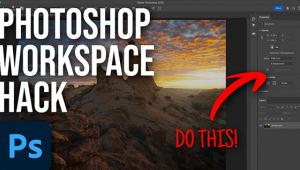
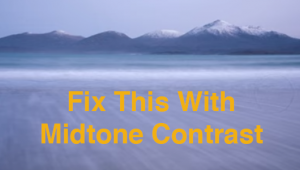
Photoshop Tips: How to FIX a Dull Sky Rather Than REPLACE it (VIDEO)

One challenge with all forms of outdoor photography is that we're always at the mercy of the weather and prevailing lighting conditions. That fact is particularly evident when you wake up on a nice day, pack your gear, and travel to a favorite location—only to confront a pretty scene with a rather boring sky.
When this occurs you have three options: Head home and return another day, capture a few images and replace the sky in post, or enhance the sky that’s already there. While many photographers are inclined to swap out the sky with something more dramatic, there are several reasons to simply use Photoshop or Lightroom to pump up the existing sky in your photos.
Taking the latter approach often results in more realistic images, and it’s usually much easier to accomplish. And if you’re not satisfied with the results, you can always turn to Plan B and replace the sky altogether.
In the six-minute tutorial below from image-editing expert Anthony Morganti, you’ll see how easy it is to achieve a natural looking image by using Photoshop to enhance a boring sky with a few quick adjustments. Morganti walks you through the straightforward process from beginning to end, and you’ll likely find yourself using his simple method often.
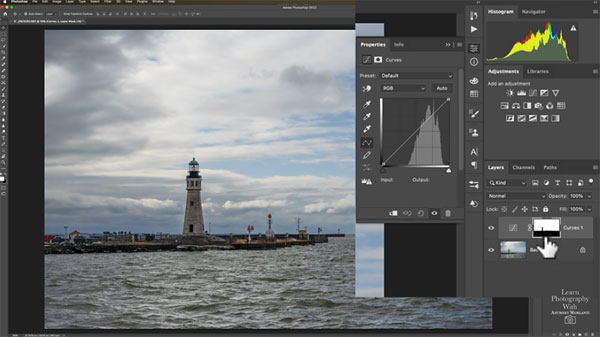
Morganti begins his adjustments by selecting the sky, using the Select command in the toolbar and choosing the Sky option in the dropdown menu. Once you’ve done that, Photoshop automatically selects what it thinks is the sky, and it typically does a very accurate job.
The next step is using adjustment layers to give the sky a bit more oomph. To do that Morganti first brings up the Curves panel, at which point you’ll notice that the sky is already masked and selected. Therefore, all subsequent adjustments only affect the sky and leave the rest of the image untouched.
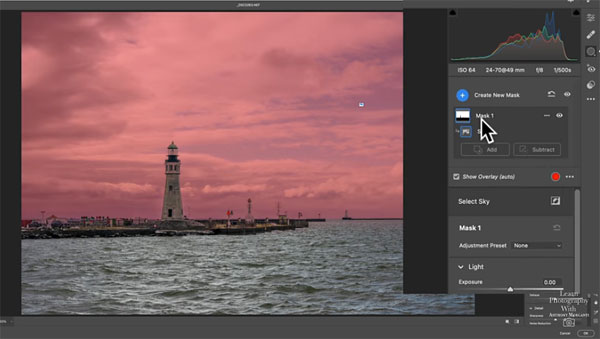
Morganti explains how to adjust vibrance, contrast, color, and saturation, along with a few other variables, to dramatically improve the shot. As you’ll see, Morganti has a few other tricks up his sleeve, and he demonstrates how to use them to arrive at an excellent final image.
You can find more editing tips on Morganti’s YouTube channel and in a Lightroom tutorial we posted recently, explaining how to fix blown-out outdoor photos in three easy steps.
- Log in or register to post comments


![]()
Get the Latest Photo Tips, News & Reviews from Shutterbug!
| Camera Reviews Other Reviews | Mobile Reviews Photography Reviews Columns | News | Features | How-To | Resources |
 © 2025 Shutterbug
AVTech Media Americas Inc., USA
All rights reserved