Photographic Multishot Techniques; Photomatix Pro “Exposure Blending” Function
 Editor’s Note: This excerpt is taken from “Photographic Multishot Techniques” written by Juergen Gulbins and Rainer Gulbins, published by Rocky Nook, Inc., and available in bookstores and online bookstores, including http://oreilly.com. Filled with hands-on guides, the book includes techniques for HDR imaging, super-resolution, focus stacking, and stitching of images. Tools used include Photoshop, PhotoAcute, Photomatix Pro, FDRTools, CombineZM, DOP Detail Extractor, Helicon Focus, and more. Many of these tools can be downloaded as free trial versions at: www.rockynook.com/tools.php.
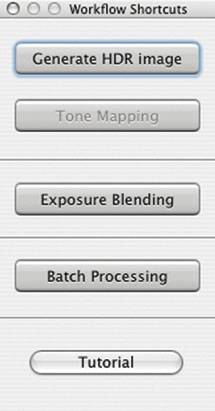
A simple, but nonetheless useful HDR variant offered by Photomatix Pro is the Exposure Blending function (figure 1). This function also merges source images with differing exposure settings, but outputs 8-bit or 16-bit LDR images. These images do not have to be reduced via tone mapping to a printable format. For this reason, this option is useful not only when shooting individual images for increased dynamic range, but also when shooting HDR series that you wish to stitch together in a panorama using normal stitching software.
 |
|
|
You should use the same basic criteria you use for shooting other HDR source images when shooting images for use with this function. We usually use a small bracketing increment or, if we are only aiming to reduce image noise, no bracketing at all. If this is the case, we use the Average tone mapping method.
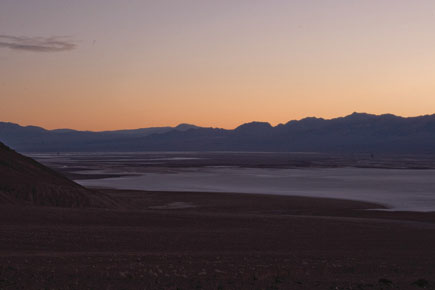
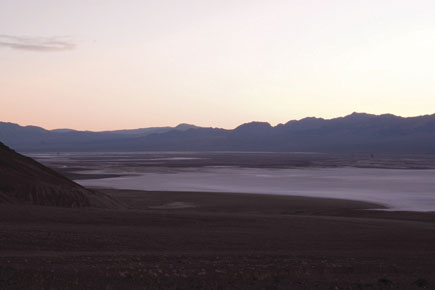
Note our two source images, shot in Death Valley (figure 2). The first image has captured the sunrise nicely, while the second shows better detail in the salt flat.
 |
|
 |
|
|
The process is started either by dragging your source images to the Photomatix Pro icon and selecting Blend Exposures (see figure 3), or by selecting the Exposure Blending workflow shortcut.
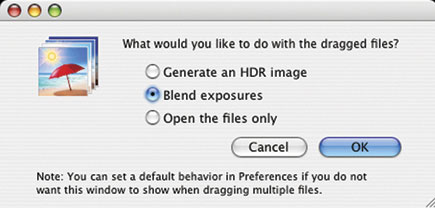 |
|
|
As with the HDR image creation process, the program will ask how the source images should be aligned. Even if you are working with a tripod, you should let the program align your images. In most cases (since Version 3), we use the By matching features option for image alignment (figure 4).
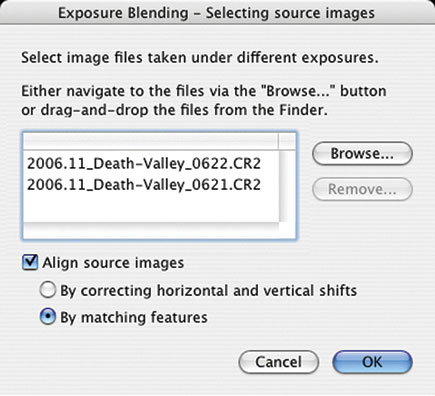 |
|
|
- Log in or register to post comments


